


Felling and processing a medium sized tree.
In this post I detail the felling and processing of a medium sized ash tree using a danish pie felling cut. I also have fun with some mini chainsaws and diagrams.

This is a bumper sized, media packed post. If you’re reading it on email, click the above title to go read it on the web.
Just before Christmas in December of 2023 I was able to be assessed for my “CS32” qualification which in non-treebabblespeak is “being certified competent in felling medium sized trees”. If you’re a self-employed arb professional (which I am now months away from rather than years!) and you want public liability insurance, then this is an essential qualification. My assessment took place in an ash and oak plantation near Chester-le-Street in the North East of England. The ash trees were being felled because they had started to show symptoms of ash dieback (Hymenoscyphus fraxineus) and were of a decent size to be harvested. Better to fell them now before the timber quality is compromised is the logic.
Trees come in sizes?
In the UK, as far as qualifications are concerned - yes trees have sizes. They categorised into small, medium and large. The short version of why this is the case has to do with historical chainsaws. Foresters (not tree surgeons - who are mostly domestic) fell trees all day and when you’re doing this, you want a chainsaw that you can carry around all day that is powerful but not too heavy. Historically this was a saw that could run a 15” bar. Small trees are the ones that a 15” guidebar will go through completely, medium are the ones that a 15” guidebar cannot go through completely and thus require more complex cuts and large trees, rather sensibly, are the ones that prompt the statement “you’re gonna need a bigger bar mate”. The reality of the situation is that in the real world of production felling, you’d use a bigger bar on medium trees so you can work faster. However, in an assessment situation, you use a 15” bar to demonstrate that even with a small bar you have solid skills.
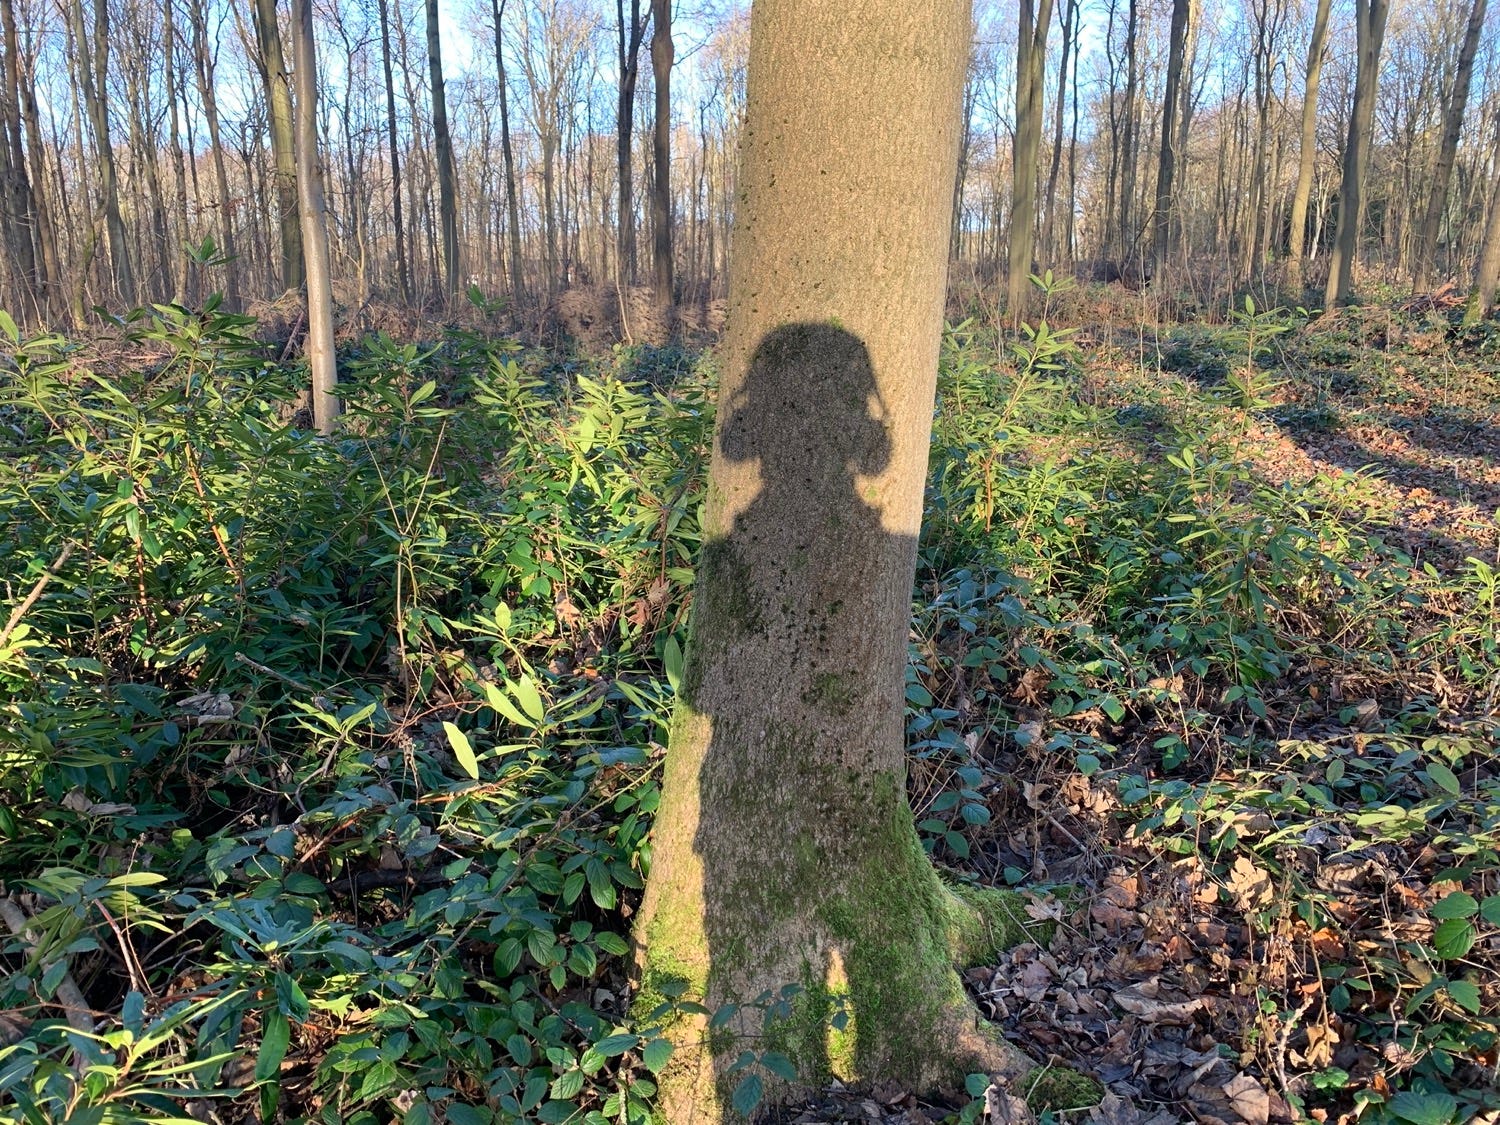
Some photos below demonstrate the different sized bars along with various derpy faces.


However in the reality of production tree felling these sizes don’t really come into it, beyond littleun’ and biggun’. Everything else is a tree.
Felling and processing a tree
Felling a tree is the fun part and it really is thrilling. Sadly, however, it lasts for about 10% of the total time. The other 90% of the time is in processing the tree. If you’re lucky and the tree falls straight to the ground without getting hung up then all you have to do to process the tree is dismantle the crown and crosscut the logs. If you’re unlucky and the tree got hung up as it was falling, then you have to winch it down and then process it. On average these trees took me about forty minutes to fell and process. Only one of my trees got hung up and that was during the assessment, luckily the winching didn’t take long (it normally does).
Here’s a series of photos I took on the felling course as I worked through a danish pie cut. The tree I would estimate to be about 500mm in diameter. Neither a littleun’ or a biggun’; simply “a tree”.
The fun part – felling
First, I always like to have a few words with the tree I am about to fell. I thank it for being a tree and release it from service. I also explain that it is about to become wood. You may think this is crazy, but I think it is polite. I want to be clear – I don’t hug the tree and neither do I cry about the loss. It is a tree, they literally grow on trees and will ultimately be replaced inline with the woodland management plan. Tree gonna tree.
The buttress roots
The first job for you and your saw is to take off the buttress roots so that you have nice log shape. This also makes it easier to reason about felling the tree in terms of predicting how much holding wood you need and the ideal size of the hinges. The buttress roots are the trees natural stabilisers against prevailing winds. However, saw mills want log shaped logs, so you remove them as a first stage as it makes everything easier.
The Face cut
If there is an iconic part of felling a tree it is the face cut. Assuming gravity agrees with you then the face cut will, ideally, be the thing directs the fall direction. If gravity disagrees with you, then you have to convince it with wedges, winches, mechanical assistance and/or skill.
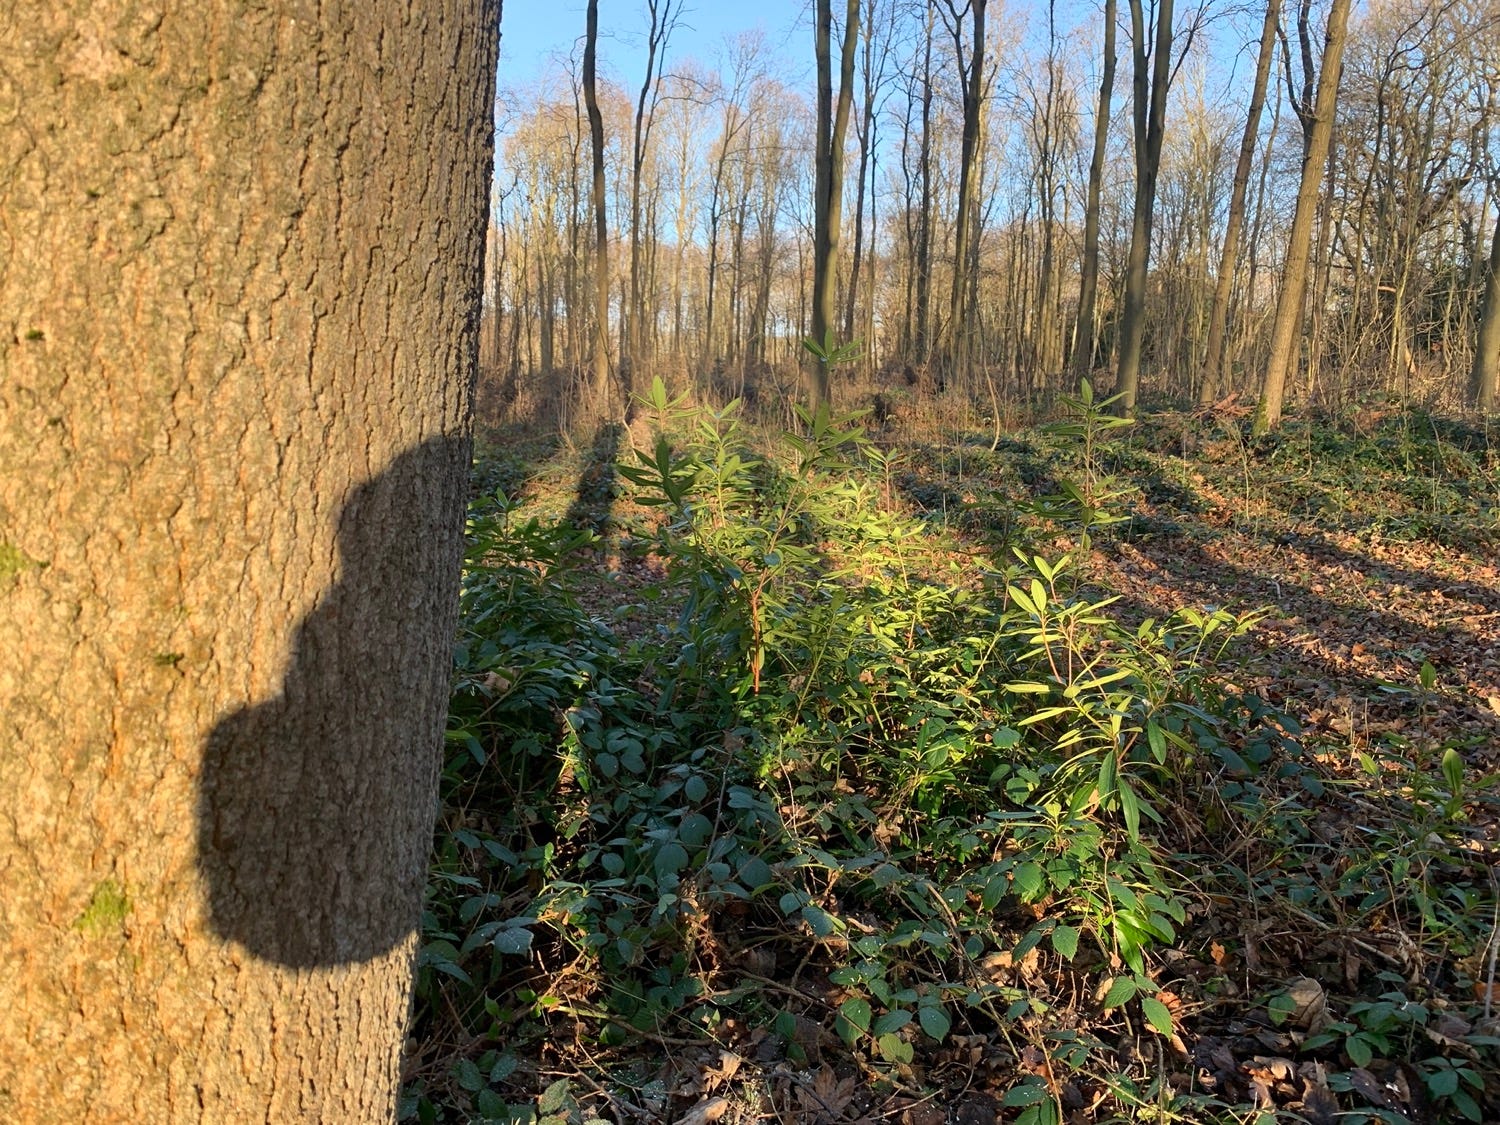
The space I chose for this tree was nice and clear and the posture of the tree in terms of lean or weight wasn’t going to require me to do much convincing. The only downside with this space was that it was directly over a ride. This would make cleanup harder and more time consuming as the resulting arisings would have to be moved off the ride. I could have chosen a different direction, but then I’d have to fell it onto other trees, which means slow moving when processing. Swings and roundabouts, six and two threes etc etc. I chose to fell it over the ride because being able to walk around easily is a nicer way to do things.
Fire up the saw! I could, and probably will, write a lengthy piece about face cuts at some point as they are a world to themselves. Depth, height, angle, humboldt vs conventional, there is a lot. However, in this context, for this tree and this species, we were going for a conventional face cut, about 30% off the width of the tree and aiming for a 45º angle. I am resisting the temptation to unpack that previous sentence. Move on Jamie, move on.
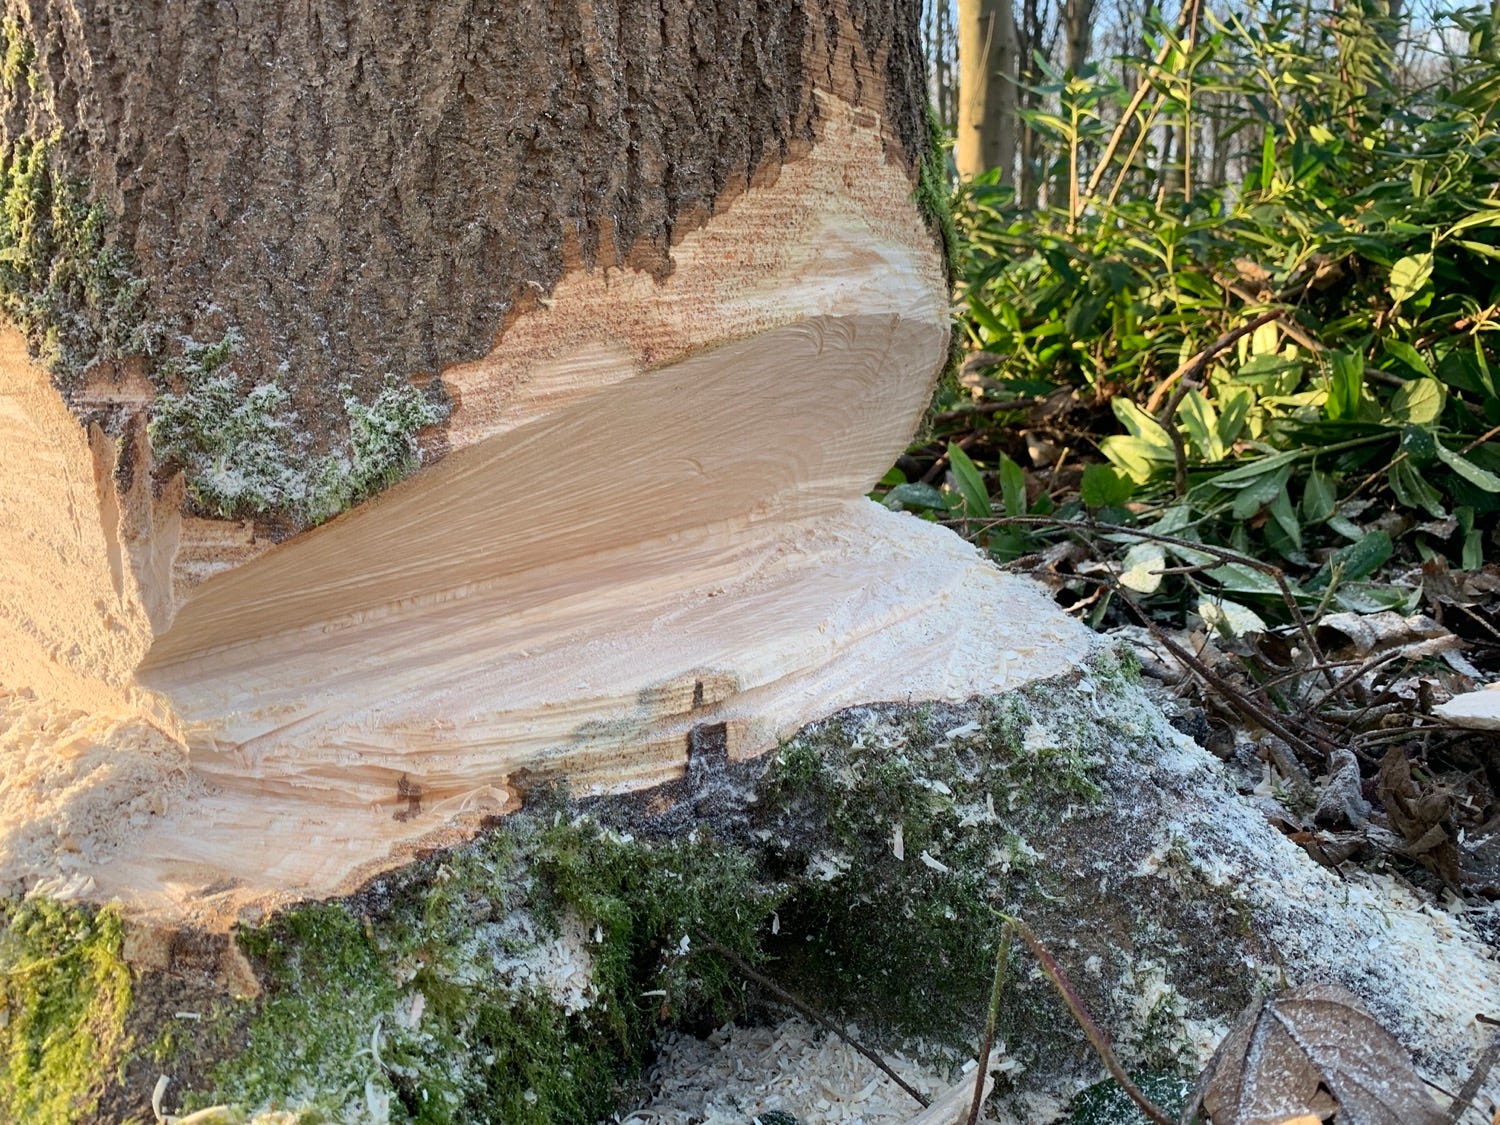
Below you can see that I’ve roughed out a face cut in the direction of felling. You’d not want to fell a tree with this quality of face cut as all those little centimetre imperfections end up being metres or tens of metre errors when you start felling stuff and combining in wind and heavy limbs.
I find the physical world so thrilling because unlike the digital world there’s no undo function. If I remove too much wood by misjudging the size of the face cut and end up with a 50% hinge then I am in a world of pain and suffering. I cannot press cmd/ctrl+z to get out of it. So we move with caution and rough things but with confidence so we’re productive with time. “Shit or get off the pot” is a poignant expression.
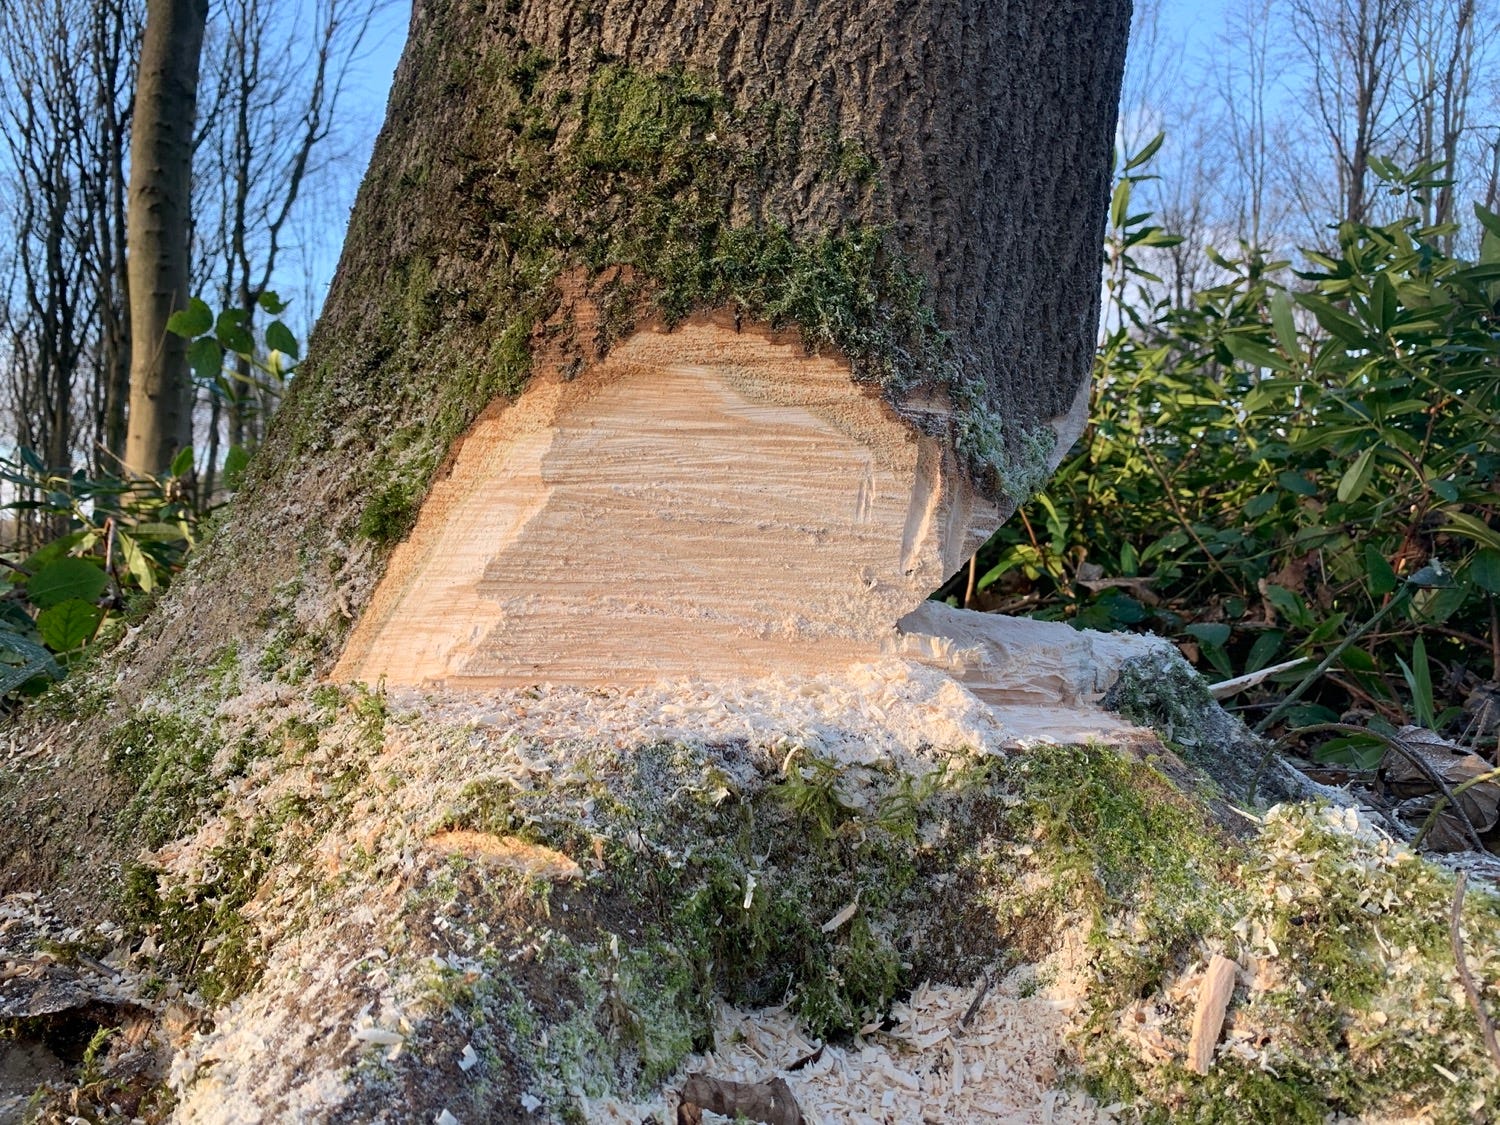
Once I was happy with the dimensions, it was time to tidy the face cut up. It must be nice and clean, ensuring that the back of the face cut is straight and that there are no dutchmen (little cuts that extend beyond the back of the face cut). Dutchmen can ruin your day causing trees to fall in unpredictable and dangerous ways.
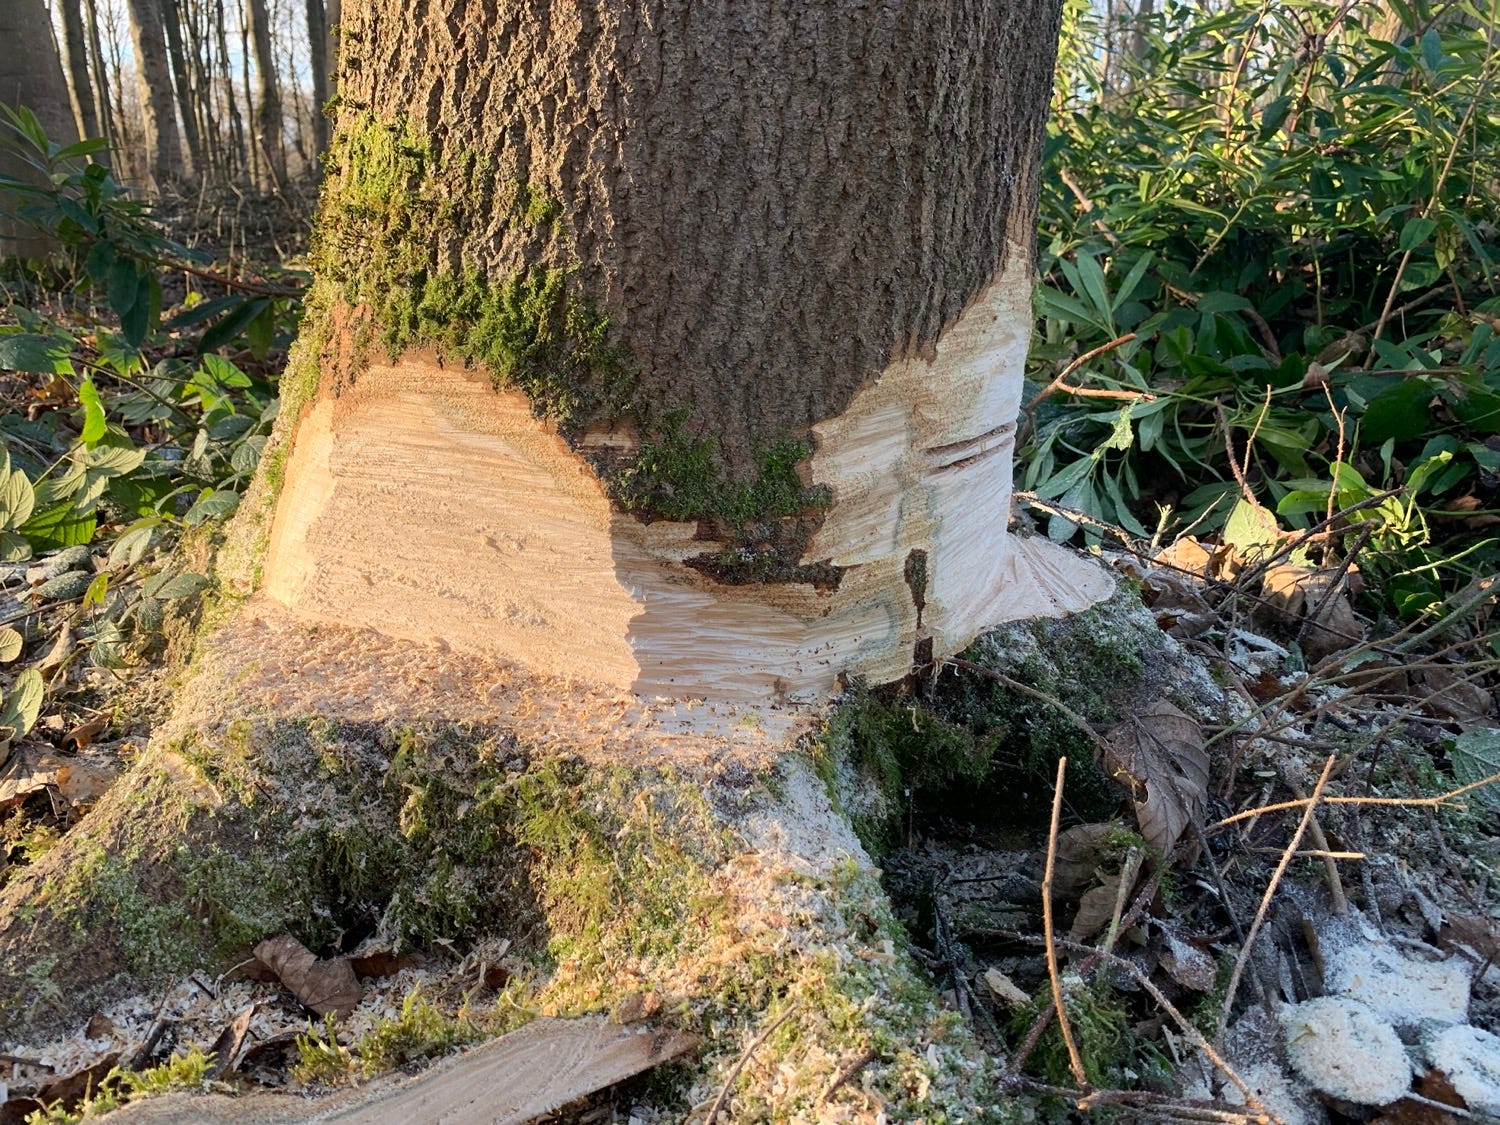
In the below photo you can see the 30% width of the face cut. You can also see that I’ve left a little bit of buttress root on the back. I left this because the tree was leaning in the direction of felling and that buttress root was ideal holding wood that wouldn’t affect the shape of the final log too much. Yes, the sawmill may have preferred it was not there, but my safety trumps their specs. By leaving this holding wood, especially on ash that is very “splitty”, I gave myself a nice insurance policy against “barber chairing”
The backcut - danish pie cut.
In the assessment we had to demonstrate knowledge of two backcuts. The “danish pie cut” and the “chase the hinge” backcut. Resisting once again the temptation to unpack in great detail why you’d choose one over the other along with all of the other options you have, I will simply say that I chose the danish pie cut for this tree as it is an ideal choice for when the tree is leaning towards (as this tree was) or away from the direction of felling.
It is a fairly complex cut and requires that your saw skills are beyond the beginner stage as things have to line up, there’s a lot of boring and if you don’t have a nice sharp chain, then you’re in for a world of pain. However, there is a reasonable error tolerance if you don’t get your cuts lined up perfectly.
Remember – as this was an assessment, I had to use a 15” bar. If this was not an assessment, I’d have used a 24” bar and used a “bore and hold” technique. However, a 15” bar was what I had to use so danish pie cut was the order of the day.
The short version of a pie cut is that you strategically remove supporting wood from the base of the tree. This allows you to manipulate the tree with wedges whilst leaving just enough so that you have a small, easy to sever area when the tree is ready to “send”.
Here’s the steps in detail.
Fanning the hinge
Bore into your face cut and remove the central column of hinge wood. You want to remove about 50-60% of the width of the tree with 20-25% hinge left on either side. This particular bore is the hardest because you’re going into freshly exposed cross grain timber at an angle and this does make the process of boring subject to a fair bit of kickback. It is not for the faint of heart or those who are easily irritated.
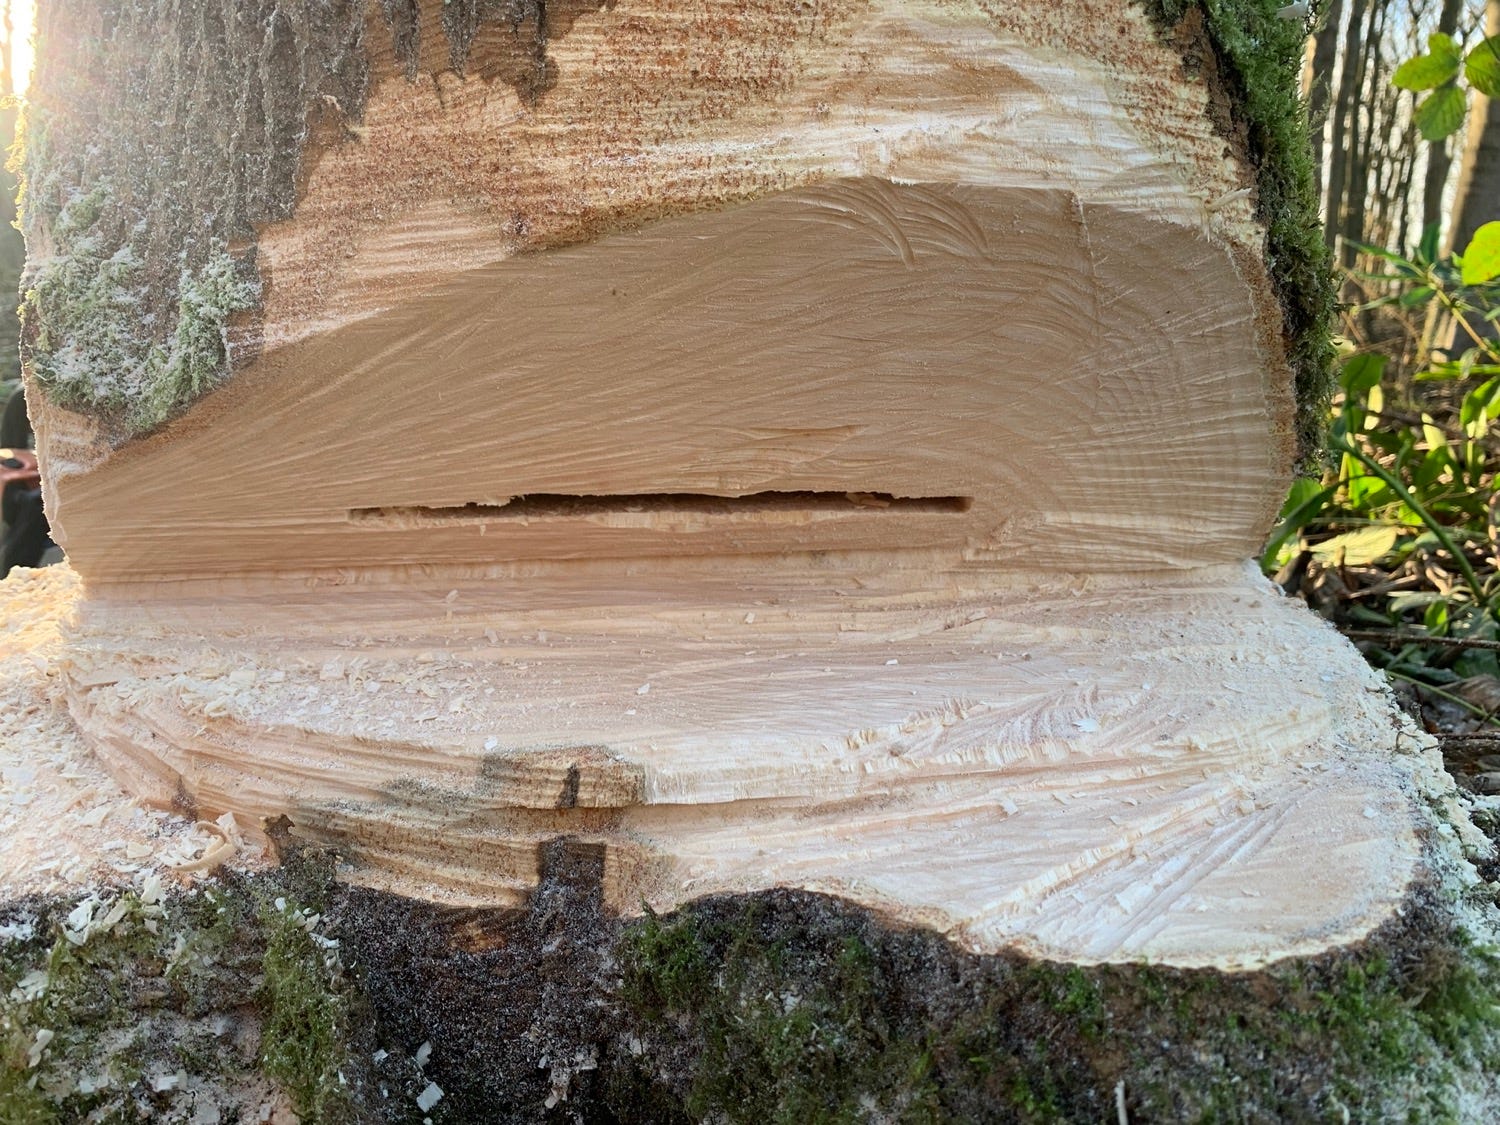
Once you’re bored in, the bar goes in all the way. You’ll notice that you go in about one inch above the top of the hinge. This is to give the saw clearance space from the bottom of the face cut. Ideally, this bore cut should be parallel to the bottom of the face cut.
Here’s more descriptive video I put together to show how this fanning interacts with the holding wood on the tree. I couldn’t resist putting my very, very small chainsaw to use.
Once you’re done fanning, you’re ready to start removing wood from the back of the tree.
Backcut 1
Another bore cut, only this time bore into the side with the weight, making sure not to blow out your hinge and ensuring you leave 10% hinge. This tree looks like it has less hinge, but as you will see when the tree is down, it was actually more than 10%.
You want to bore into the tree and then bring your guidebar back towards the holding wood at the back of the tree. You want to ensure that you’re not cutting away more than 50% of the holding wood and you also want to ensure that your cut is at the same height that you fanned out the hinge.
Once you’ve came back all the way and the saw is out you want to insert a wedge. We had a fancy pants power wedge on the day of our course and so I used that.
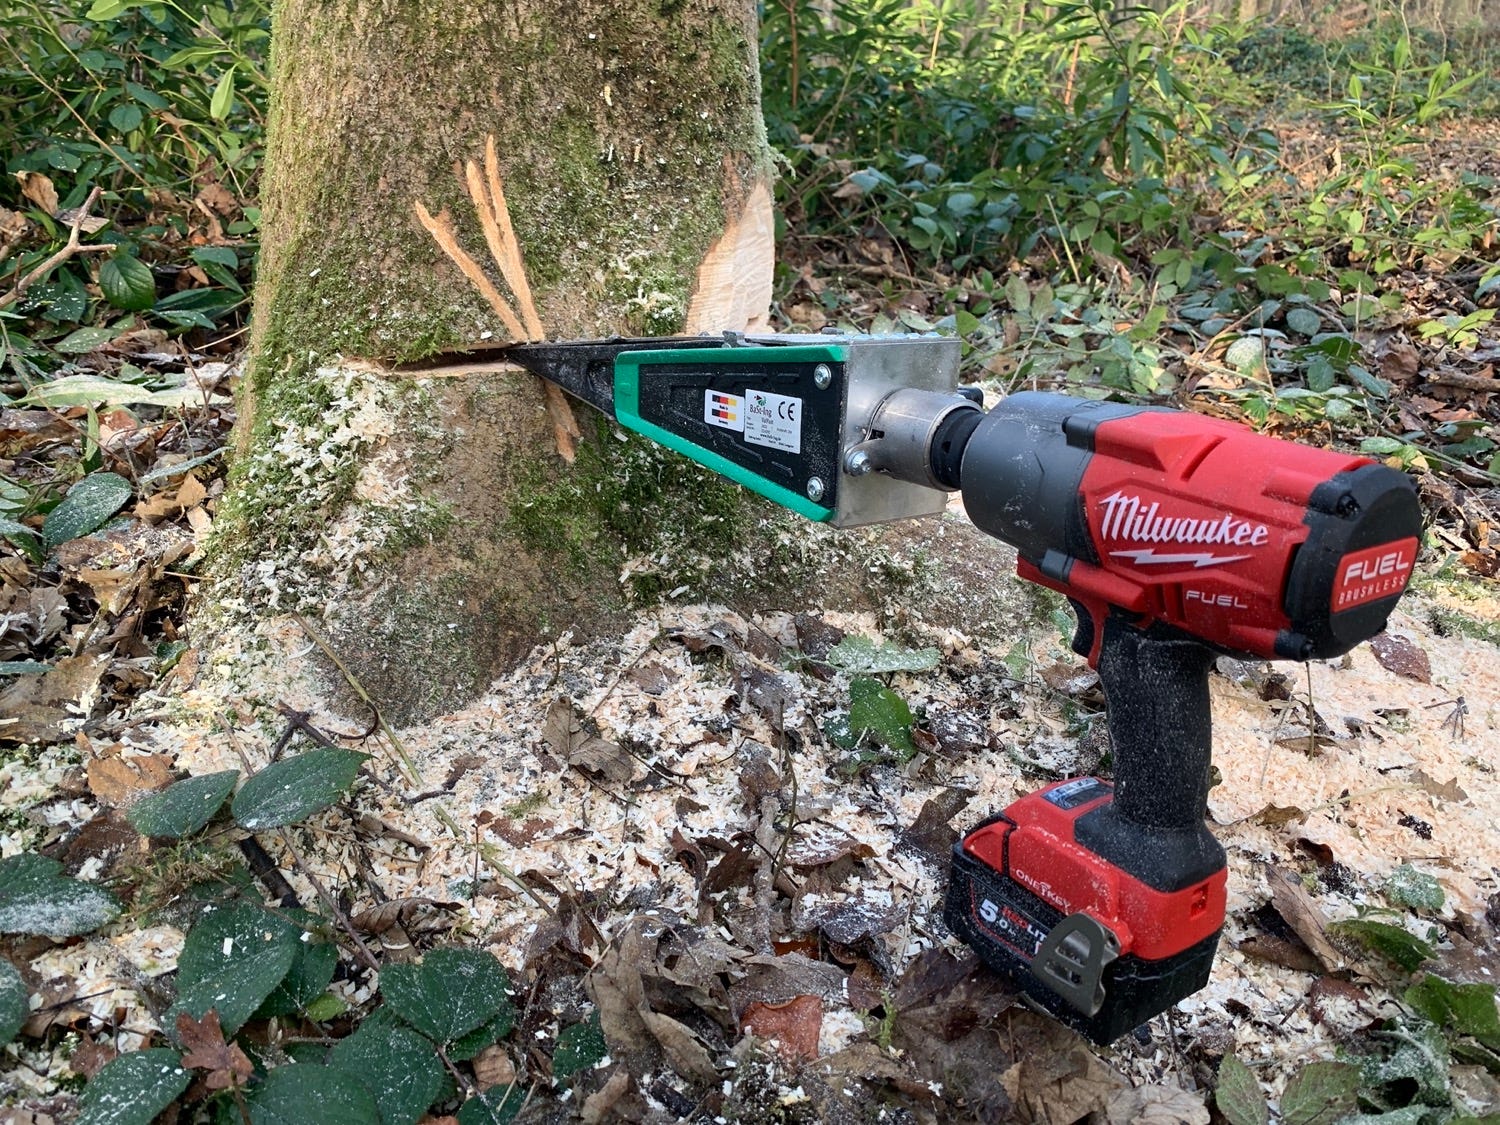
Here’s another video example. Obviously the wedges go in after you’re done sawin’
The wedge at the very back is optional if the tree is leaning in the direction you want to fell it. However, if it isn’t, you’re best putting the wedge in - especially if it is leaning opposite to how you want to fell it. You can also stop on this once you’re ready to get that side wedge in. This is useful if the tree is leaning into the side you’re cutting away. You absolutely don’t want to allow the tree to sit down on your bar and this side wedge prevents that.
As you can see from the video at this point there is not a lot of wood left, but just like a solid JML commercial, there’s more…
Back cut 2
Nearly there - the penultimate cut - a bore cut, only this time from the other side. Again, your fanned hinge and bore cut from the other side should line up. If they do line up you can feel it in the saw, there’s less resistance. This time, however, you pull your saw out leaving about 25% of the tree as holding wood. At this point the tree is being held up on the two sections of hinge, and this 25% section of holding wood at the back.

Here’s the final diagram video thing to show how all of the cuts combine to leave the two sections of hinge and the final holding corner. The danish pie cut isn’t rocket engineering, but it has a few moving parts. The pie cut is also known as the “safe corner” due to the fact that it leaves a safe corner strap that is solid enough to hold a tree, but small enough to quickly send it and get out of there.
One of the things about the danish pie cut is that you can use it for trees leaning into and against the direction that you want to fell them. When doing this tree, it was leaning into the direction of travel so I didn’t have to do any work with the wedges. The only wedge I inserted was an insurance policy that I’d never have needed but this was an assessment, so I had to use one. It would be in using these wedges that I’d manipulate the trees posture to move it into a position where the weight was over the face cut…
…and then…
The moment you’re waiting for – send it
Then you fire up your saw and sever the holding wood on the corner, send the tree and allow the hinge to do it’s work.
When the tree starts moving you get the f**k of out of dodge via your escape routes and you keep your attention up and forward - watching out for stuff flying back towards you. Check the end of the below video for a very tame example of tree shrapnel, it wouldn’t have harmed me, but it was a good “warning shot”. To get to this moment took me about eight minutes. Totally worth it.
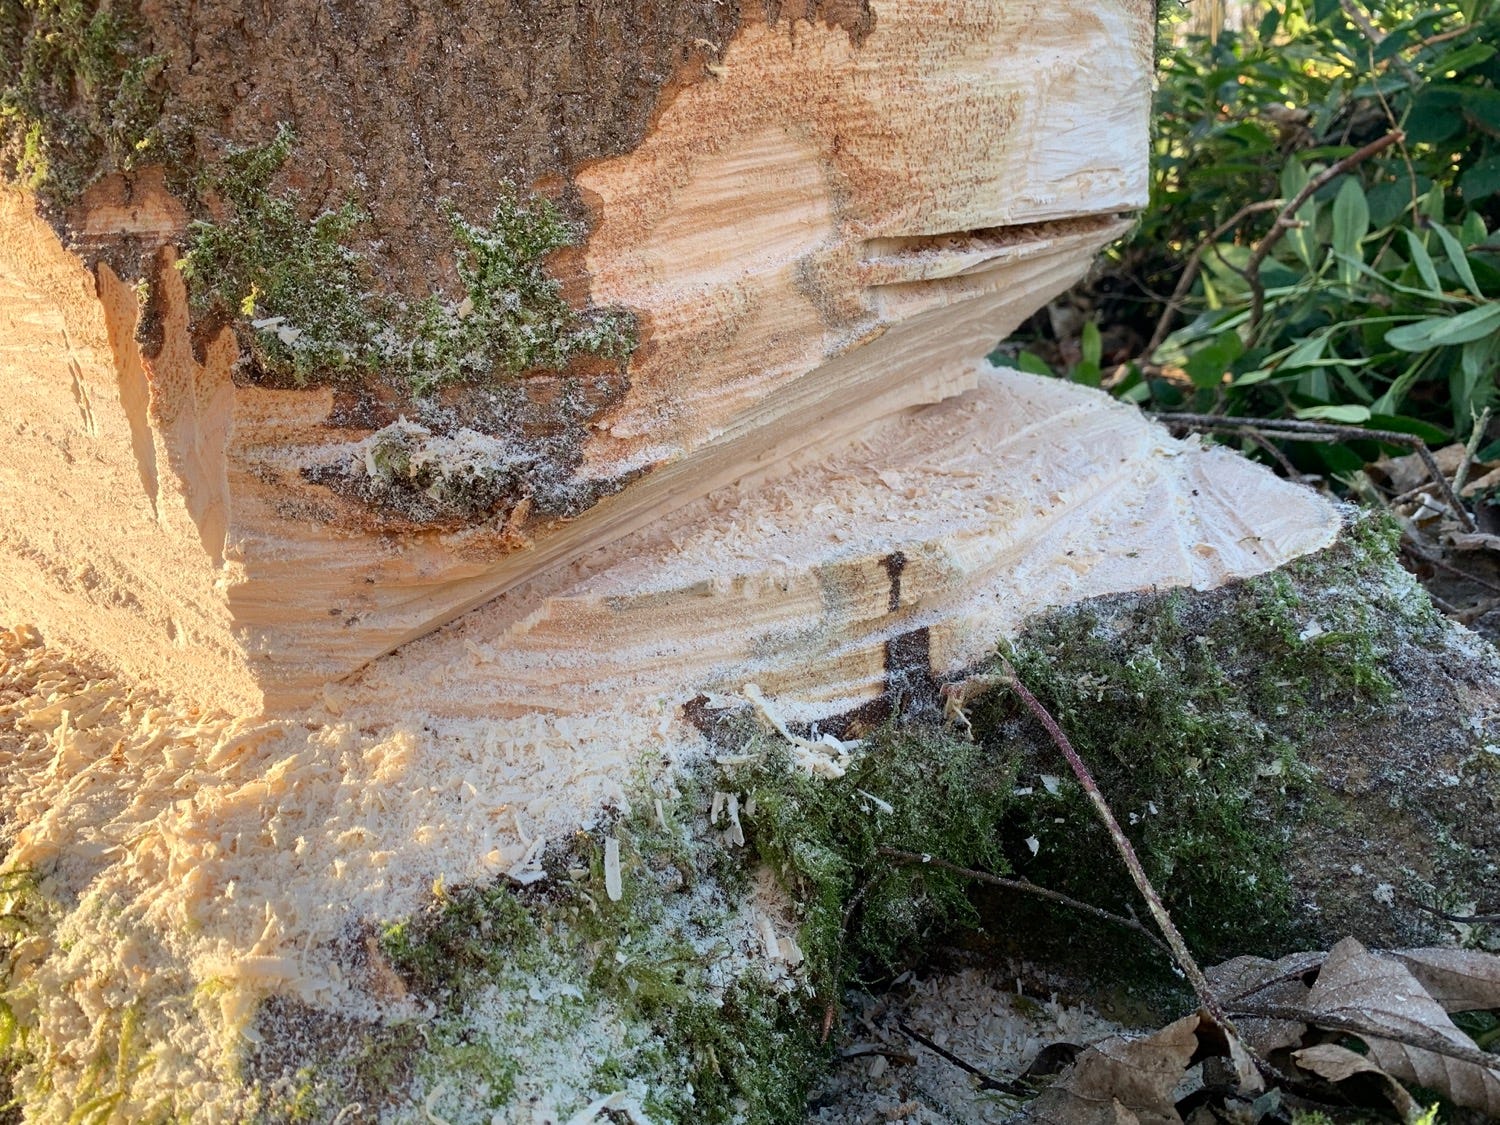
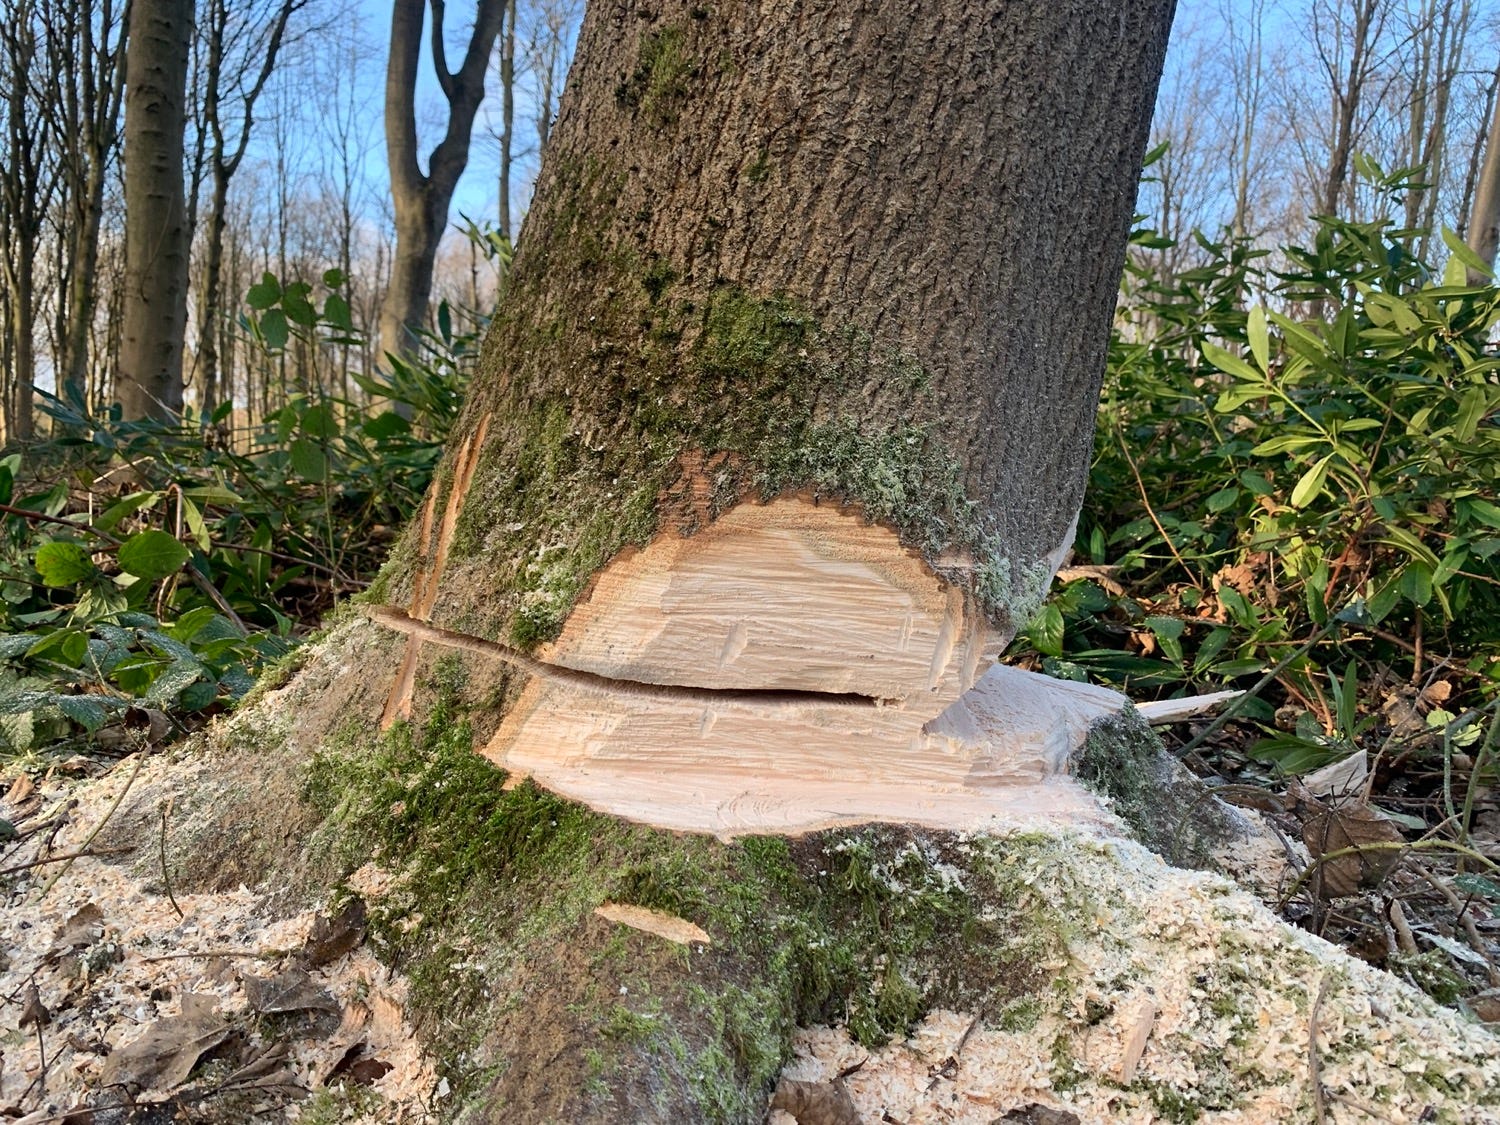
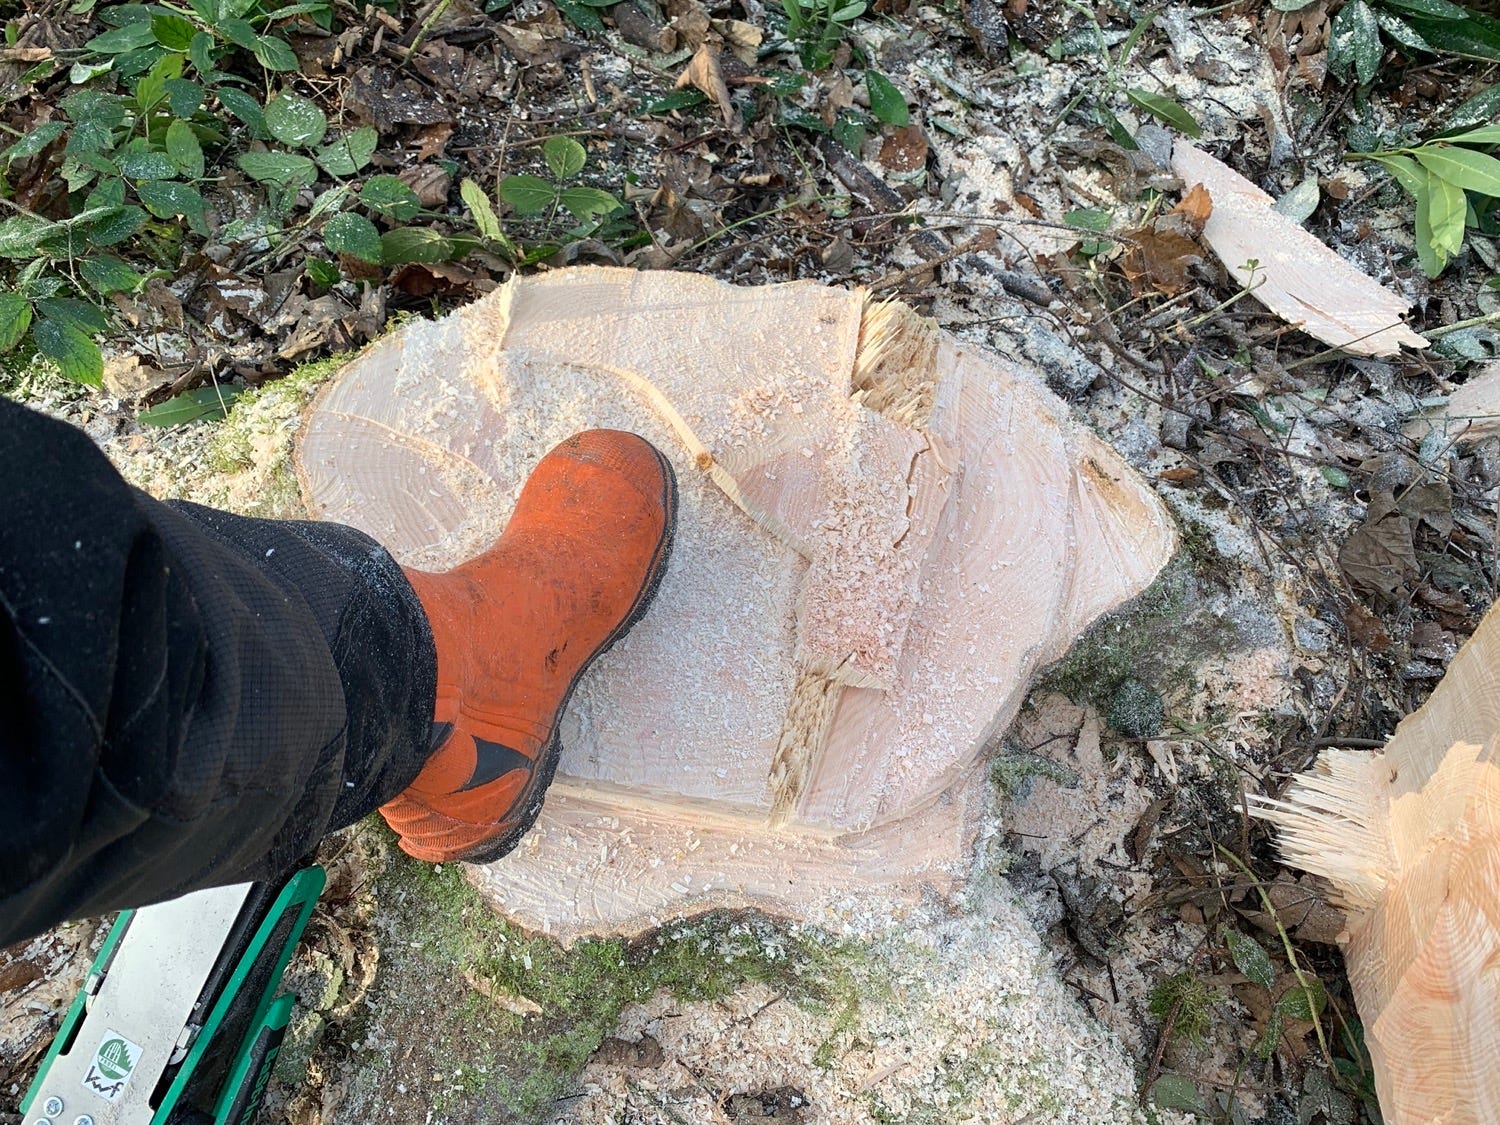
Once everything is down and you’re certain there’s no hangers, and everything that should be on the ground, is on the ground then and only then you can admire your handywork. How did I do? The hinge is a bit bigger on one side than the other, and whilst the bore cuts are not flush, everything worked as expected - especially with the hinge. The larger hinge on the far side meant that my bore cuts were not parallel to the face cut. In this situation it didn’t matter as I had space for some deviation in falling direction, but in a situation where space is tight this could have got my tree hung up.
Just like other topics, you could devote an entire book to hinges and their purpose. I’ll spare you that but the one thing you need to understand about hinges are that they ultimately decide how, and where, the tree will fall. The face cut doesn’t really affect direction, the main purpose of the face cut is to give the tree space to fall.
As the tree falls the fibres that make up the hinge are pulled by the weight of the tree. This is what makes that creaking sound when trees fall. As the fibres are stretched there comes a point at which they break and if the hinge has done it’s job because you’ve correctly done your cut work, then it’ll act as a launcher for the tree before finally handing it over to gravity. It really is fascinating and whilst it’s easy to glance over the maths and science on it, there’s a tonne going on. This is why I have absolute respect for people who have done this for years and have developed an intuitive sense of felling trees. These are smart people.
Everything up to this part was about eight minutes of high rate heart beat adrenaline based fun. But, the piper must always be paid and this piper demands the tree is processed into the site specification.
The hard part - processing
Next is the processing of the felled tree. This takes longer than felling and is mostly composed of a high heart rate. Rather than adrenaline causing the increased heart rate this time it is due to physical work. If felling a tree is the 100m sprint then the processing of the tree is the 800m race. If you’ve ever done athletics, you’ll know how vile 800m events are. As fast as you can, at high effort for a period that never seems to end. Same with processing a tree. When felling trees you may be paid by the tonne and this means maximising the amount of trees you can work in a day, or you may be on a day rate for a set amount of days. Either way, there’s no time for dawdling and admiring the scenery. You have to crack on.
There’s always a site specification for trees and you must process the tree to this specification. In this case it was 3m logs and brash mats for the arisings. With broadleaf trees you generally want to start off from the crown and work towards the trunk. This is because unlike conifers, broadleaves tend to have very broad canopies that are weighted over multiple limbs. Working in this way allows you to quickly nibble away at the various limbs without having to worry about a heavy limb crushing you or breaking a leg or arm. You cannot just start cutting big limbs off willy-nilly. They’ll roll on you, seesaw up into your head and generally create danger filled calamity. So you work from the tip downwards. Conifers however tend to have a central stem and you can work from the base of the trunk upwards without such concerns.
Below you can see a photo of the tree half processed. Notice how the limbs on the right hand side form a real world kerplunk situation? That’s what you have to unpick. On the left side you can see the resulting brash mat.
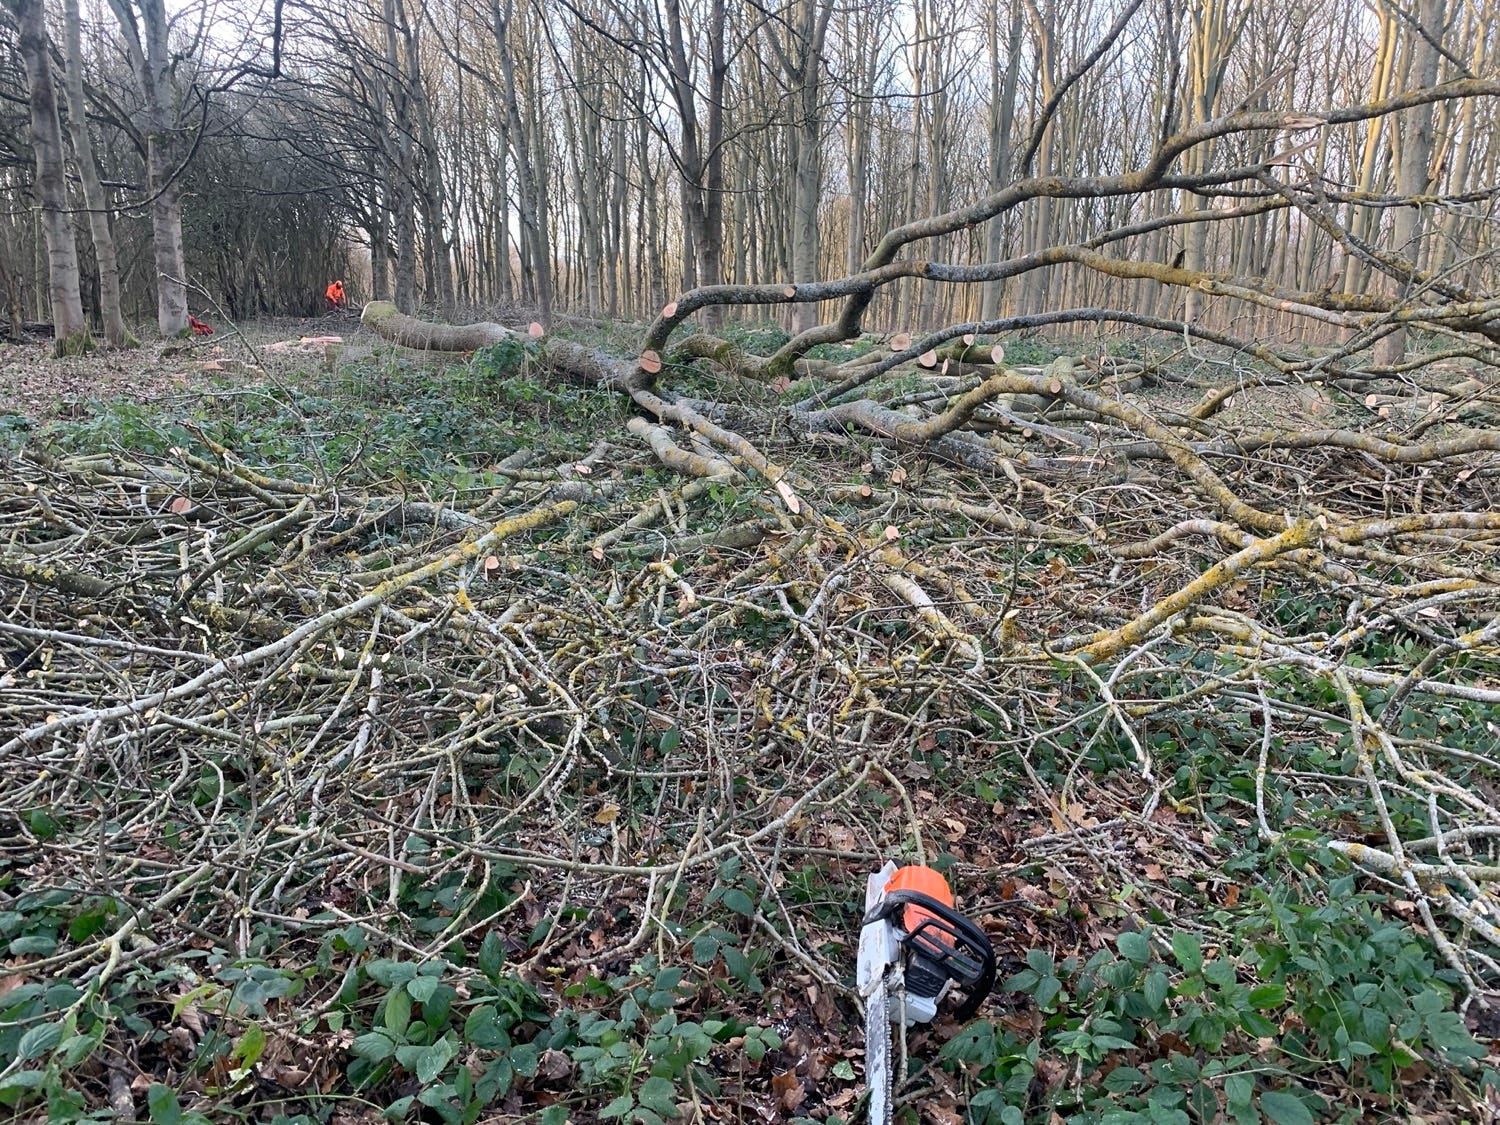
A brash mat specification mean that you cut the arisings (aka branches and twigs) up to a point where they form a covering on the ground. A brash mat should not resemble a pile, it should form a level covering with nothing obviously pointing upwards. Done correctly you should be able to walk over a brash mat and it should awful, vile, hard work. I get the feeling brash mats are the preferred deterrent against the youth who like to find areas to hang out. You’d not want to spend time walking on a brash mat if there was an alternative. Having said that brash mats are also excellent habitat for small mammals, birds, detritivores and other woodland inhabitants.

Once you’re done processing the crown you move onto cutting the logs. Unsurprisingly, this is also hard work. It often isn’t possible to cut through “in a one-er” and so you have to roll the log using a felling lever or cant hook. With medium trees you are right on the cusp of what a felling lever or cant hook can move and you need to be careful that the lever doesn’t come back at you and smash your face up. I didn’t get any footage of me rolling this one with the felling lever, but it wasn’t easy at all. To give you an idea of rolling logs, here’s a little snippet of footage I captured down at treedom woods a few days ago as I was clearing up some windfall on the neighbouring woodlands (and also hello to any locals who happen to be reading - nice to have you onboard!)
Once you’re done cutting the logs up and any brash piles have been mashed down, you’re done and you can move onto the next tree. If you wanted to start a business where people come to work out in a woodland, then processing a tree could be branded as “forest fit”. It really is phenomenally hard work, but it is also phenomenally good fun. I’ll never get bored of hearing and feeling the sound of a tree falling to the ground. Your feet feel the tremble and the sound is like an explosion. There’s something primal about it all.
The tree I felled in that I featured above didn’t make that good of a sound, so I will wrap this up with a tree that John felled. I’ve worked with John before on “a birch on a birch on an oak in an oak” and I’ll also be doing some work for him on a job he has on. More on that later, but for now enjoy John felling something about the 650mm mark. I especially like his “don’t you get hung up on me tree command” at the 12 second mark.
This has been a big one so I will wrap it up. Felling bigger trees is easier in some respects and harder in others. Easier because they tend to have more weight and have less chance of hanging up, and harder because every thing is scaled up - danger, cut sizes and damage to name a few. There are many different techniques to use and I’ve only mentioned one. In a different context I’d probably use a different technique (and a bigger bar). However, I’m just over a year and half into the Life of Treedom thing and that’s also getting scaled up. Exciting times ahead for 2024.
Thanks for your attention – I appreciate it.
Cheers,
Jamie
p.s - Happy New Year!
I really enjoyed that! The short video clips were great, too.
Brash mats are new to me, but I think I understand: quicker than a chipper, good habitat for forest critters and keeps people off so things are left in peace?