

The Workbench
The Workbench
I'll never get to make a video about it, so here's a million photos of it.

⚠️ note: if you’re reading this on your email, you’ll need to either switch to a web browser the substack app to read it it all. ⚠️
The workbench was the first project that pushed me to develop my skills in joinery and making “things”. I don’t want to wax lyrical too much in this post, but it is worth pointing out that making “your bench” is a rite of passage for woodworkers. By far it has been the most important tool in my arsenal of being a generally useful human being.
It took me about two years from start to finish and whilst I took loads of photos, I didn’t take any video.
So here is a really long photo essay from start to finish. I have omitted many many photos.
If you’d like to see something similar but focusing on the evolution of the garage into a workshop please drop me a comment and let me know.
The top
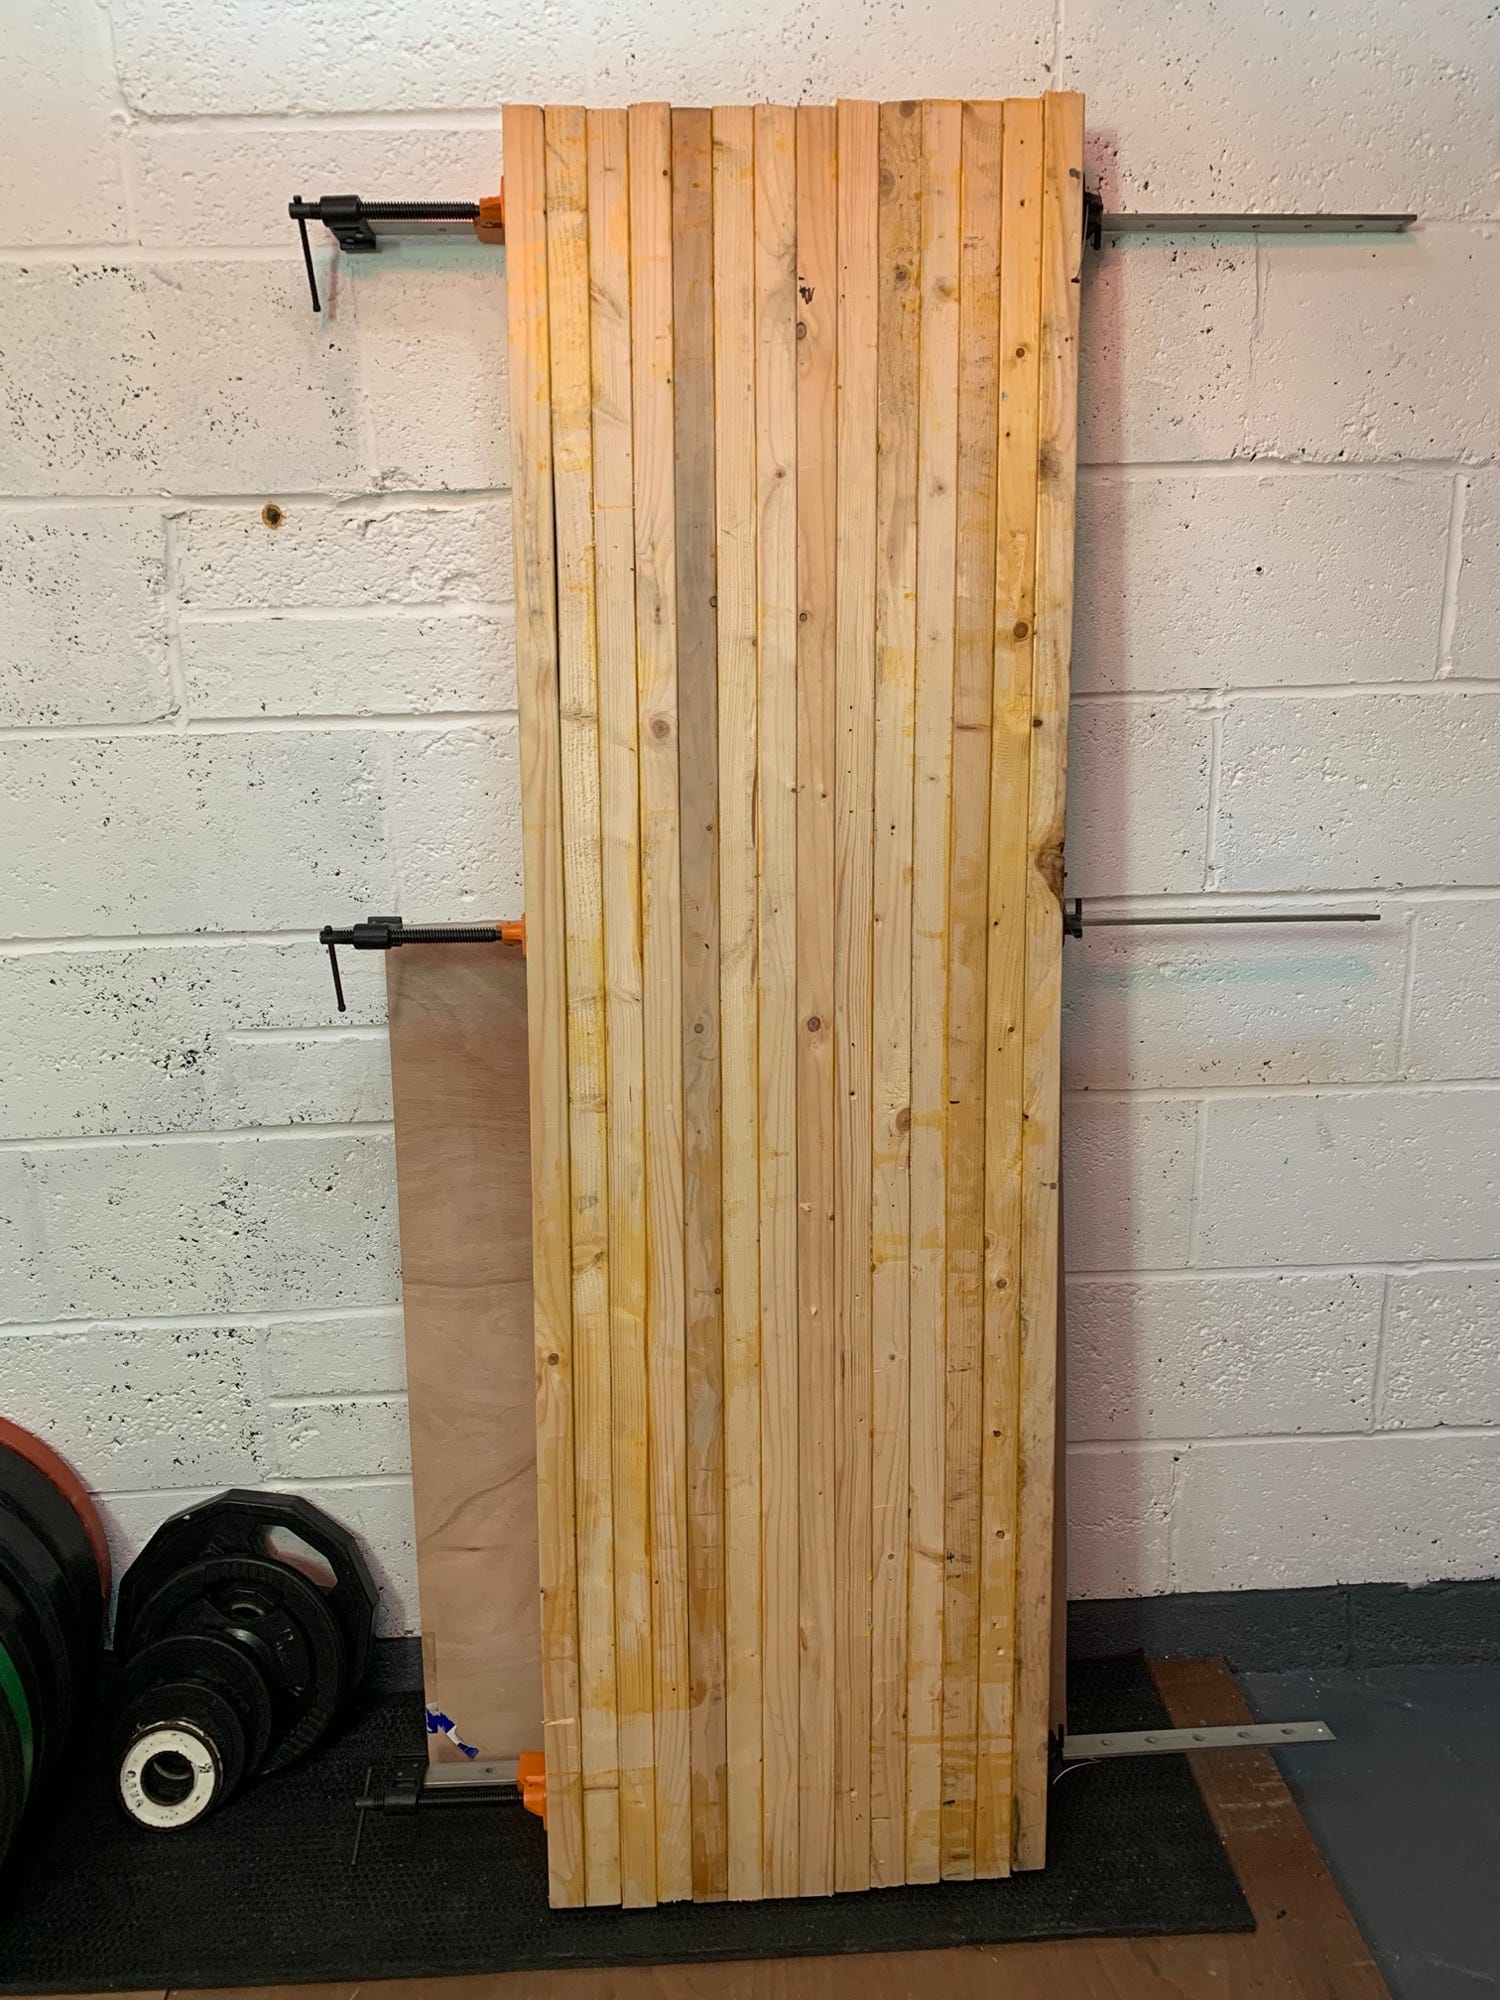
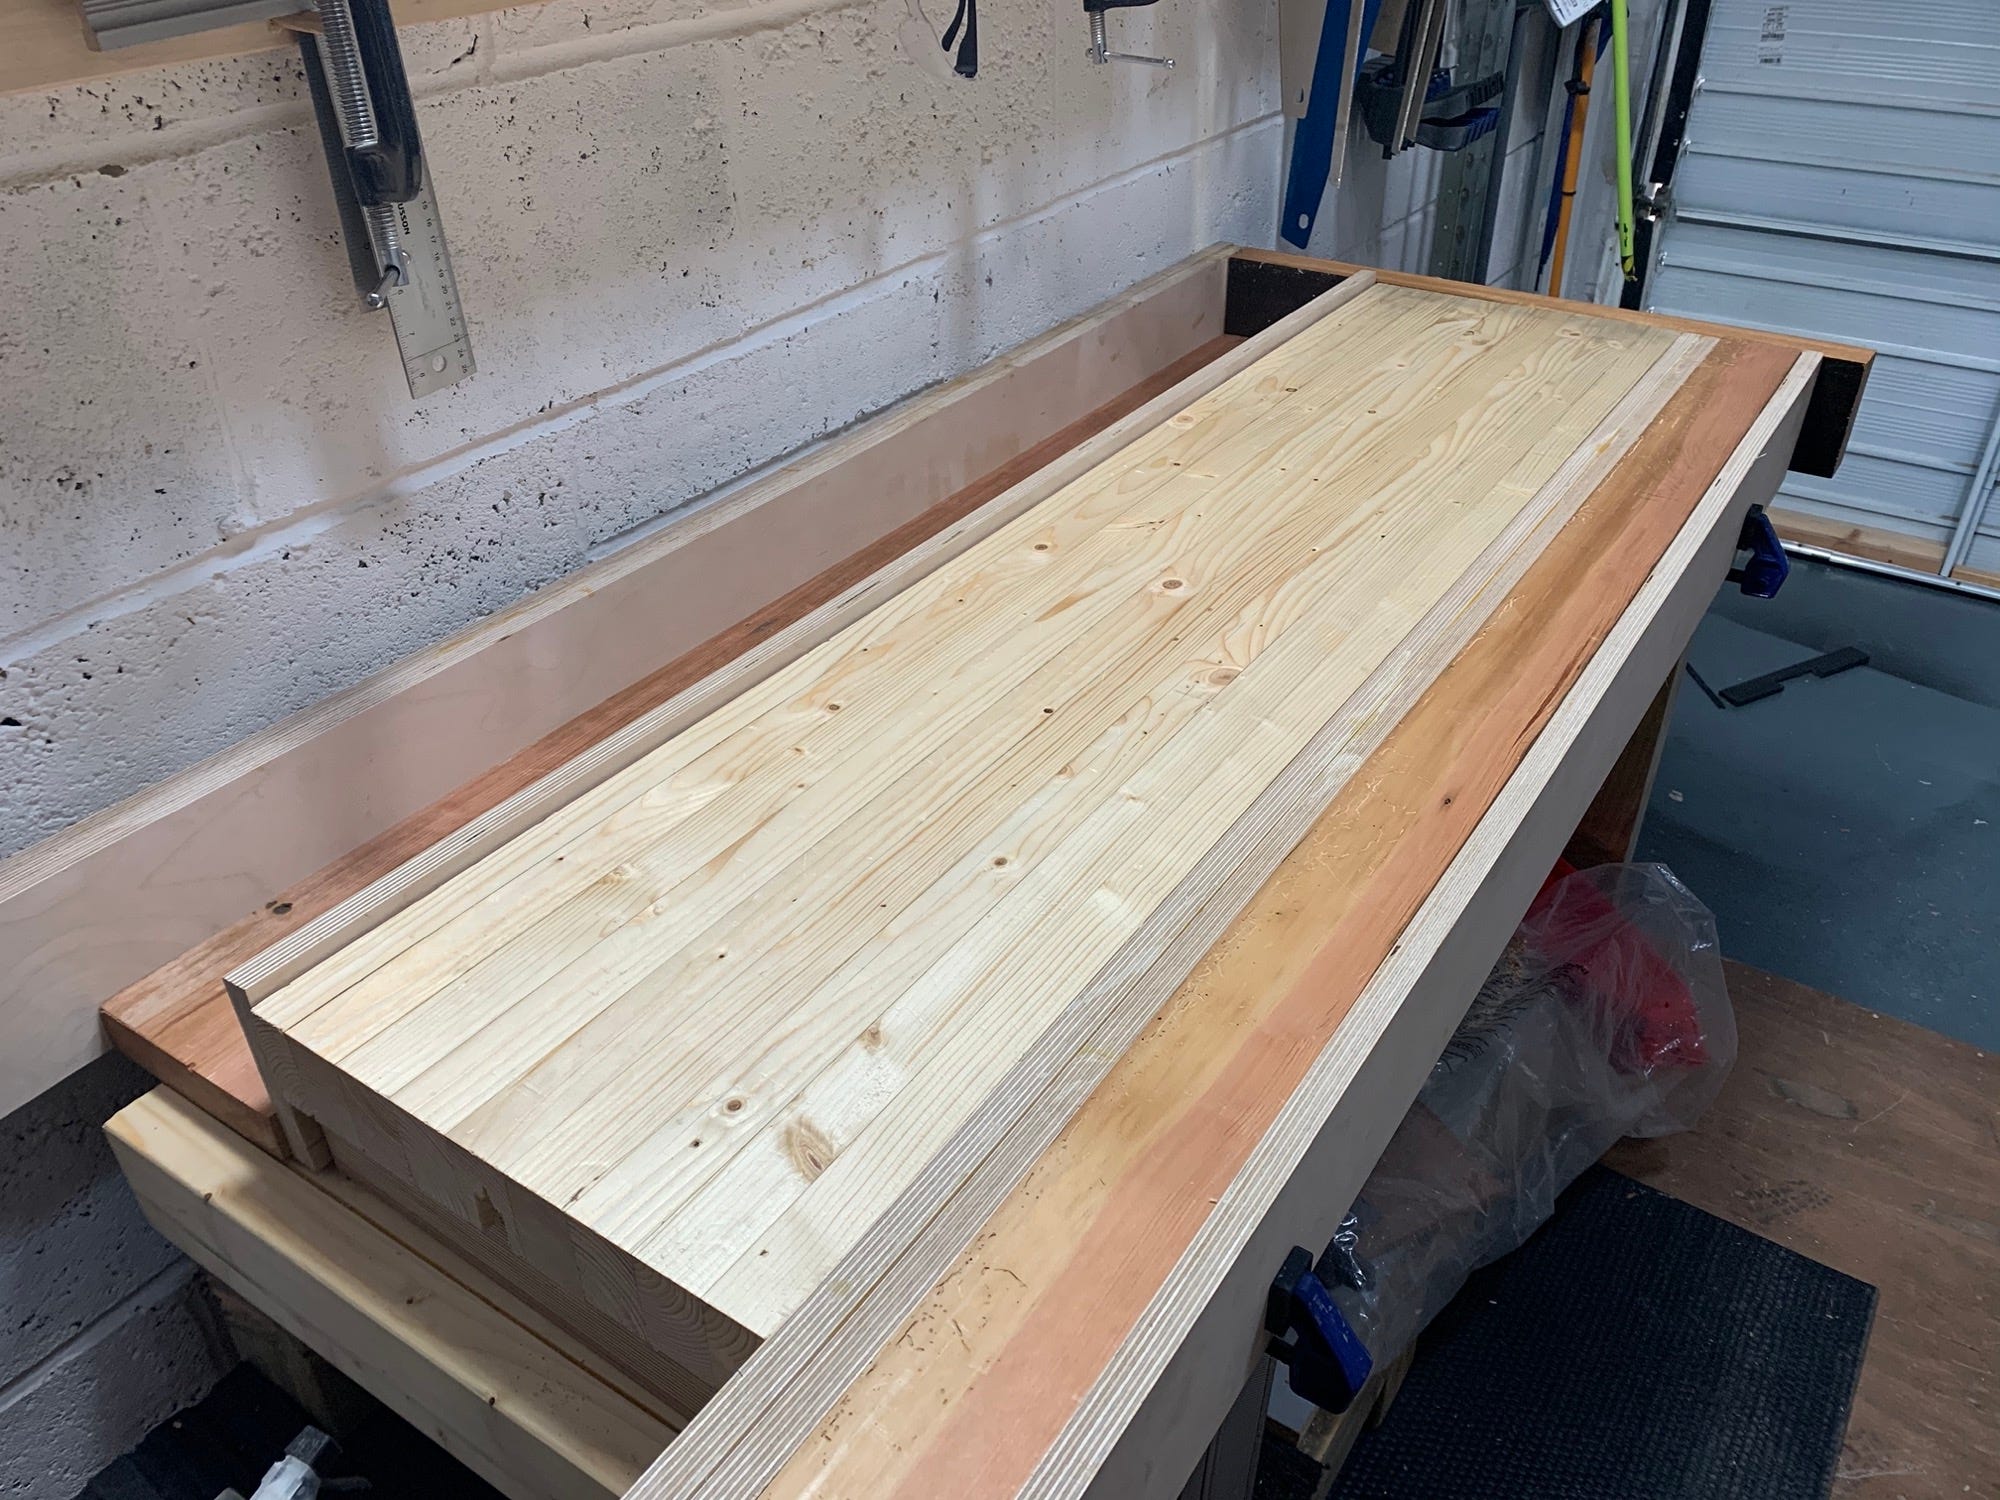
The main part of every workbench is the top. Ideally it should be made of hard flat material. I didn’t have any of that but what I did have was a fair amount of 3”x1” pine left over from an old weight lifting platform that I’d built back in 2010. It was partially smashed up and some of it had been used to screed a patio and was covered in concrete and builders sand. You work with what you have.

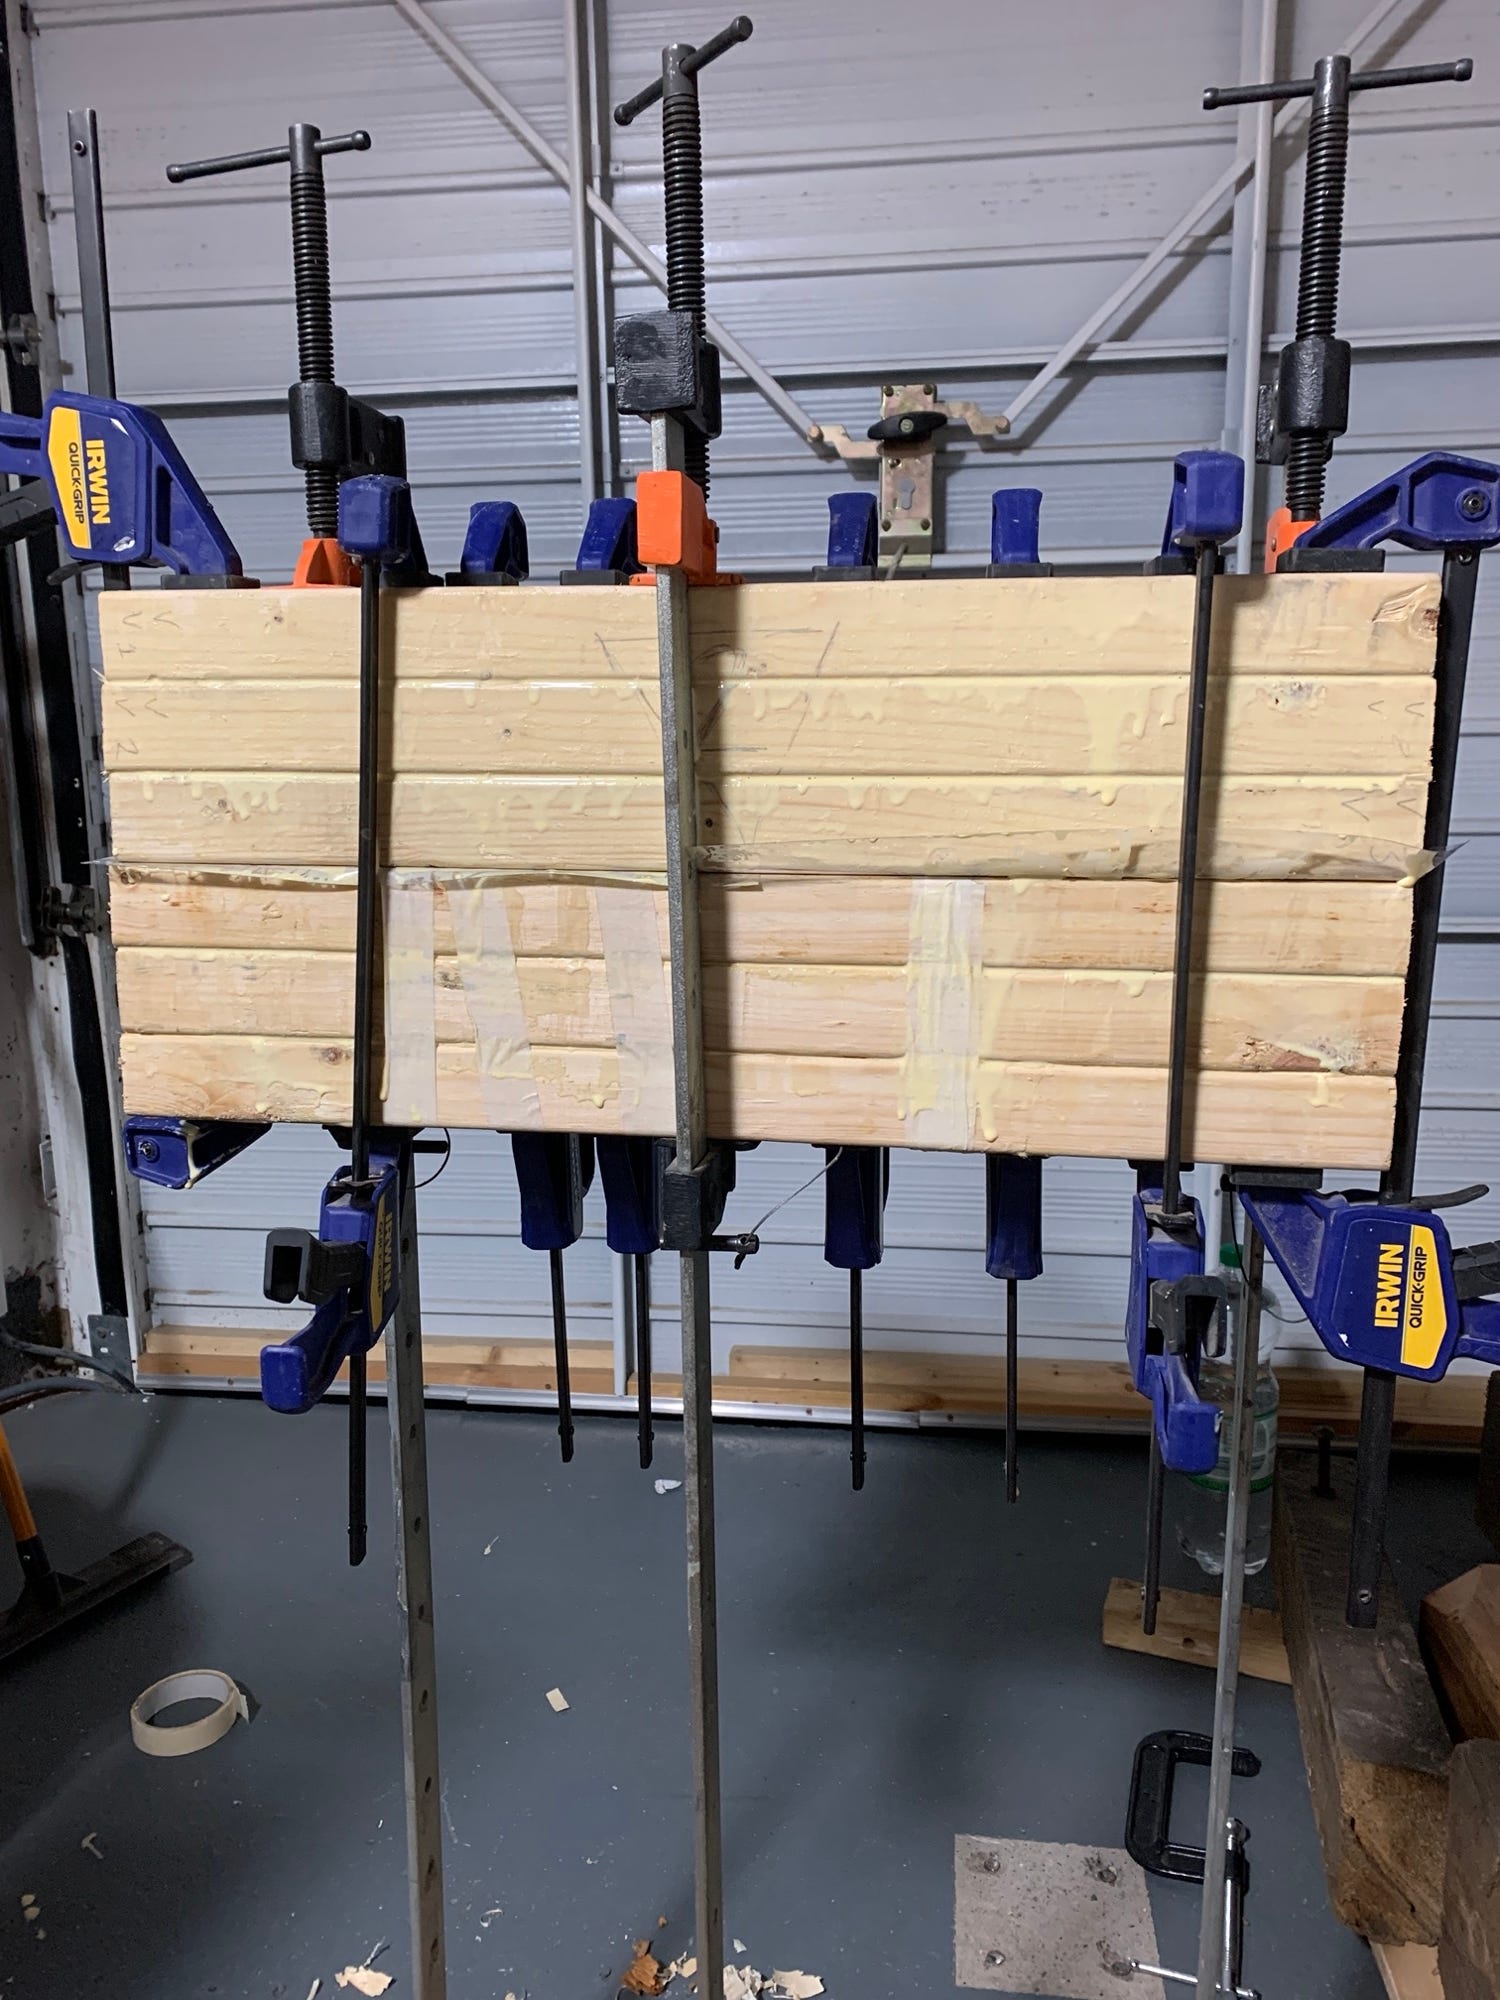
I didn’t plane any of this stuff flat and I didn’t prepare it all. I just cracked a load of glue on, clamped it up as best as I could using my new shiny clamps and then put a load of weight on it in the form of kettlebells.
This was my first ever glue up. If you’ve never done a glue up on a project then you’ll never know the heart-pounding exhilarating nature of it. It takes a while to get this much glue on and I was doing this in August so had to do the top in two sections. Below you can see the final two panels all dry and ready for unclamping.
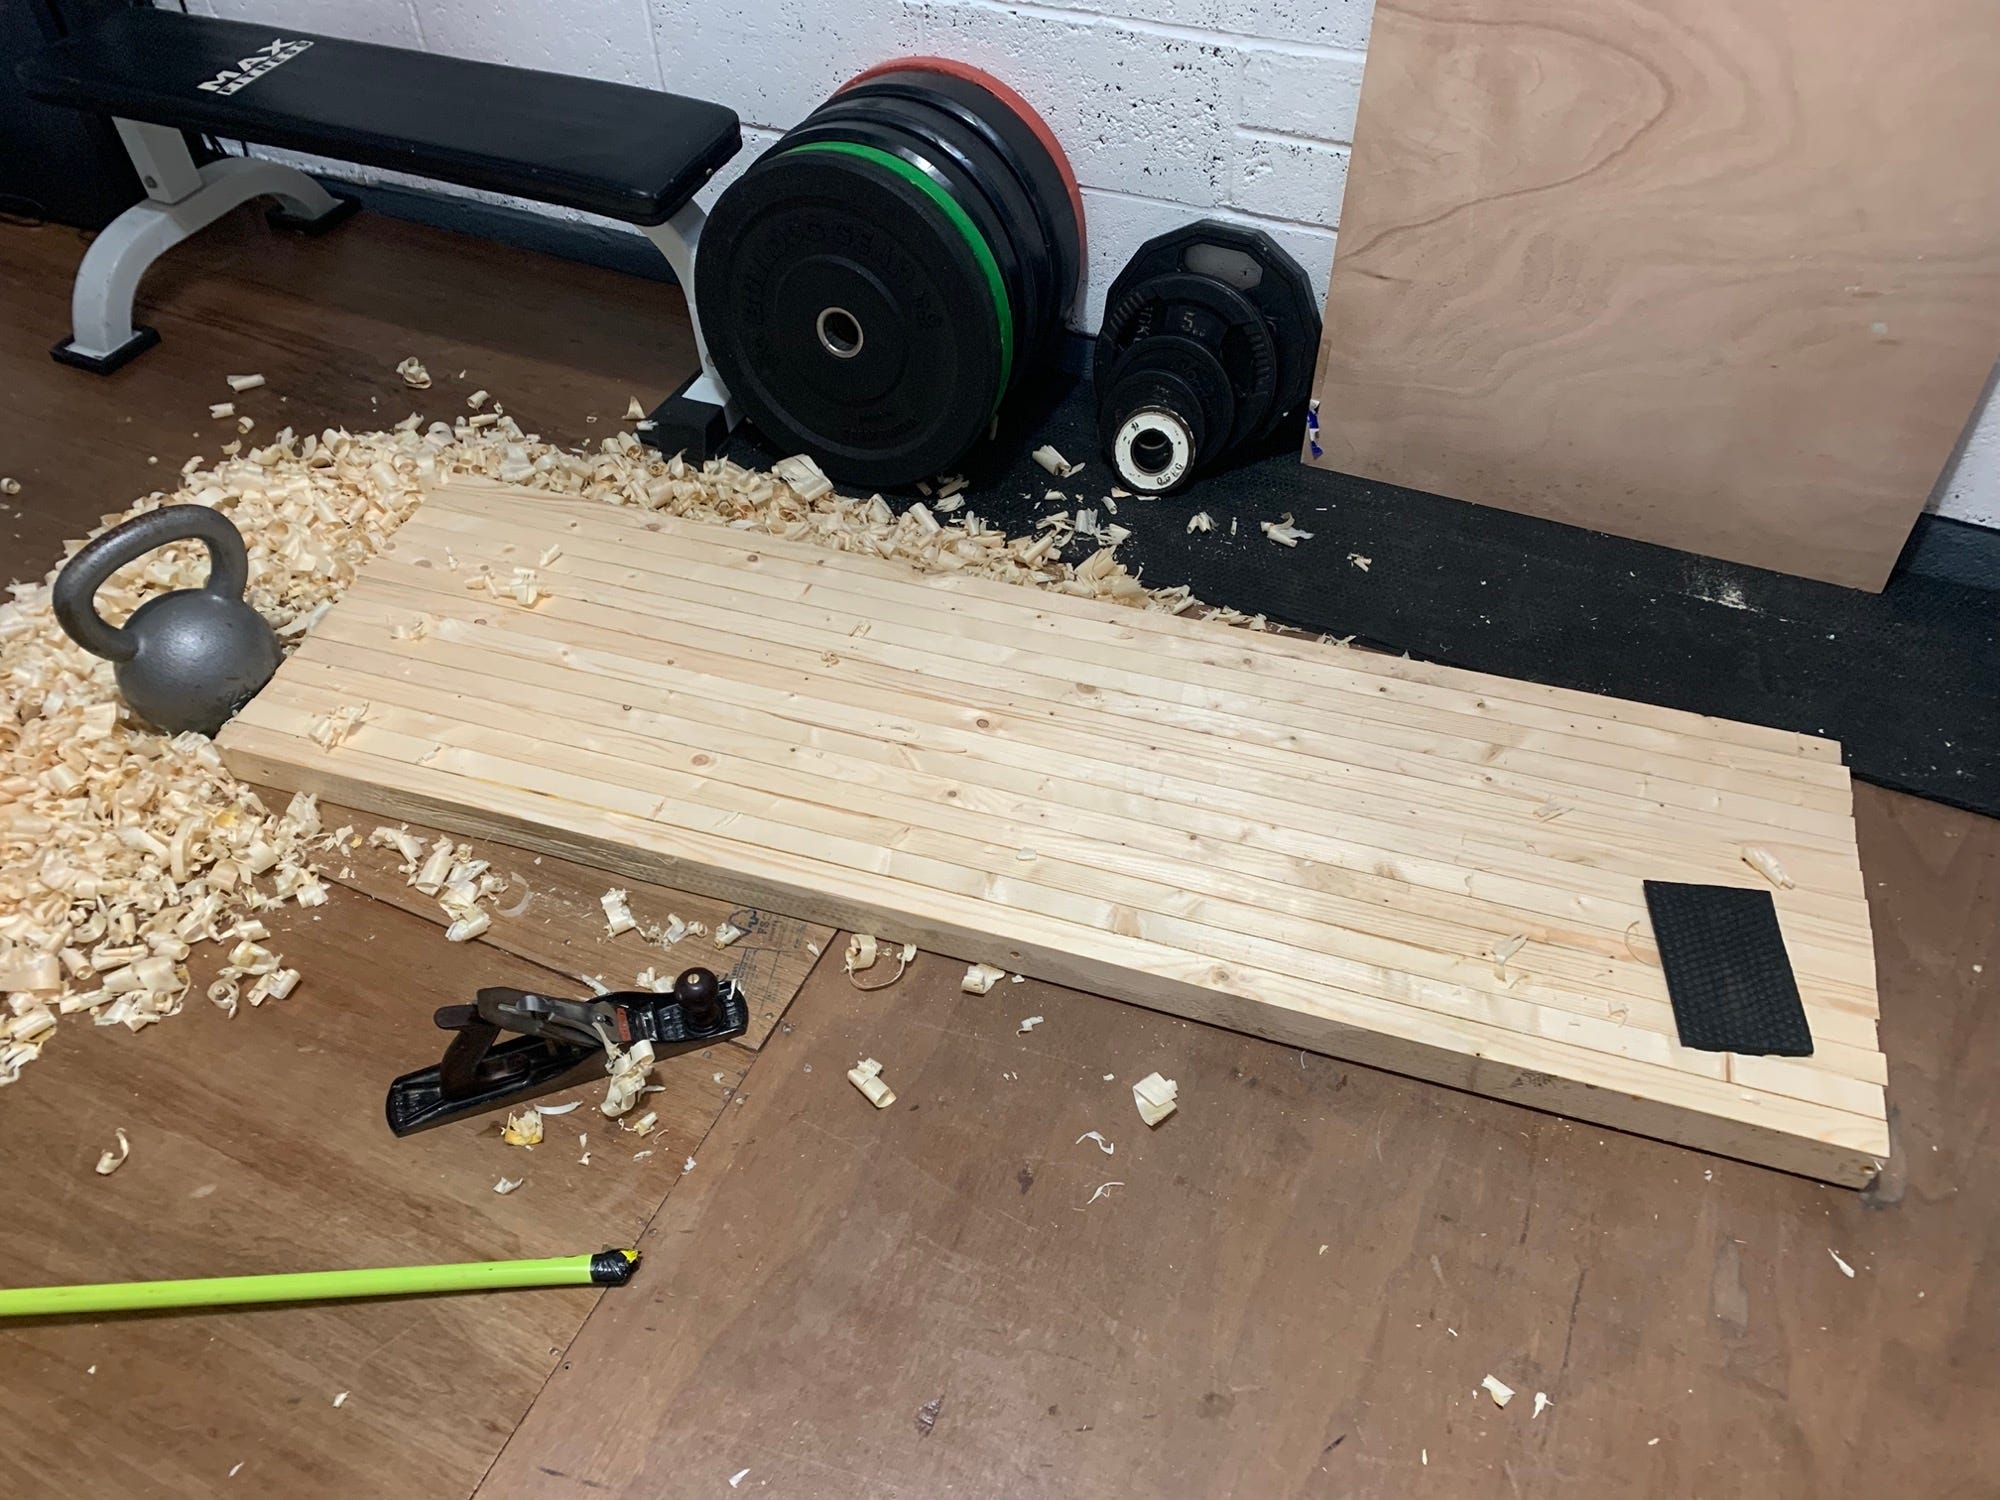
There is a zen like conundrum in building your first workbench in that you really do need a workbench to make a workbench. So what do you do when you don’t have a workbench? You improvise. Below you can see some of that improvisation in progress. I am planing the surface clean, but I needed something to to prevent the top from moving. I found that a 24kg kettlebell worked a treat as a stop.
One thing a workbench gives you is a surface to work on. I didn’t have that so I made some saw horses to work off. This was the point that the garage started to have two identities - a gym and a workshop. These worlds do not easily exist together.
For the base, all that I had was the left over fence posts from doing the garden in 2017 along with the offcuts from 4”x2” I used on the saw horses. So I measured everything up to size so that I had the parts ready to start the joinery.
I had purchased a video series from the English Woodworker called “The English Workbench”. I was basing my design on this video series, however I had the wrong type of materials to make an exact match, so I muddled on as best as I could. If you’re into quality woodworking videos, I highly recommend The English Woodworker’s (Richard Maguire) content – it is flipping excellent.
So I got to work creating the joinery.
The video series goes beyond “how to build a bench” and contains a lot of fundamental techniques. Here I was practising using repeated saw cuts (kerfs) as means of quickly removing material.

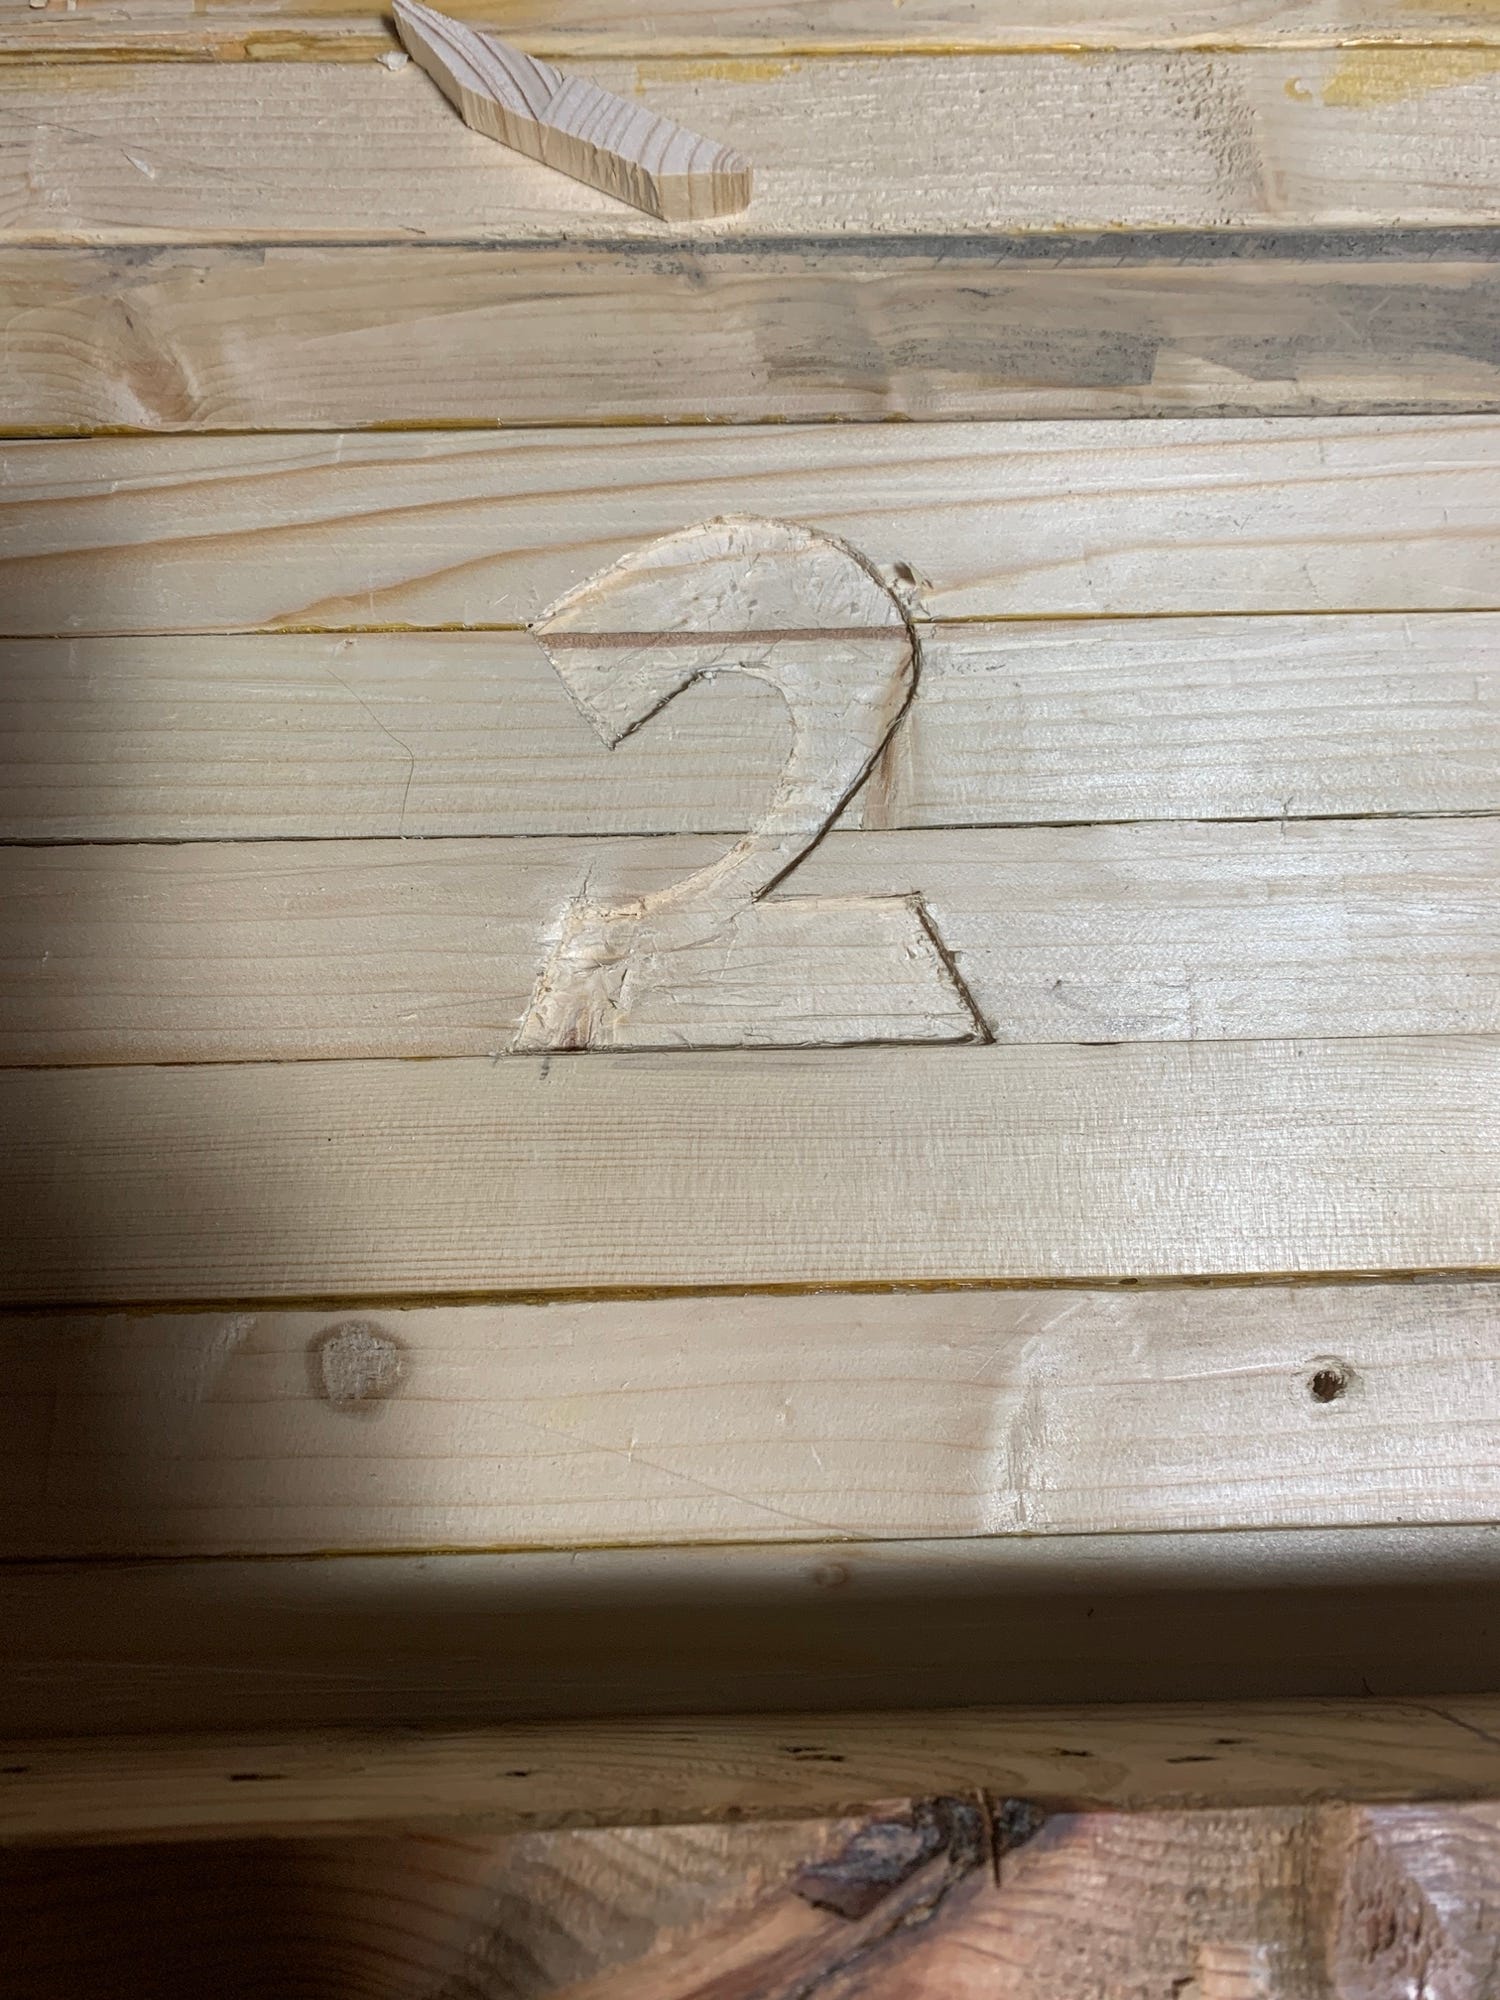
At this point I was still numbering everything I made. The bench top was number 2. The saw horses where number 0. Number 1 was a shelf for the tools. Fun fact, if you look at the video of me putting the workbench on wheels at 3:12, you can see this number two all coloured in.
I worked on this workbench most mornings between training and starting work. I had soon collected a lot of completed parts. Due to the joint identity of gym / workshop everything had to have a space to live.

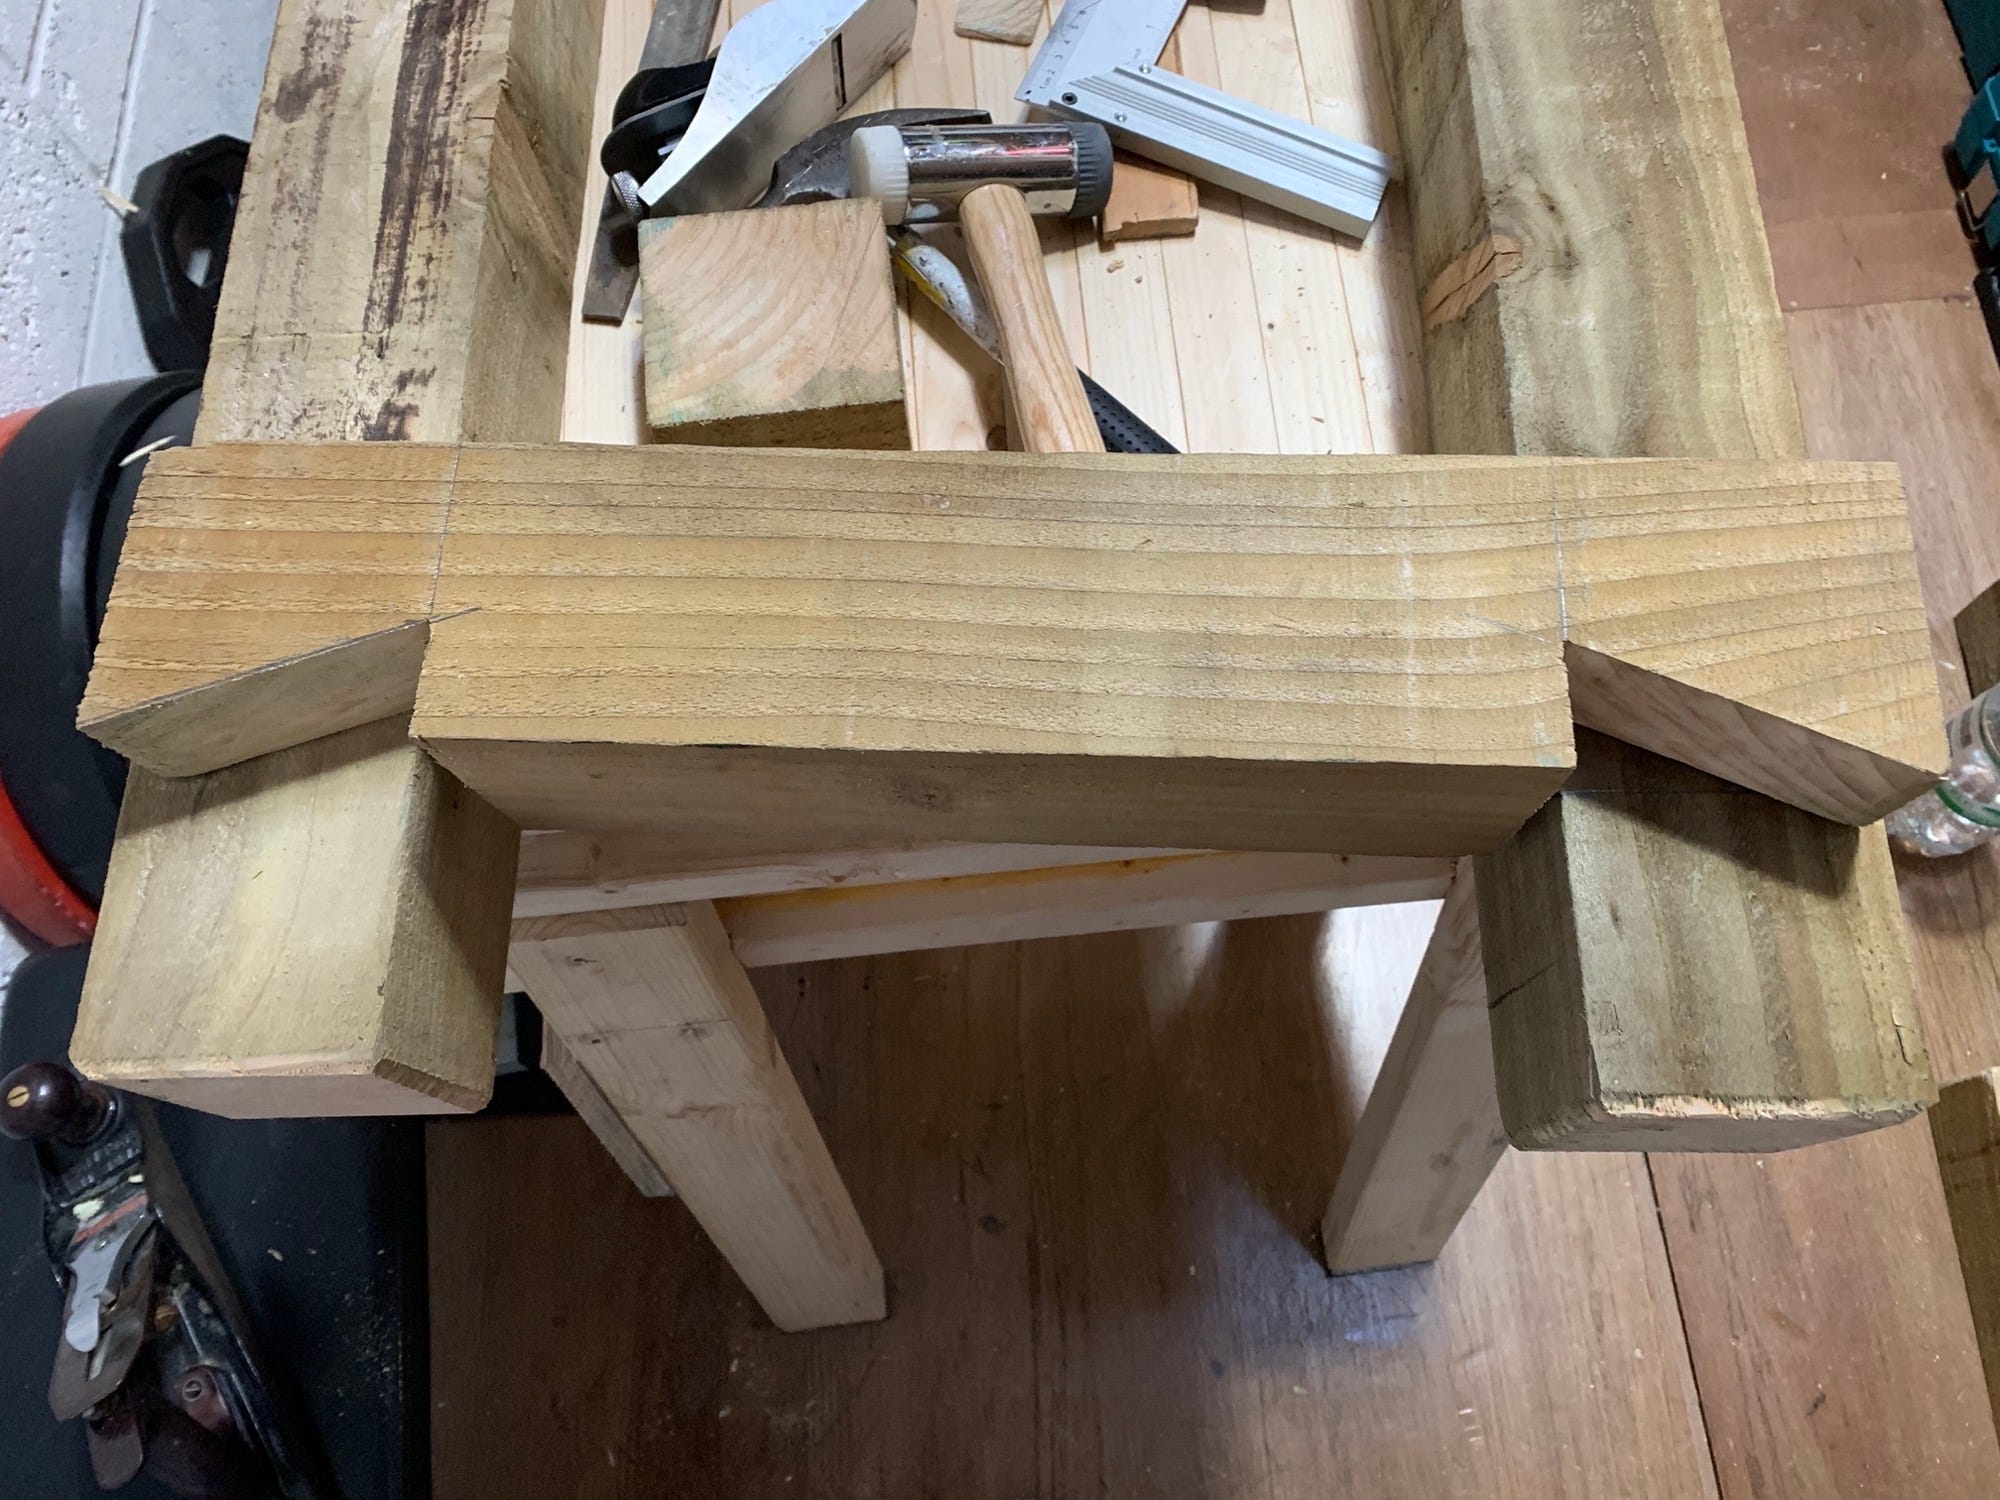
Bit by bit, the project started to take shape. Note the large mistake in the bottom left joint. It was so big I could fit a rather large wedge it in. You live, you learn.
I was not about to win any awards for tidy joinery, however in my defense, working with fence posts is like working with mushy cardboard. Just look at the size of those growth rings! I didn’t know it at the time as I thought wood was wood and it was all the same. However, now I understand a lot more about the specific characteristics of species. I now also understand that big growth rings this mean that the timber was grown quickly and whilst it may be strong in certain directions, it is very soft like cardboard in other directions. For example, when using a chisel across the grain the stuff just mushes up. You can see some mushing inside the bottom right section of that mortice.

After a while, around December of 2019 it all started fitting together and taking over the gym identity of the garage. That small section of tree trunk is from the tree that was in our front garden. It was the first tree that I removed. I still have some wood from that tree and I treasure it.
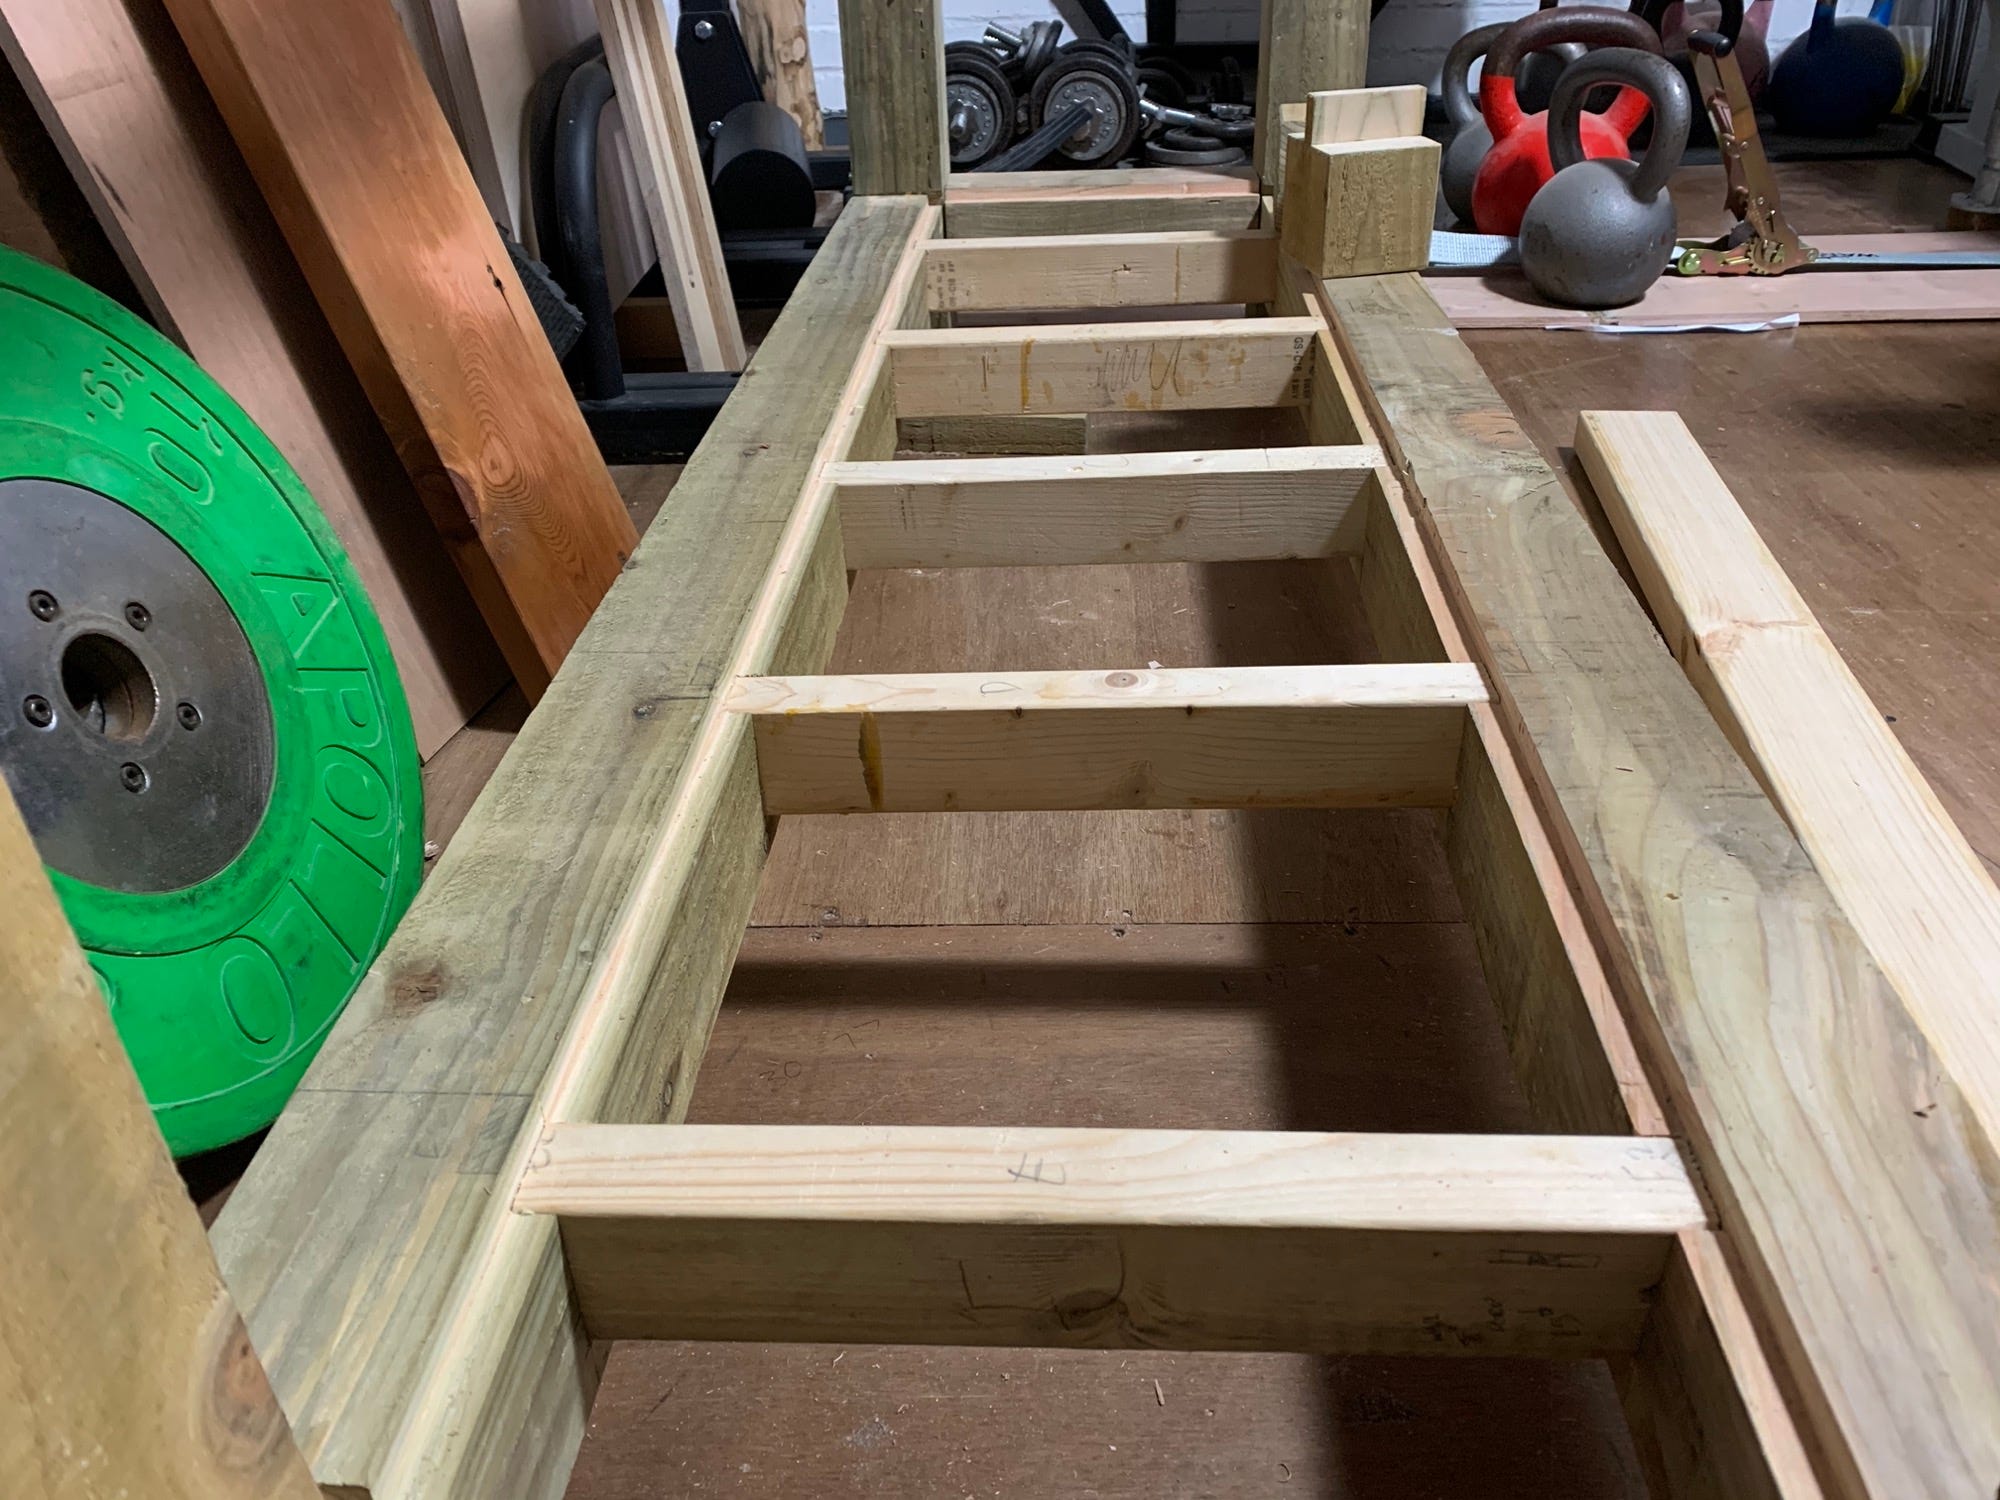
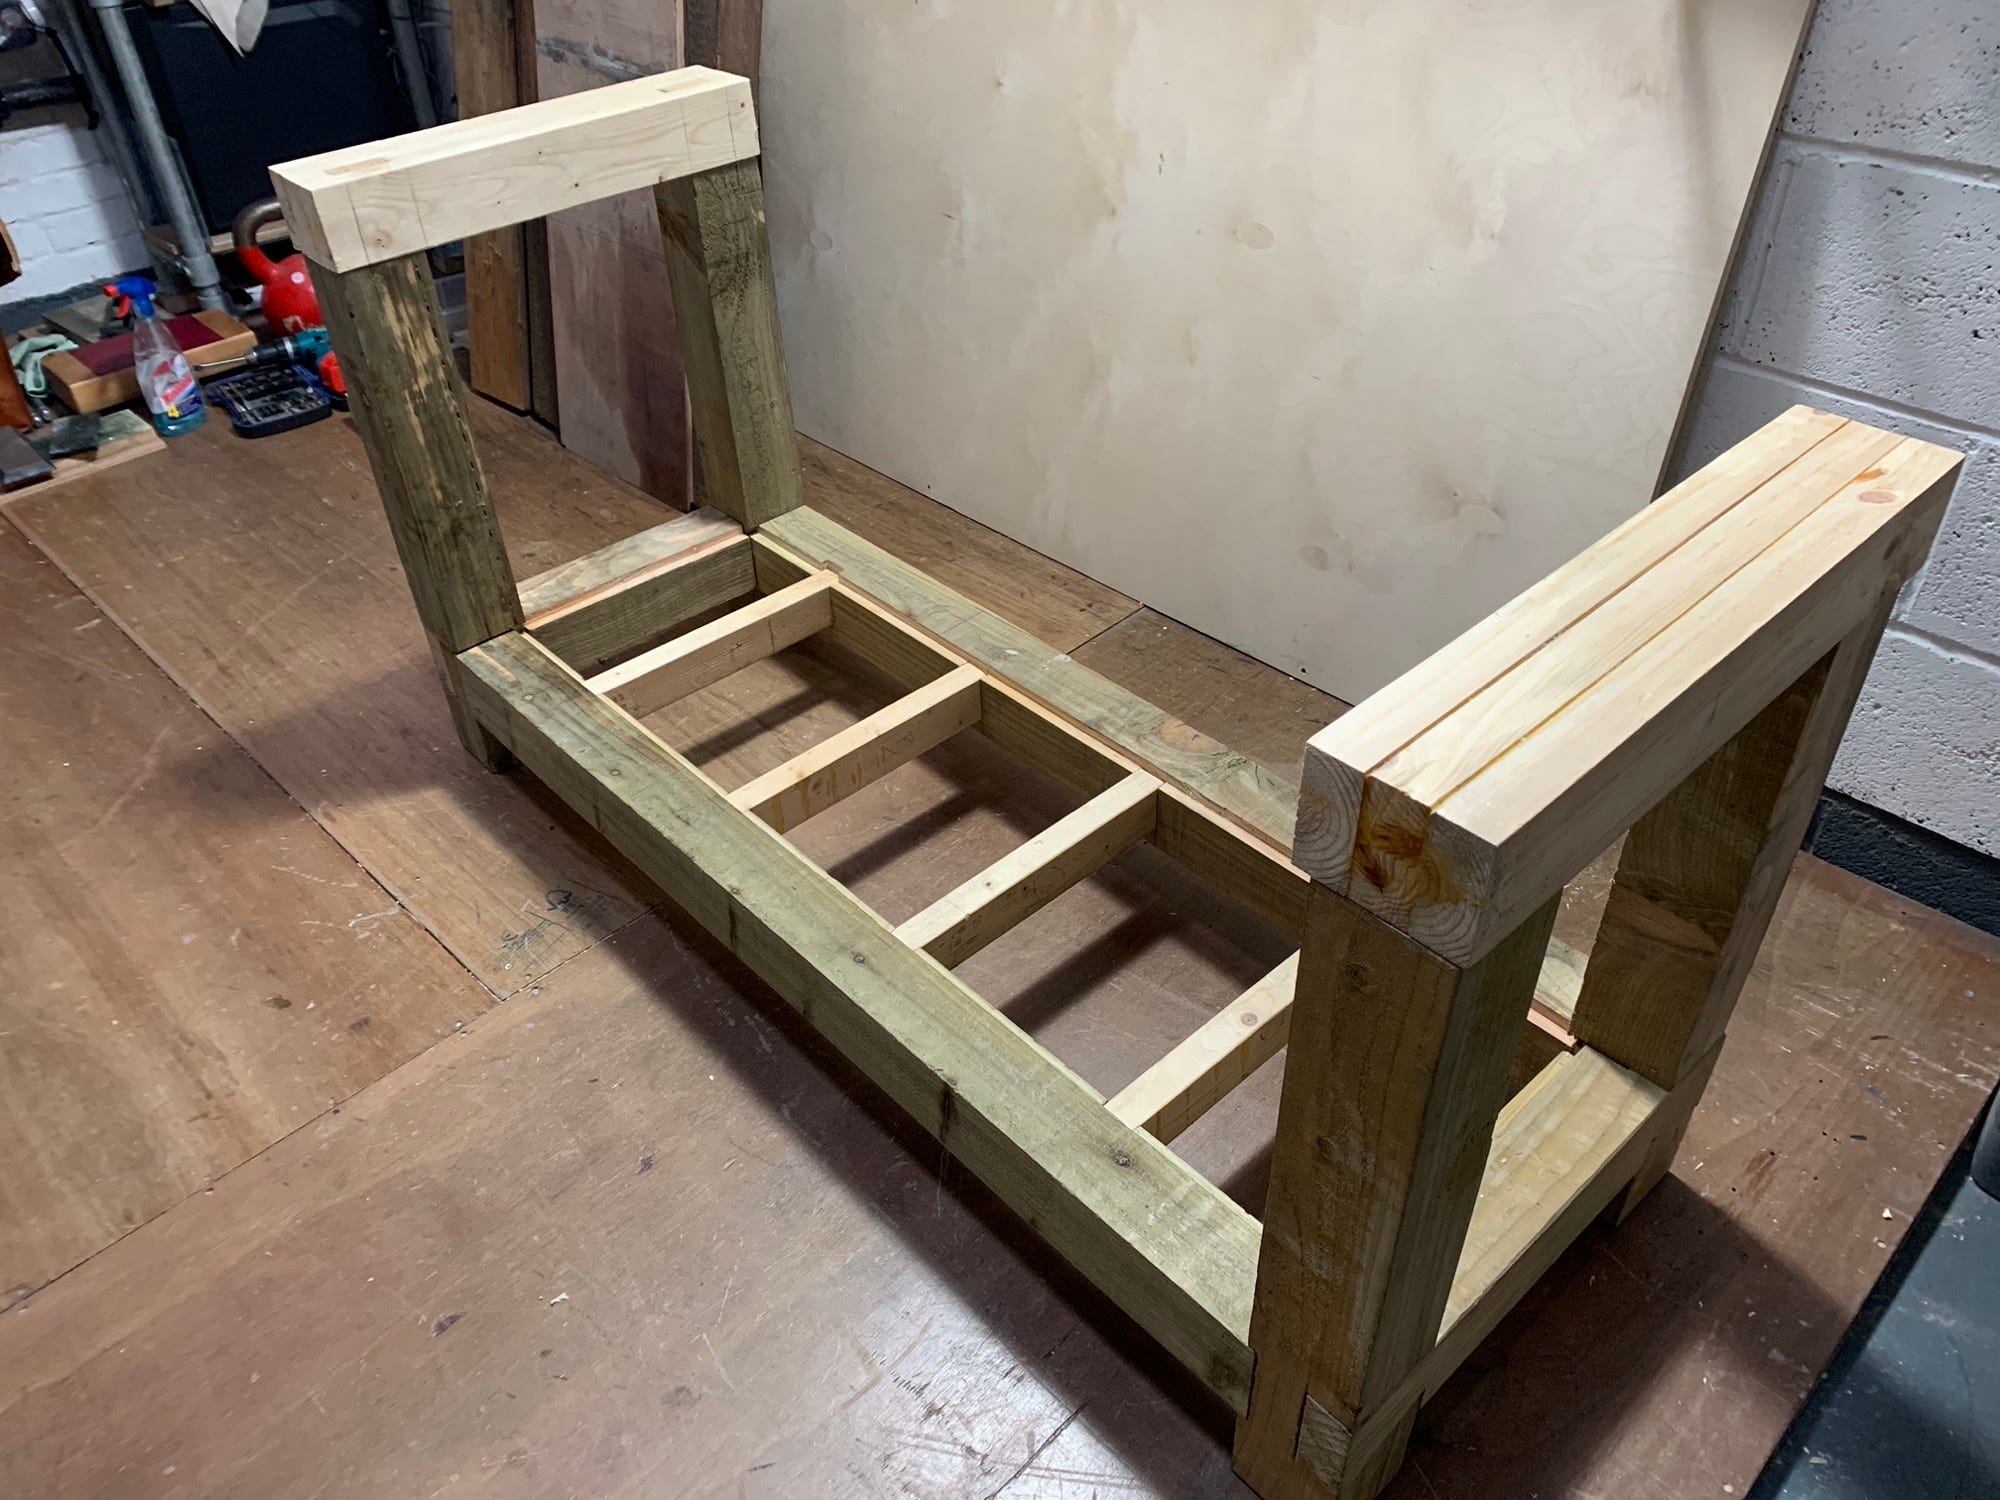
Soon I was working on the structural considerations. These rabbets would support some cross members so that it could handle all of the weight plates.

Here they all are in place. The fit on each was tight and they provided a tonne of rigidity to the structure.
Up until this point all of this work was done using a very small selection of hand tools.
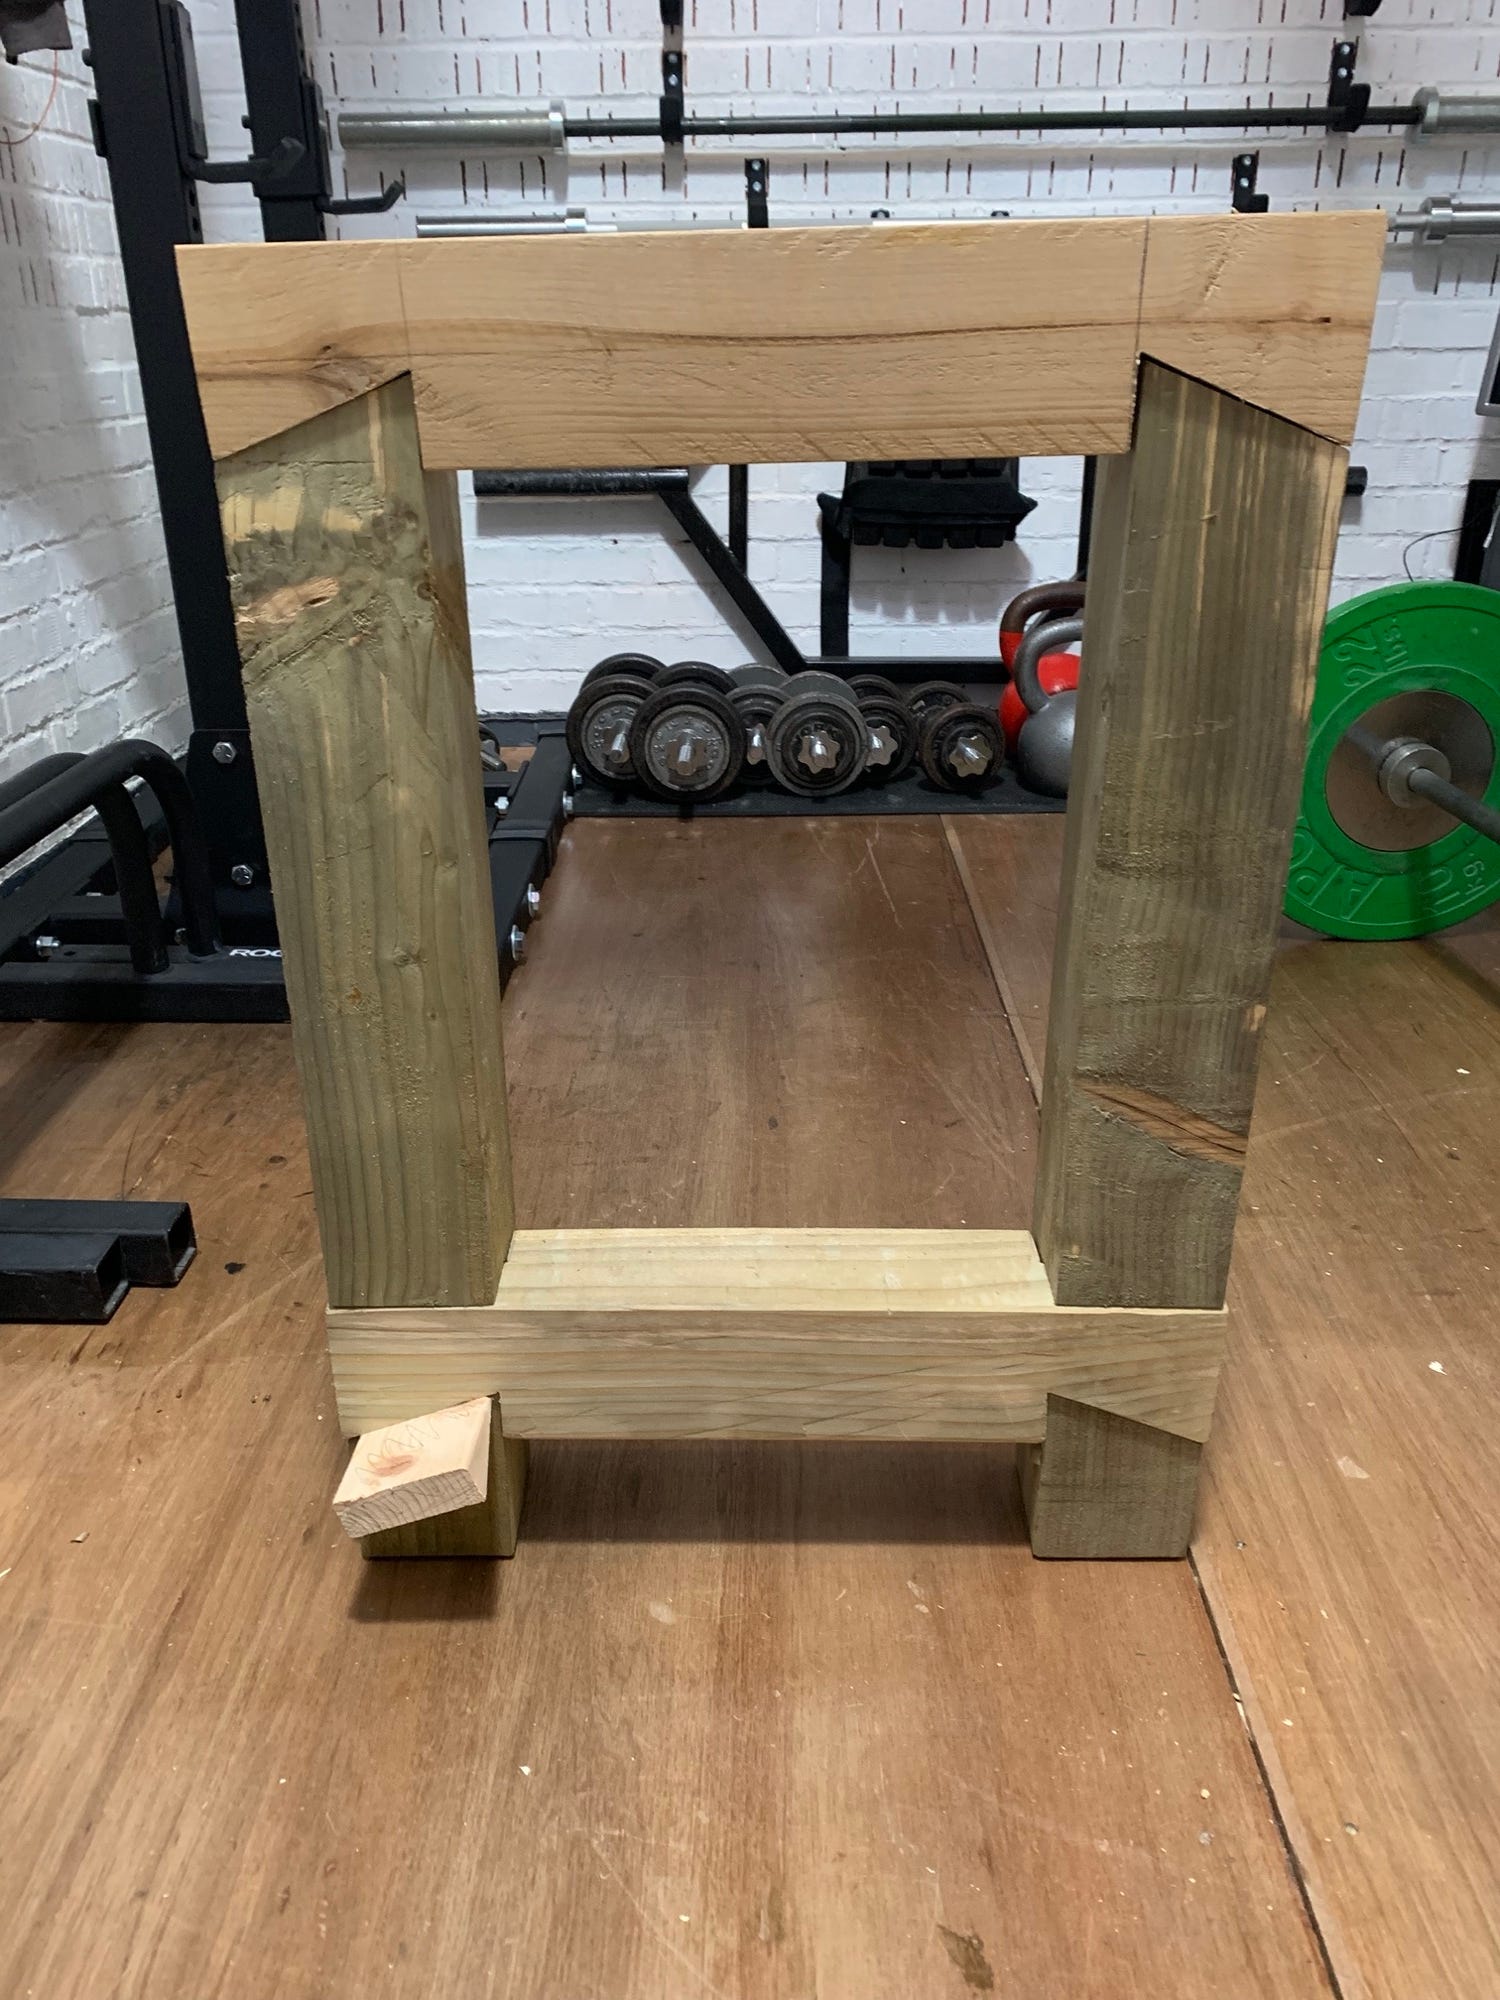
This was my first mistake. The legs were too long for the structure that was to support the top. I didn’t want to admit it but this meant I’d have to re-cut a lot of the joinery I’d already done in the bottom rails. Sad for me.
I knew I had to do something about this situation and I tried swapping out materials. At this point I had just salvaged a load of pitch pine and hardwood from a friends parents who were having their roof rebuilt. Some of that pitch pine is in the foreground. It is lovely stuff. Very tight growth rings.

Initially I thought I could “breadboard” the top. It is a fancy term for adding material onto the ends of a laminated section for the purpose of preventing movement. In this specific case it would have solved the problem of the top being too short. This decision was insanity as it was more complex to breadboard the top than it was to just recut the joinery on the bottom rail.
I did what I always do when faced with a decision I don’t want to make. I procrastinated and worked on the vice face instead. You’ll spot that this vice wasn’t balanced. This would turn out to be something I’d rectify two years later. However, it did look cool and I did enjoy the extra clamping space. It just meant the vice face was always slightly wonky unless I manually corrected it.

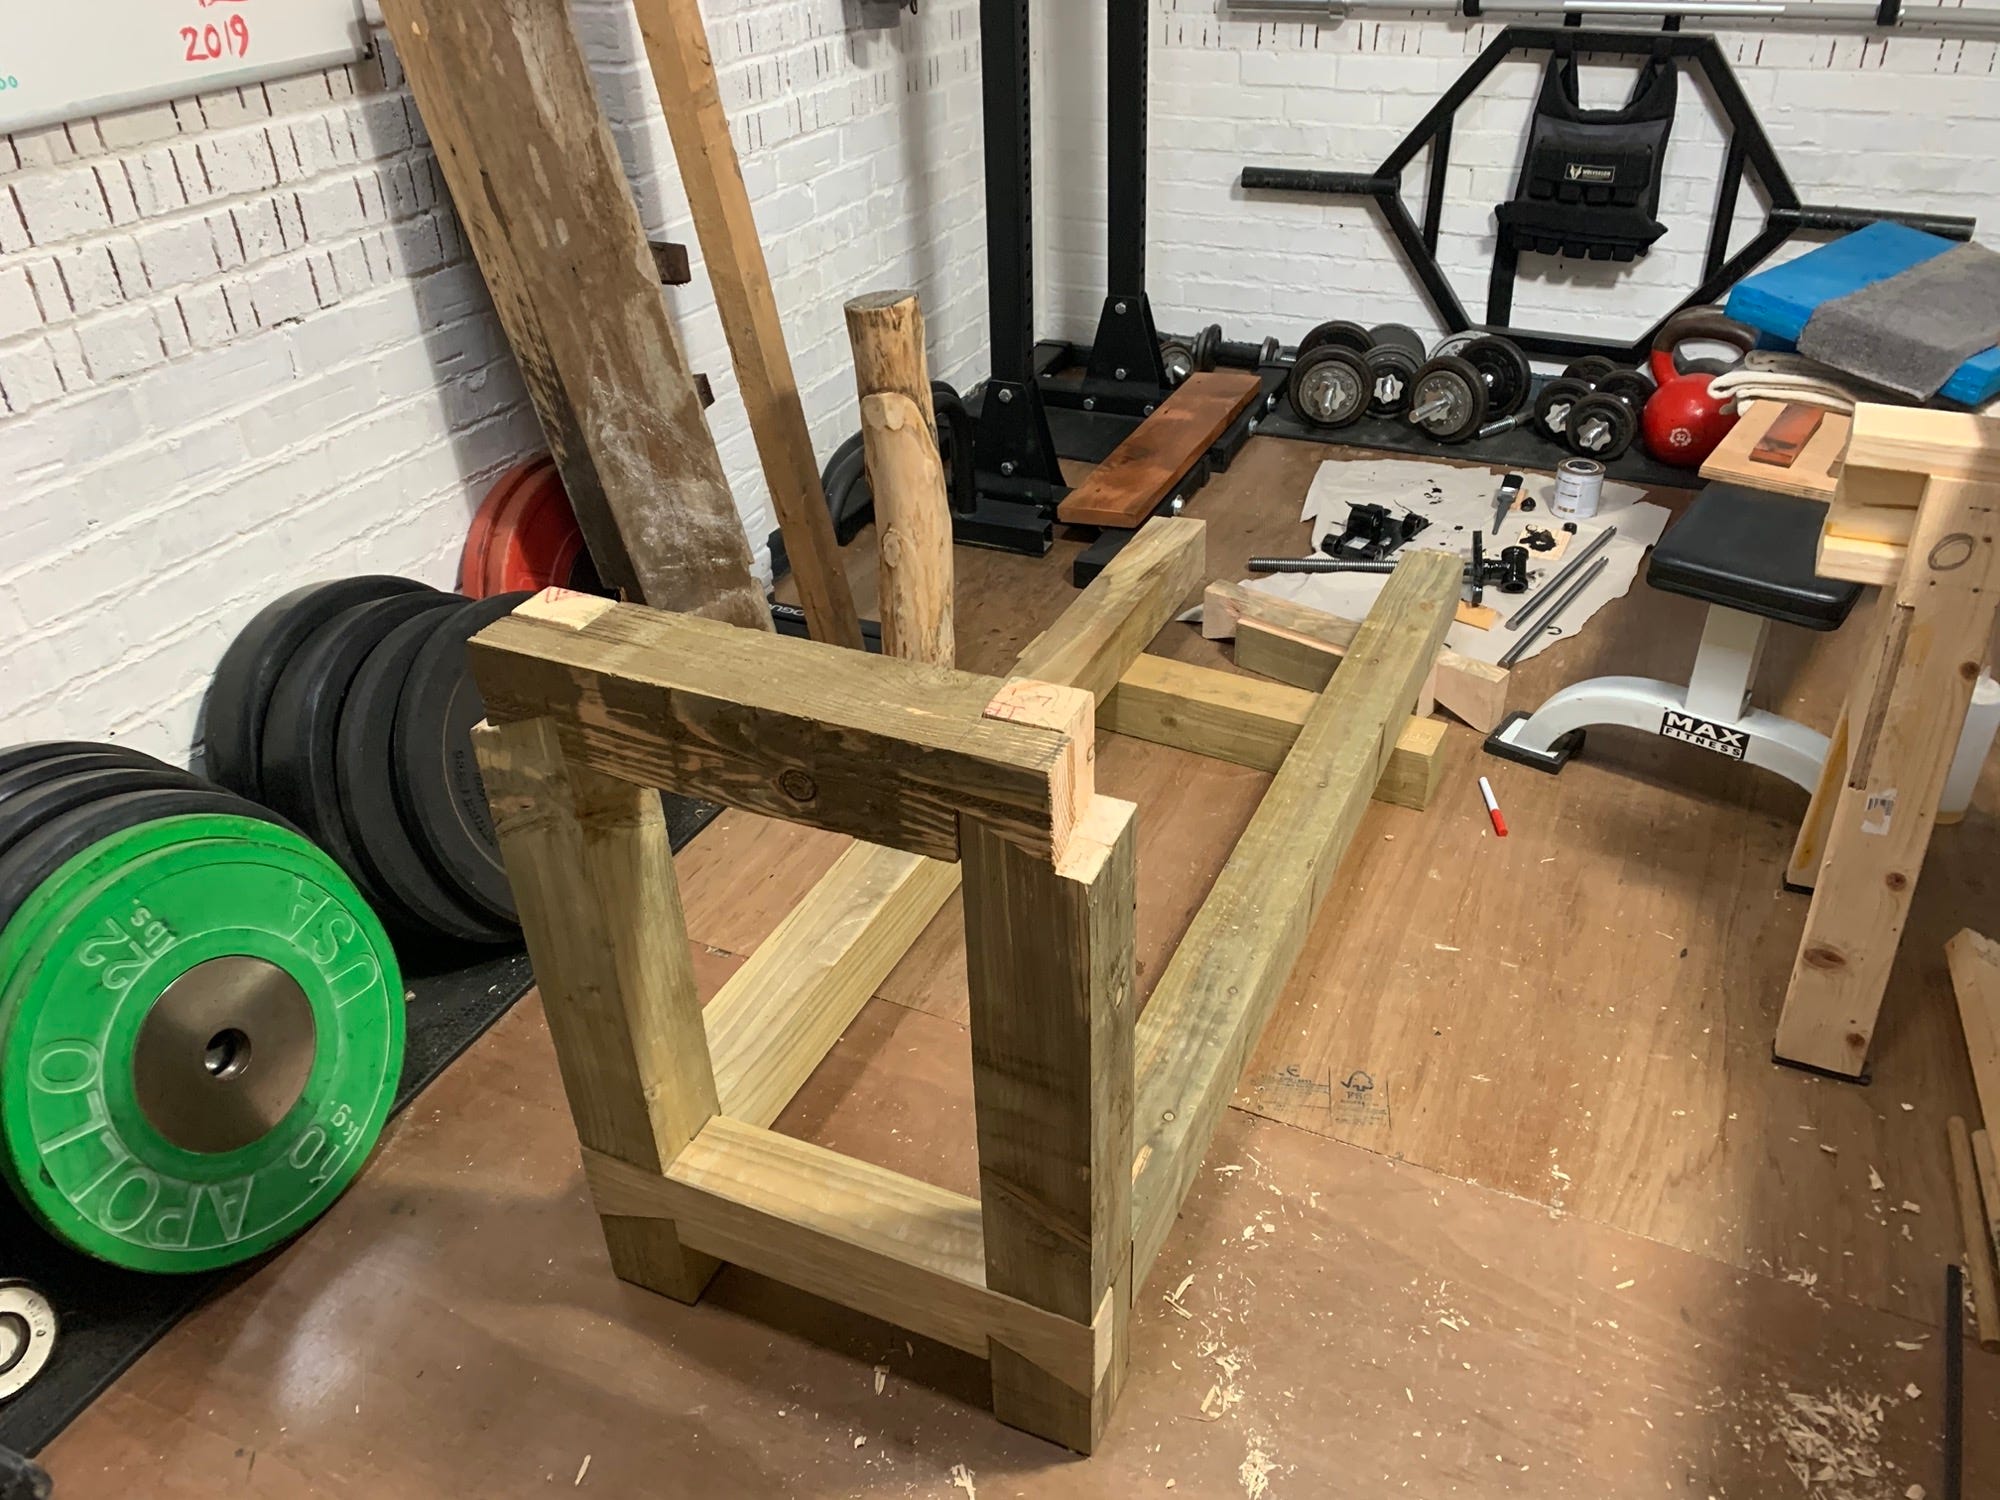
At this point I knew that I had to remake the tops of the stands (more mistakes had been made) and then resize the bottom of the frame. So again, I got to gluing without flushing or planing anything. Here are two sections of new tops being glued in one fell swoop. Halfway between them you can just make out a sheet of plastic to prevent the two halves from gluing to each other.
I morticed and tenoned the new tops onto the stands. I only did through tenons on the far side. I wanted to experiment with what was easier to do – hidden tenons or through tenons. This is the joy of workshop projects – you get to experiment without any real consequences. Through tenons are easier as you can see where you are aiming but they are also harder because you cannot hide your errors.
And now the top had ample length rather than too little.

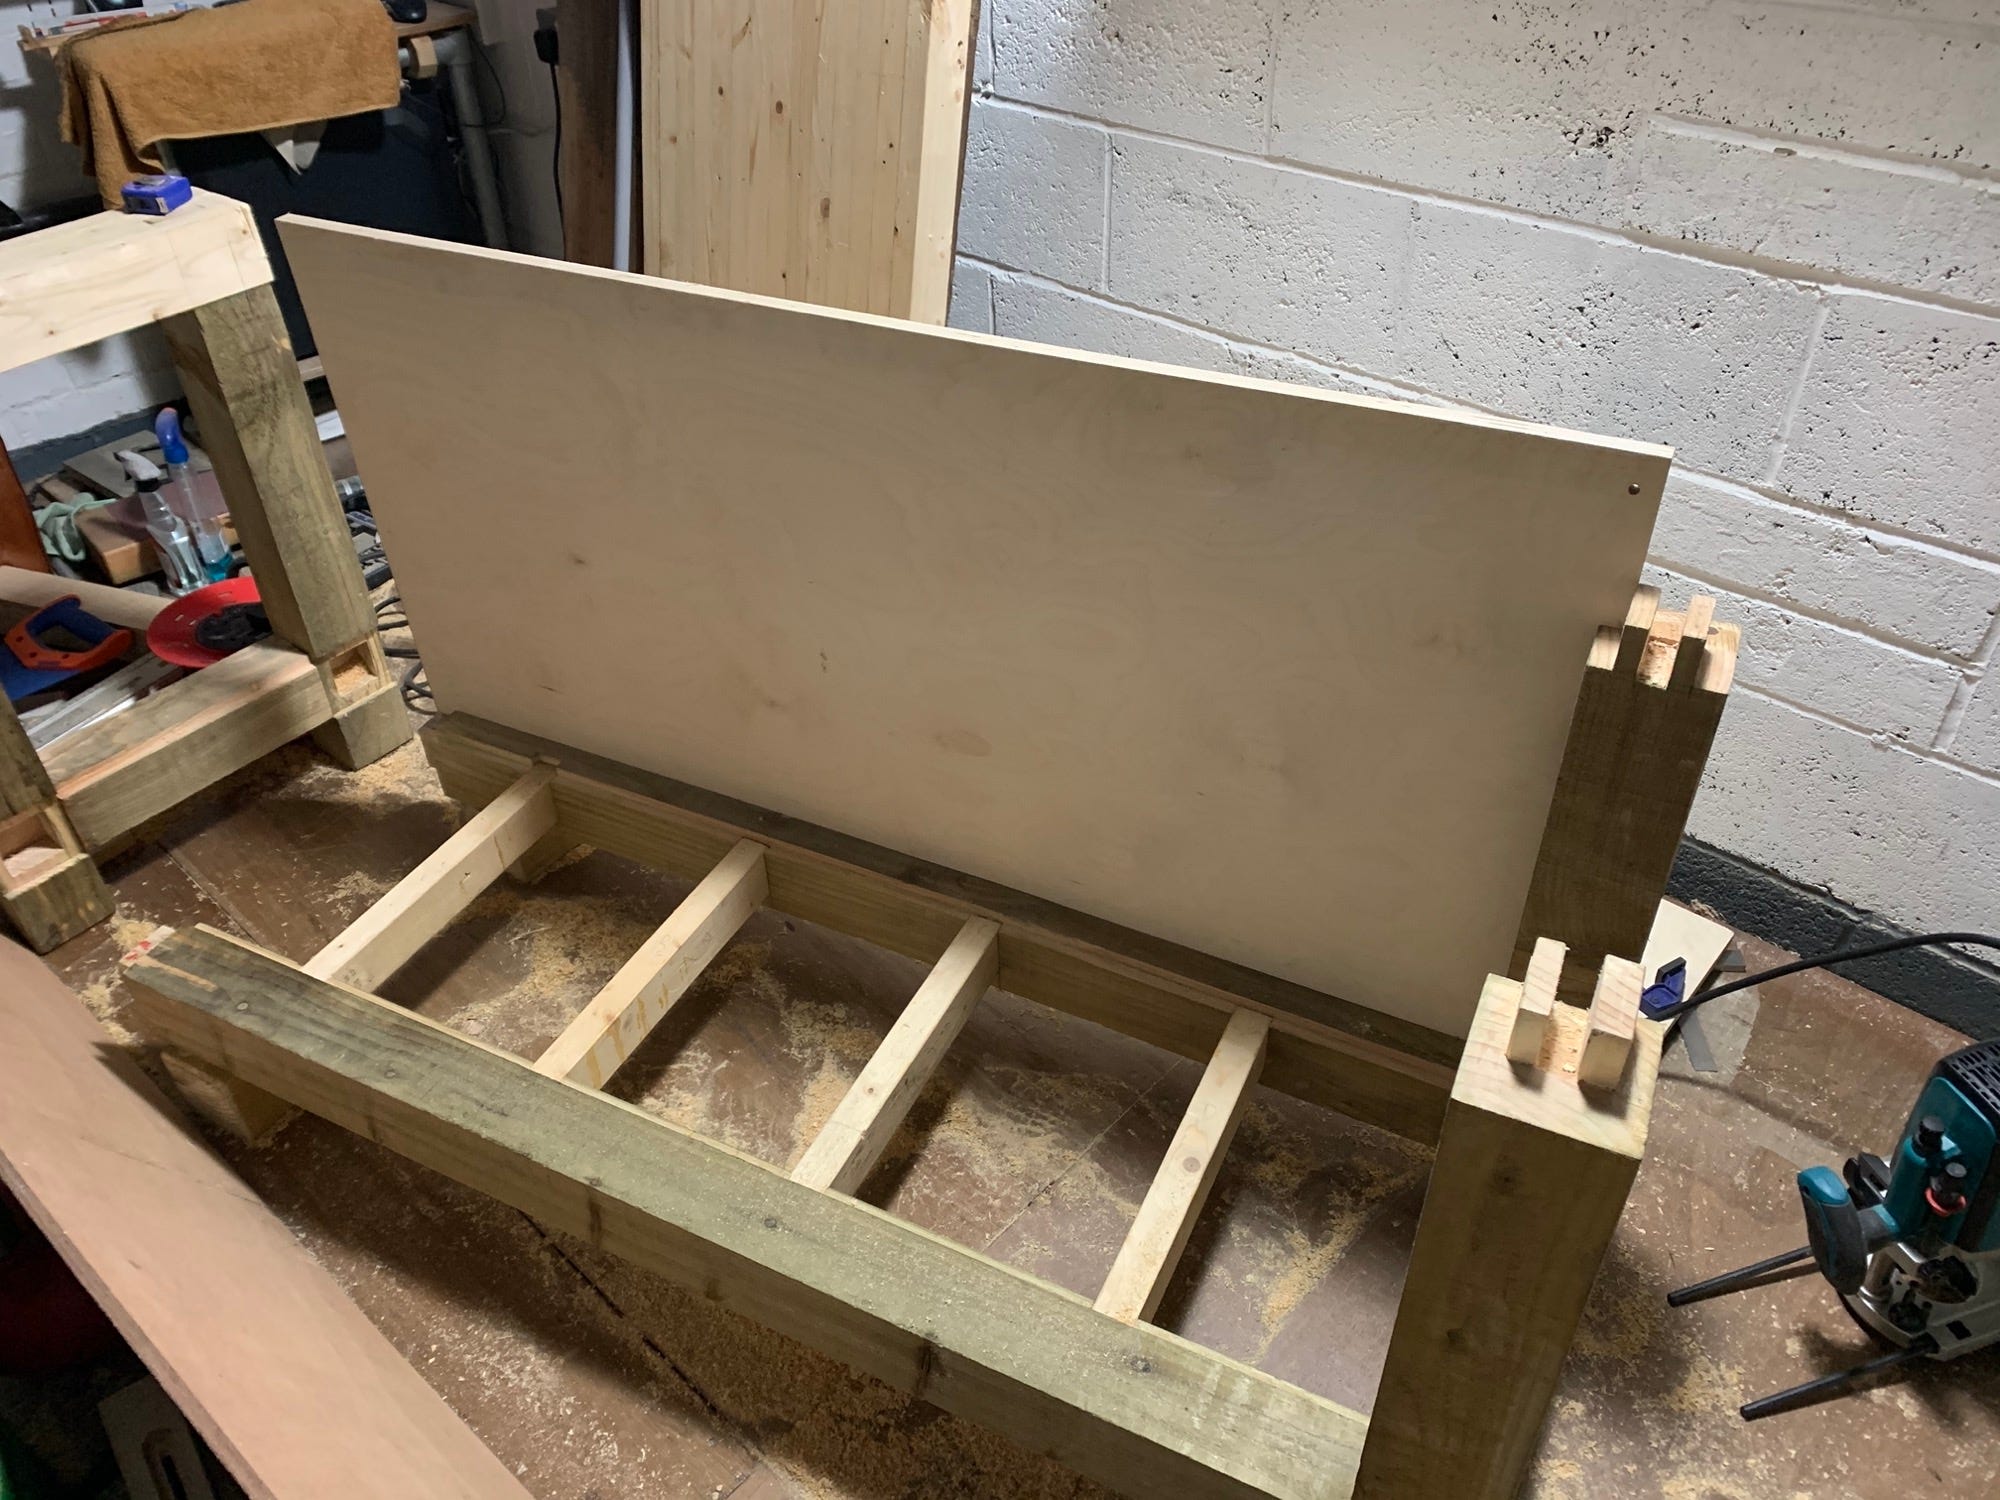
At this point in time I had not insulated my garage and it was still a single leafed brick structure. It meant that anything close to a wall was likely to rust between October and April, so I wanted to enclose the lower section in ply to give it as much shielding from moisture as possible.
By this point in time I had also managed to salvaged a nice little stash of 18mm baltic birch. I had no idea how much this stuff would go up in price in the near future! However, I had birch plywood and so birch plywood is what I used. I made a nice clean rebate around the frame to accept the panel. I had also given up on the 100% hand tool notion at this point and had some mechanical assistance from the router.
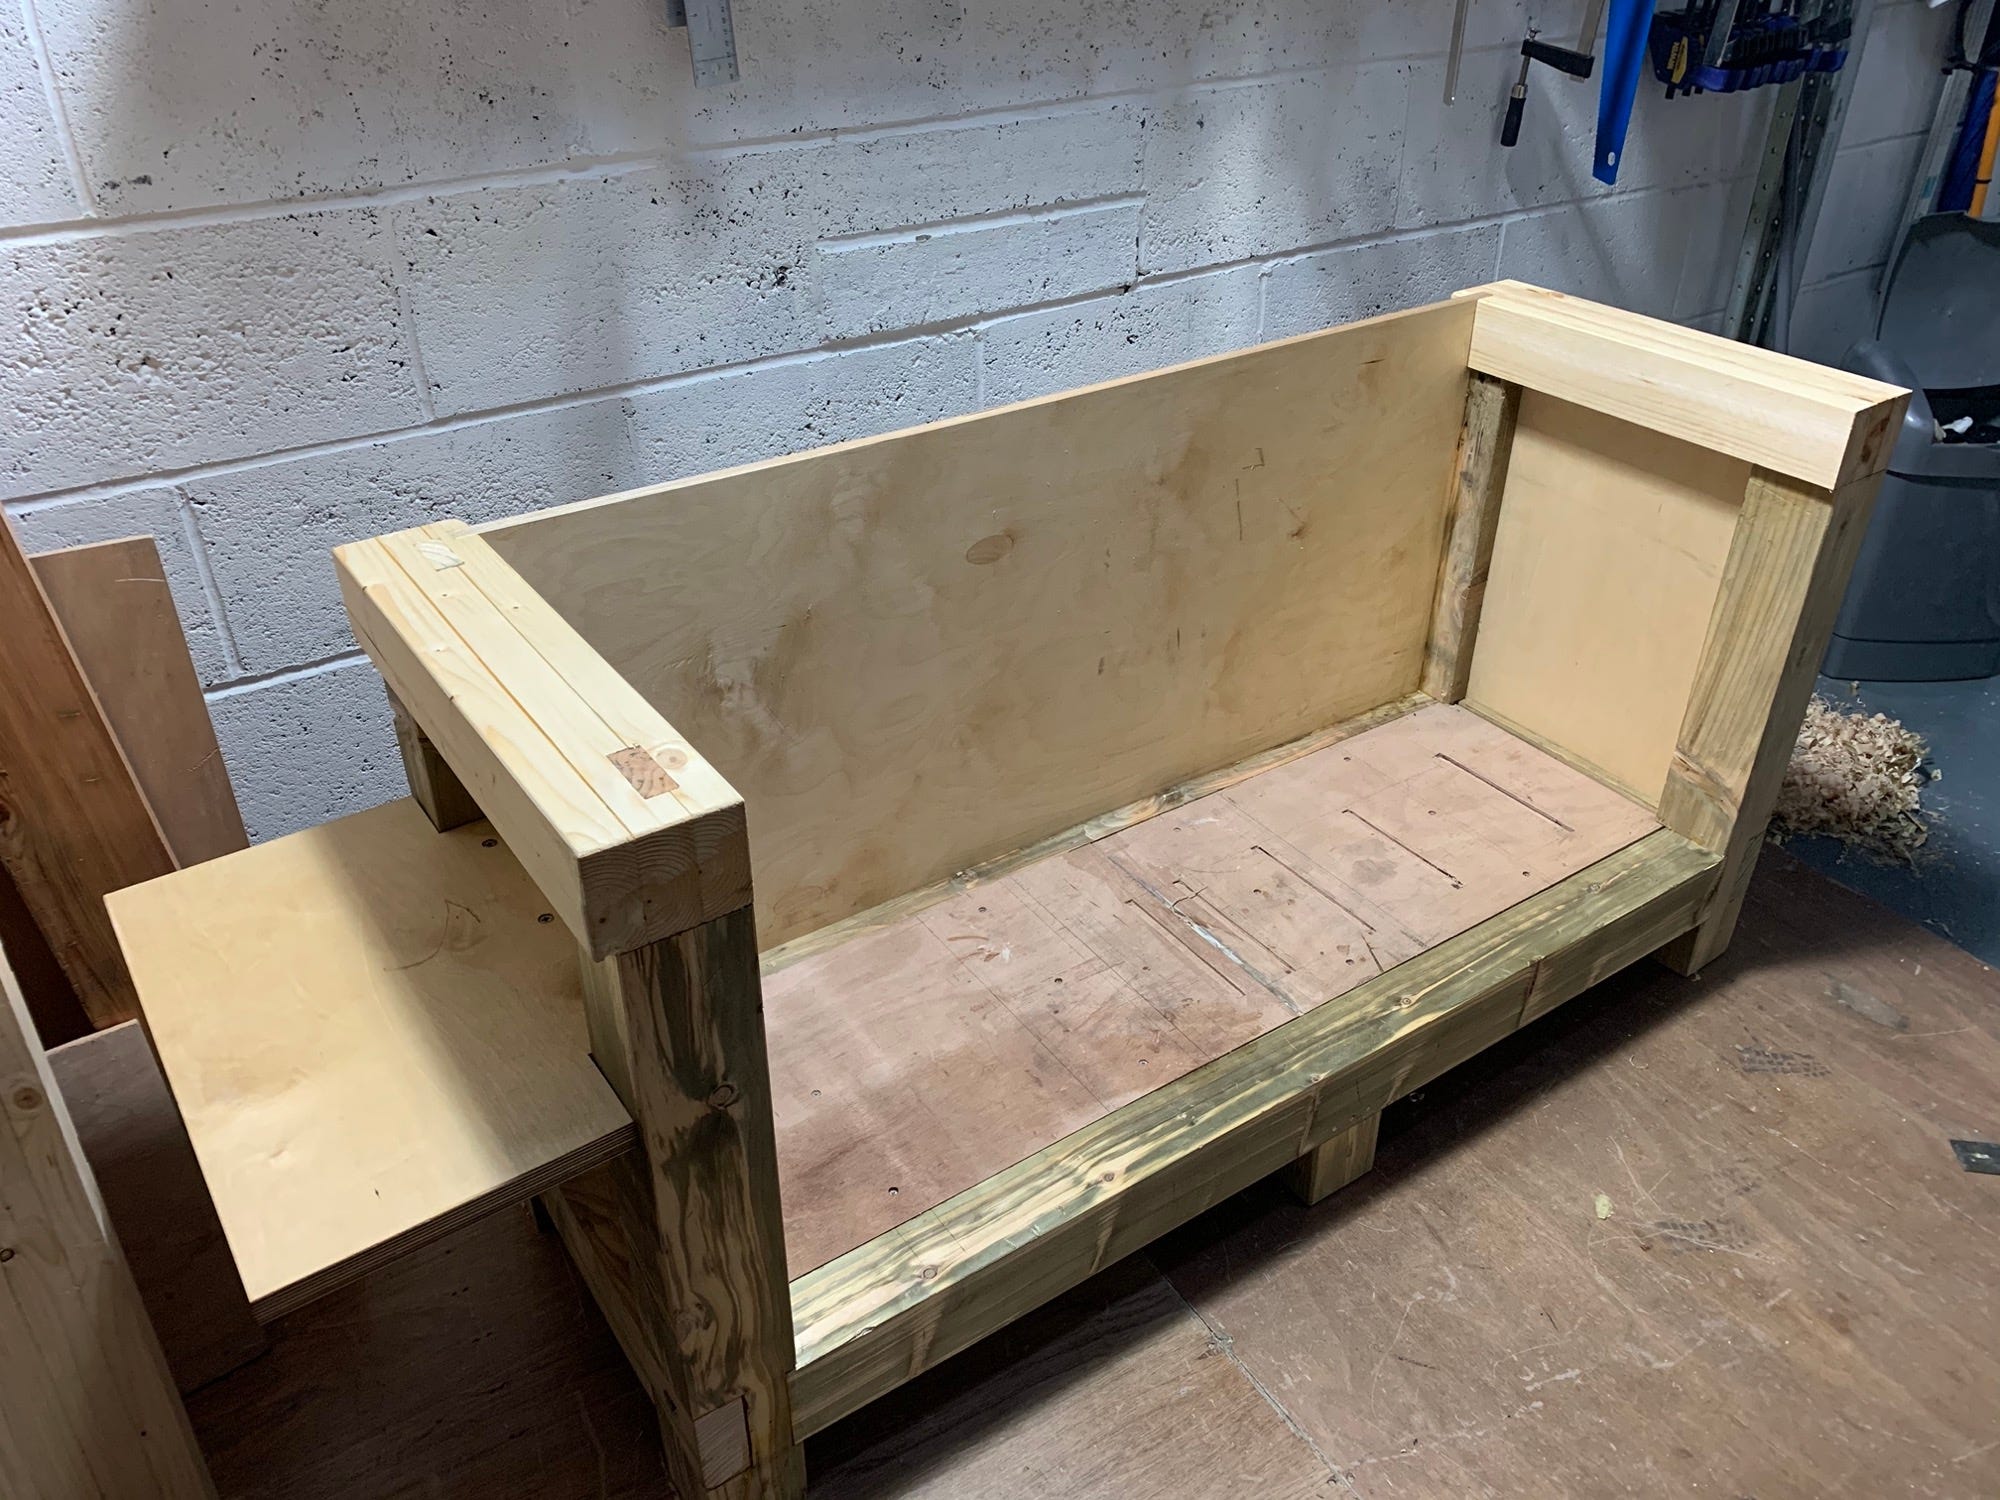
I repeated the process for the sides and also added a station for sharpening tools which you can see on the left hand side.
At this point in time I’d started watching Rob Cosmans Workshops and I’d become captivated by his bench build. I had decided I was going to imitate his bench design. This is where I ended up diverging from the English Bench design and I was pretty much making it up as I went along. I cut the top to length, and decided to add in a tool tray and a tail vice. I’d also decided I was going to dovetail the entire thing together. Lofty goals considering I’d never done any of it. Here you can see the materials being mocked up and clamped together, I’d started to get serious about planing things flat.
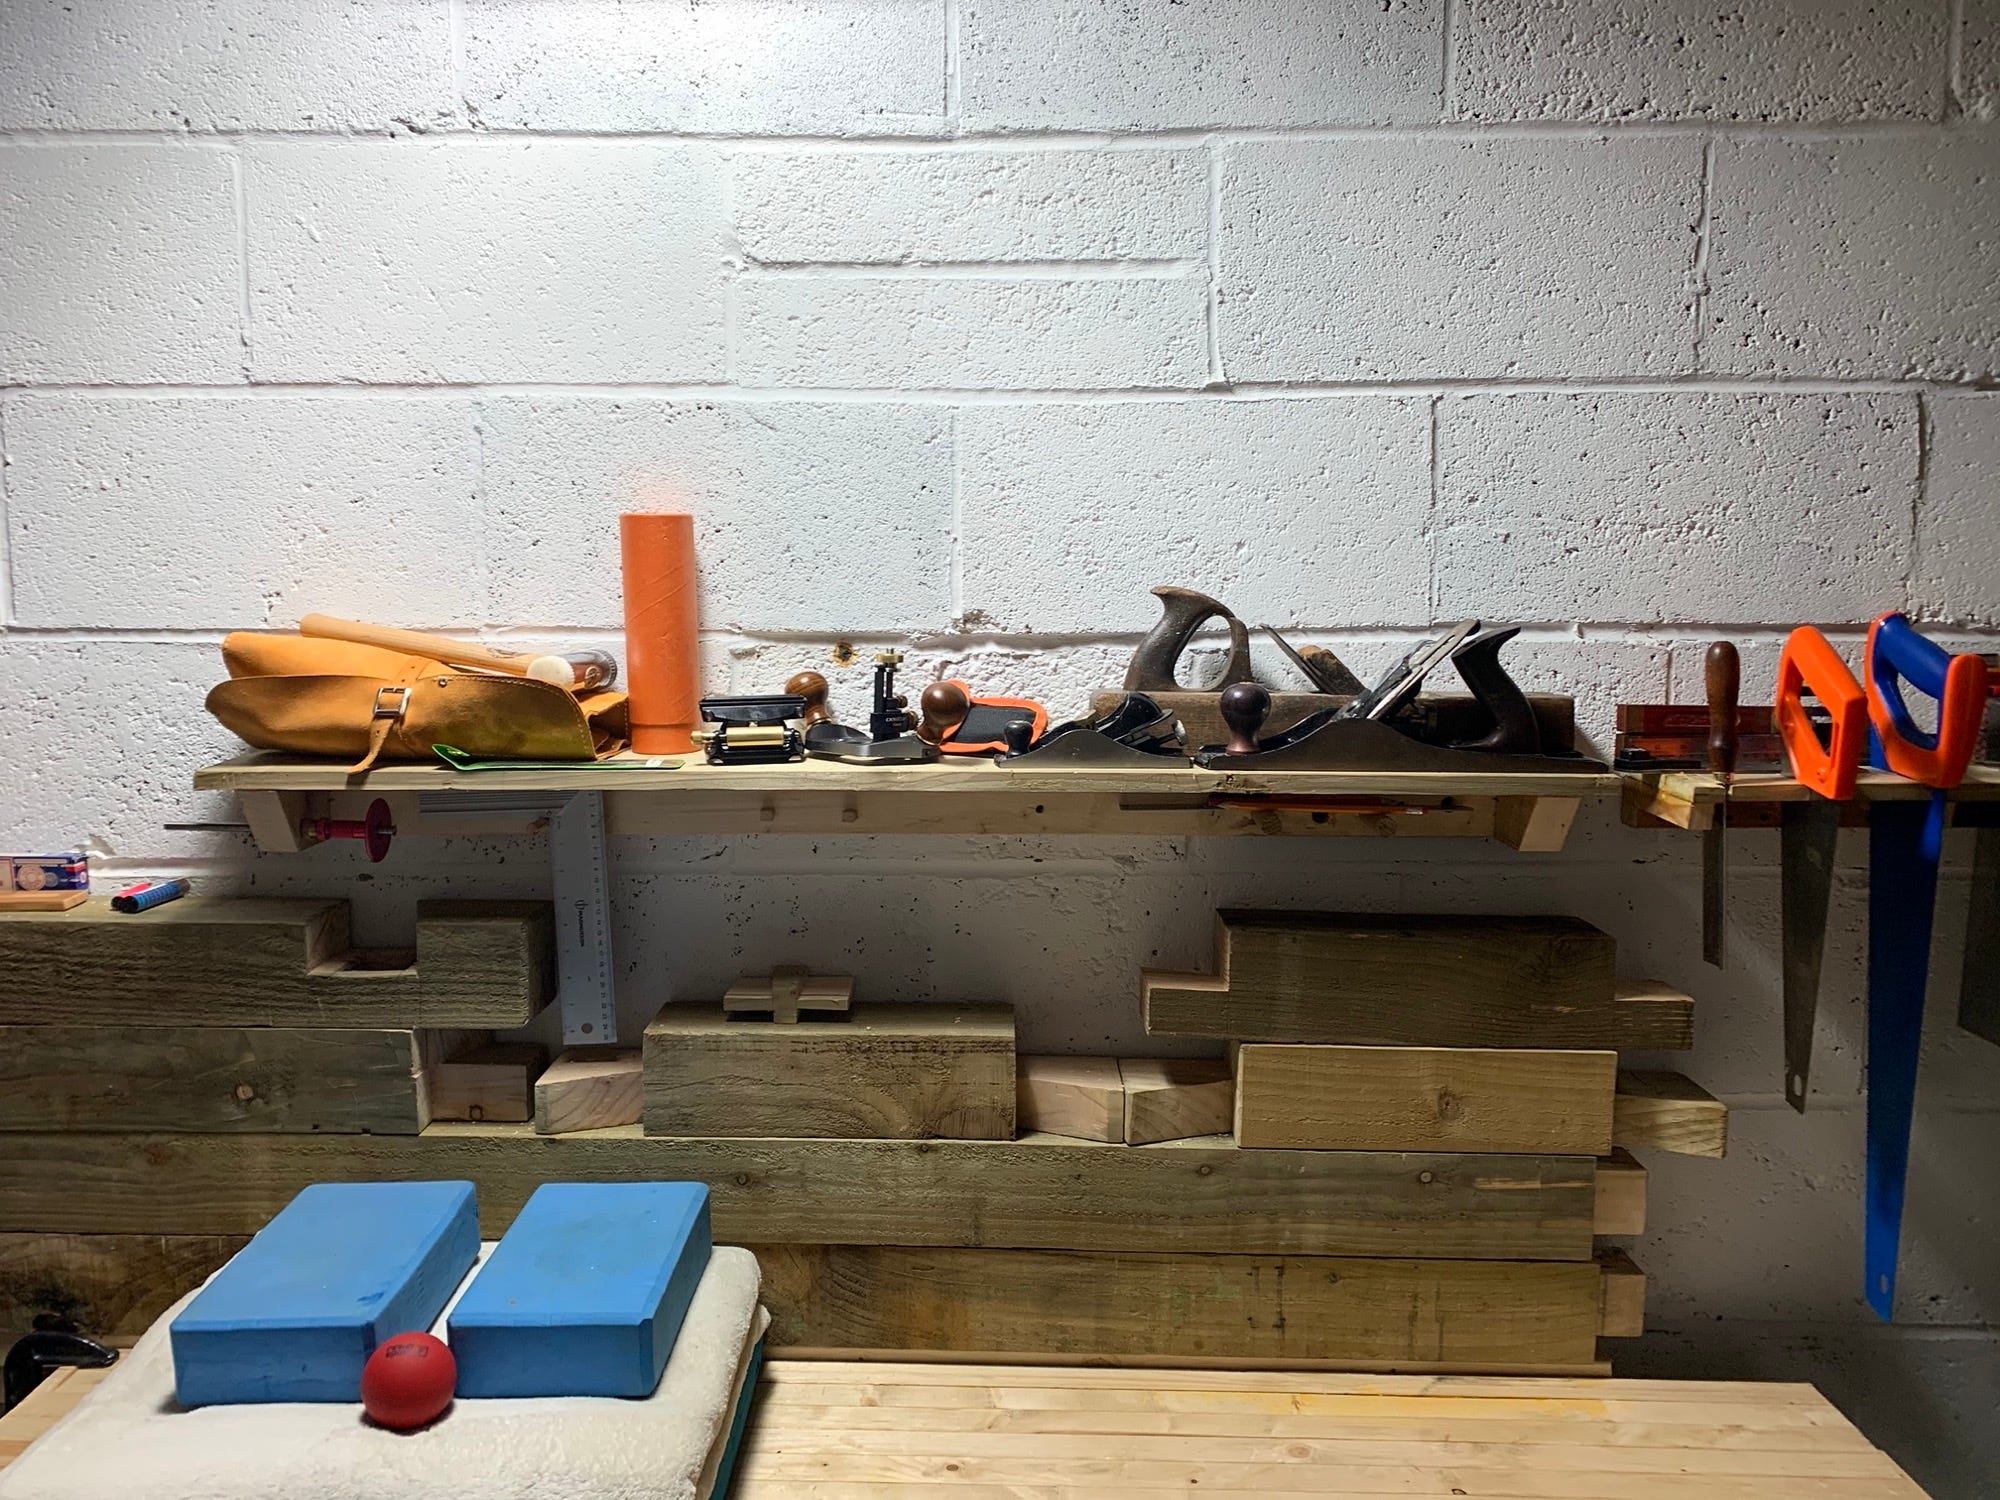
At this point, I had started to expand my plane collection and so I kept them wrapped in cloth in a plastic bag to protect them from winter / spring humidity. Time wise, this was about April 2020.

Everything was cut to approximate lengths and made nice and square. I’d also drilled through the top horizontally and inserted some threaded rod. I’m not sure why I did this, but it was something that Rob Cosman did on his build. What I can tell you is that three years later, this worktop remains quite flat and shows no signs of glue delamination. I suspect the threaded rod gives shock somewhere to go. You can make out two the rods in the holes on the front rail and the third tucked in at the back where I would later fit the tail vice.
Next I had to dovetail the two rails at the front and the back into the nice two sections of sapele hardwood. These were the first dovetails that I ever cut. I was bricking it as I had no material to use as spare if I made any mistakes.
It went fine. I just took it nice and slow and was always mindful that adding material was harder than slowly removing it, checking and repeating until it fit. The tape didn’t do anything. A decent marker from a sharp knife is fine.
One side lesson I would learn with major projects was that the gods want their blood offering and this project was no different. Any worthwhile project always has as least two of the holy trinity - blood, sweat and tears. The truly meaningful ones have all three.
So far the only one that’s had all three was the coffin I built for our beloved cat - Django. This project, however, just had sweat and blood.

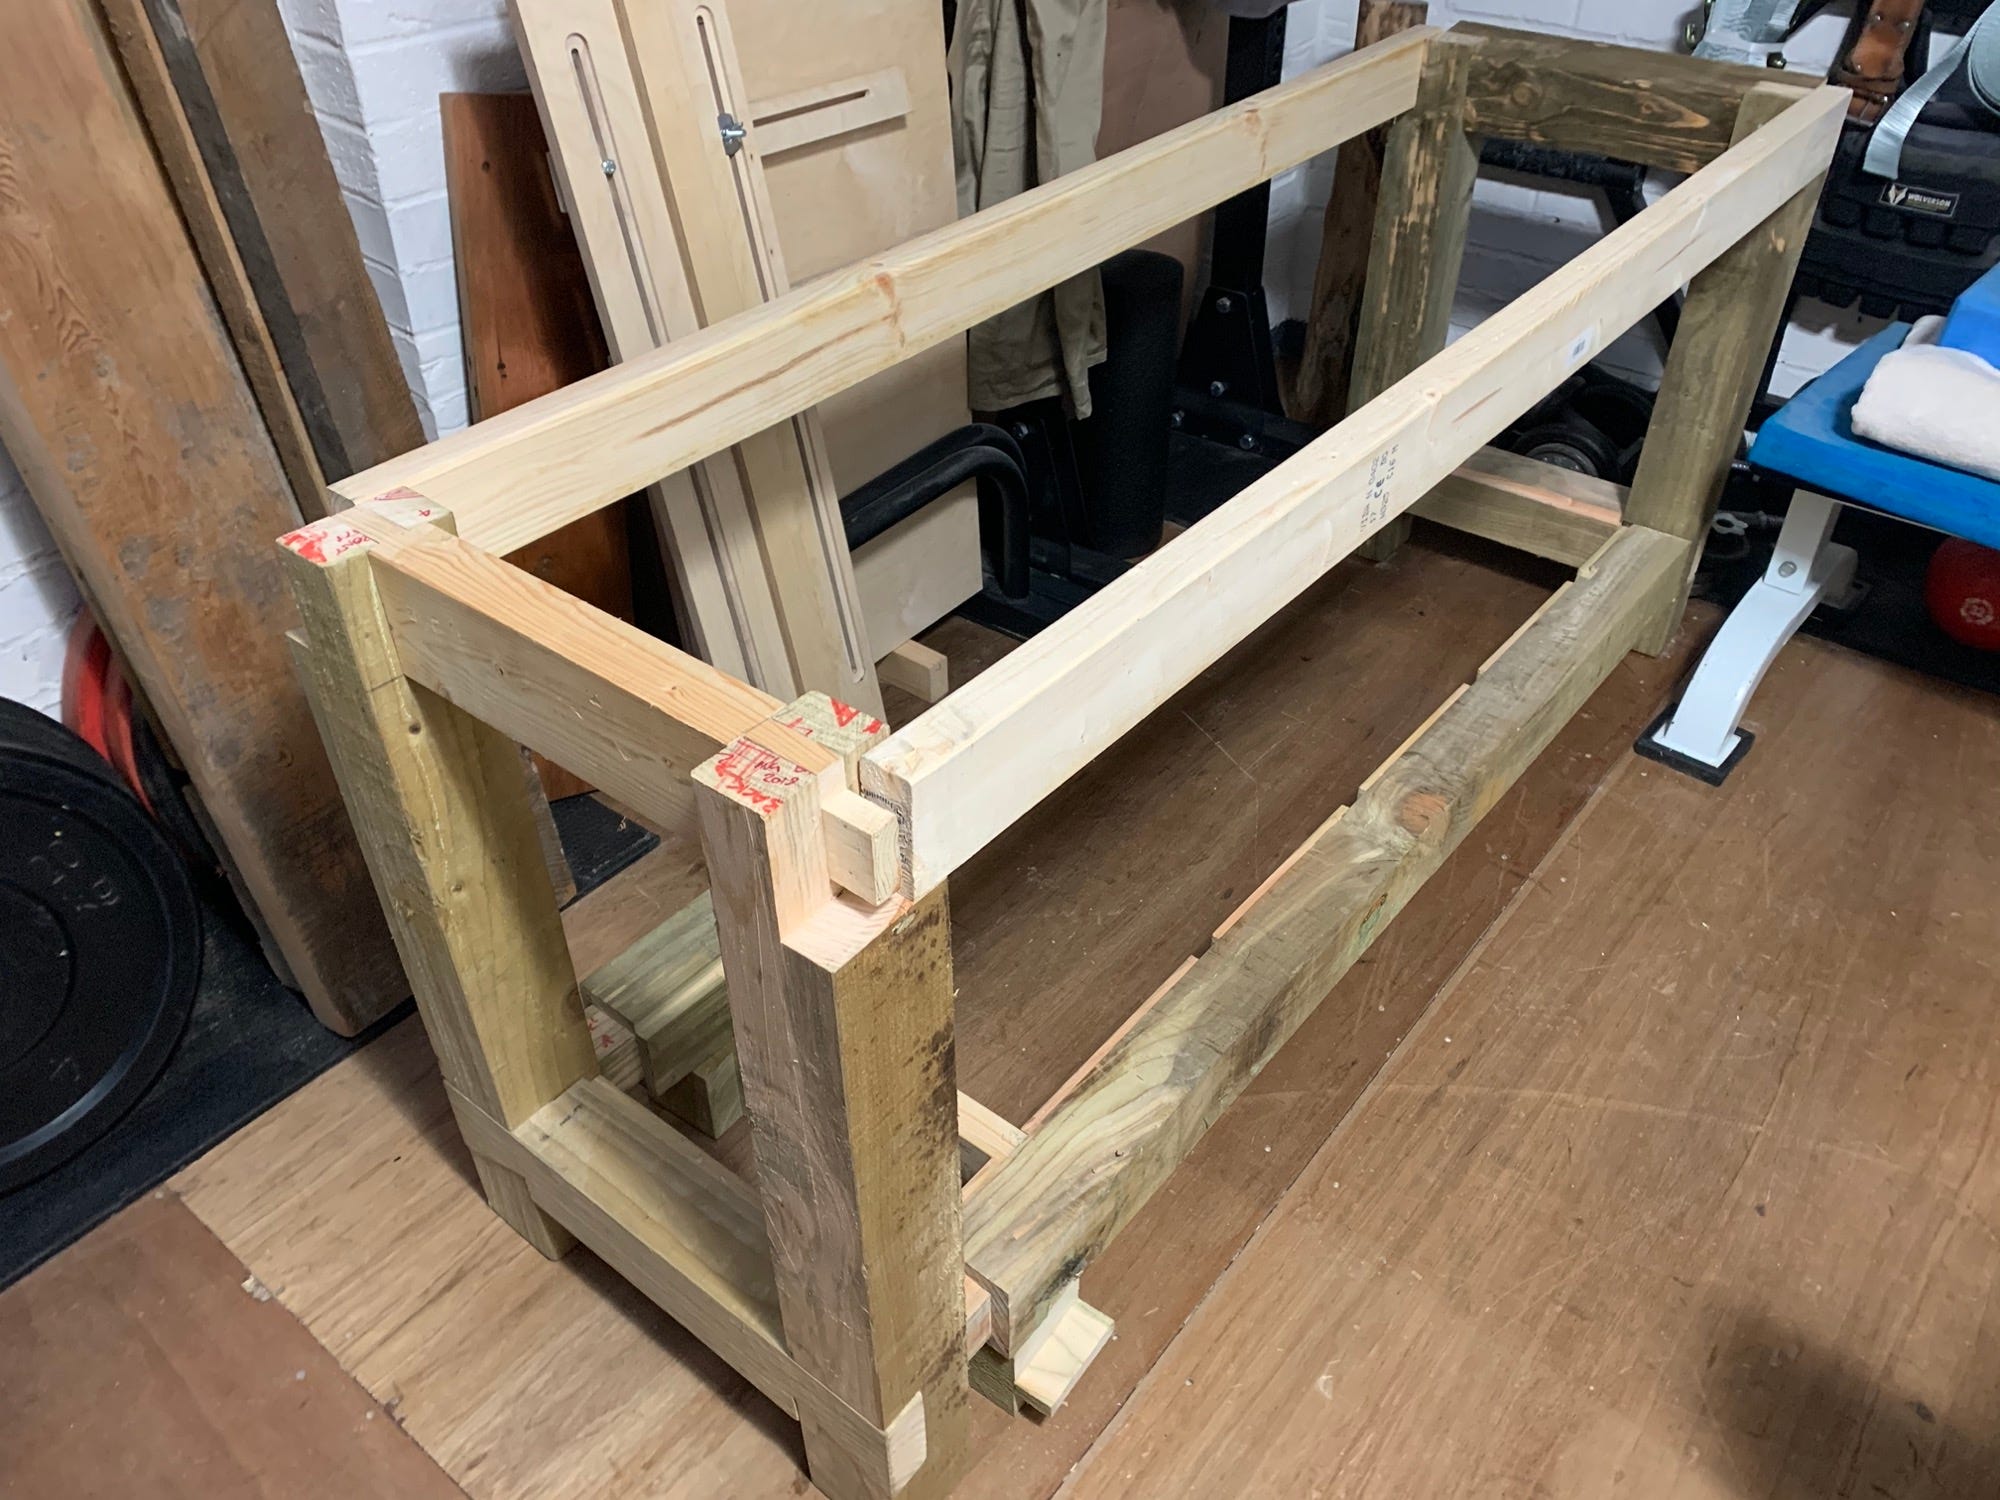
When It was all done, I was quite blown away with the results. I’ve skipped a lot of the process here because as you can see, not only is the top all glued together, the tool tray is in place and so is the tail vice holder.

Those plywood and hardwood dovetails though. Oh yeah. Also, look how lovely the pitch pine looks when it is all oiled up. This would have been late April 2020. I had still to fit and make the tail vice.

In the below photo, the front right corner of the bench is where the tail vice is going to live. The idea behind the sloped bit of wood underneath it is that it would channel all the crap off the bench into a nice location. Three years of usage would tell me that it was a nice idea, but it doesn’t really work. It just gets clogged up.
You can also make out my shooting board and cutting board at the bottom right. These are essential tools for fine joinery. I still have that shooting board in use today, but it is a little battered now.
Time to fit the tail vice. One of the situations I don’t like in any project are the points of no return and the tail vice was one such point. I had to perform numerous destructive actions in order to move forward. Any mistakes here would cost me a lot but I needed to position this perfectly.
So I drilled into that lovely hardwood and hoped for the best.

I also made some nice square ends for the handle.

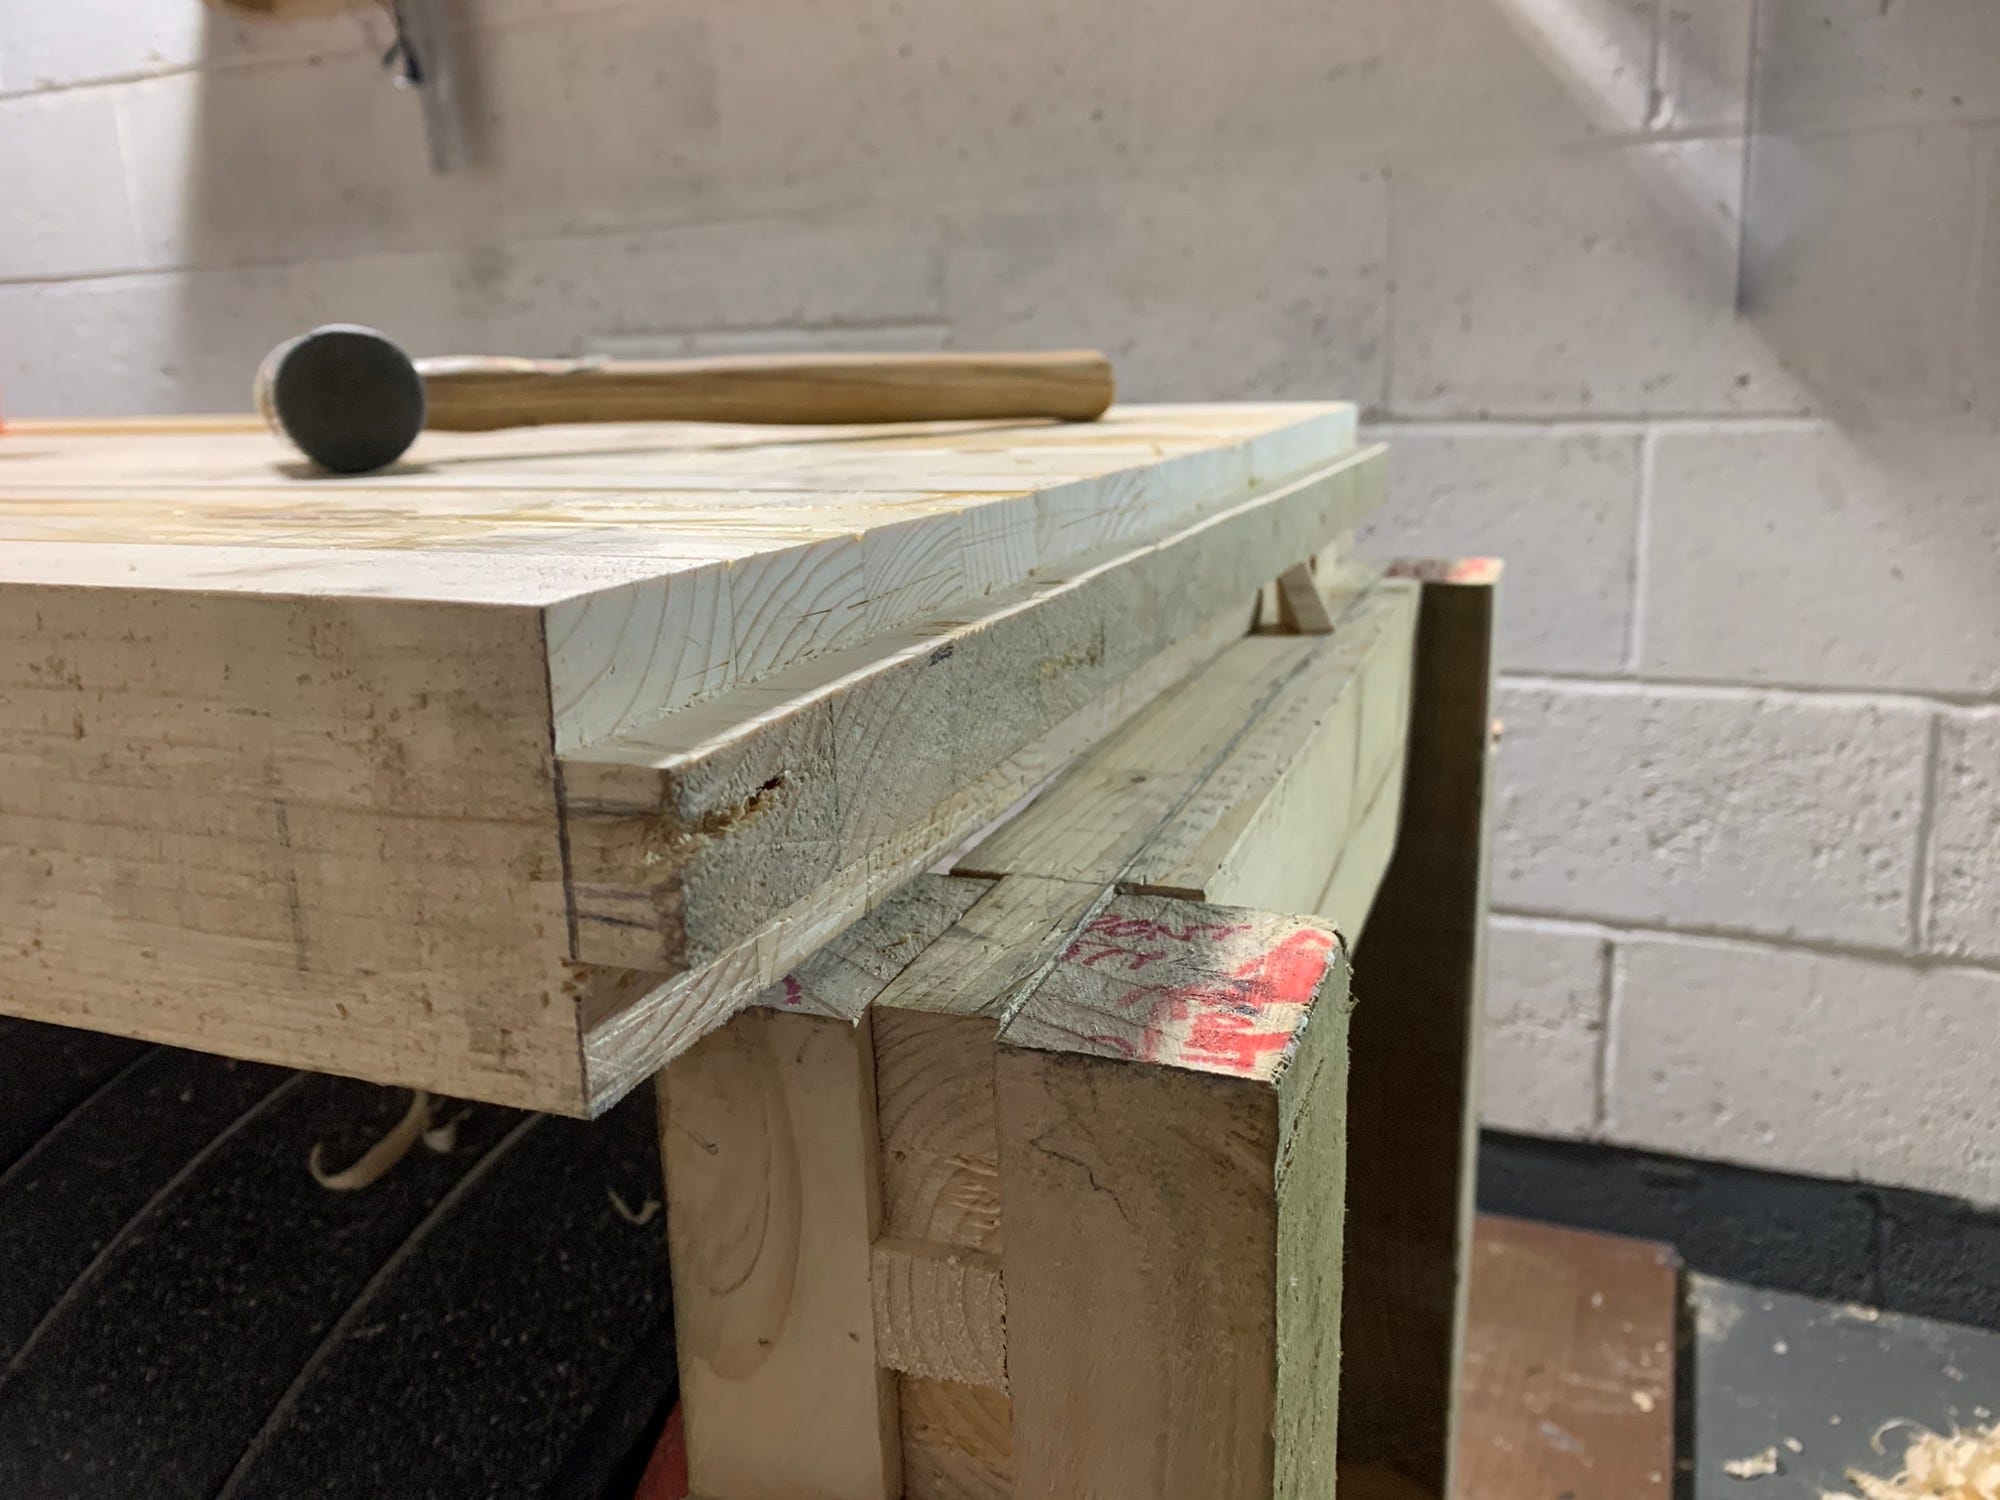
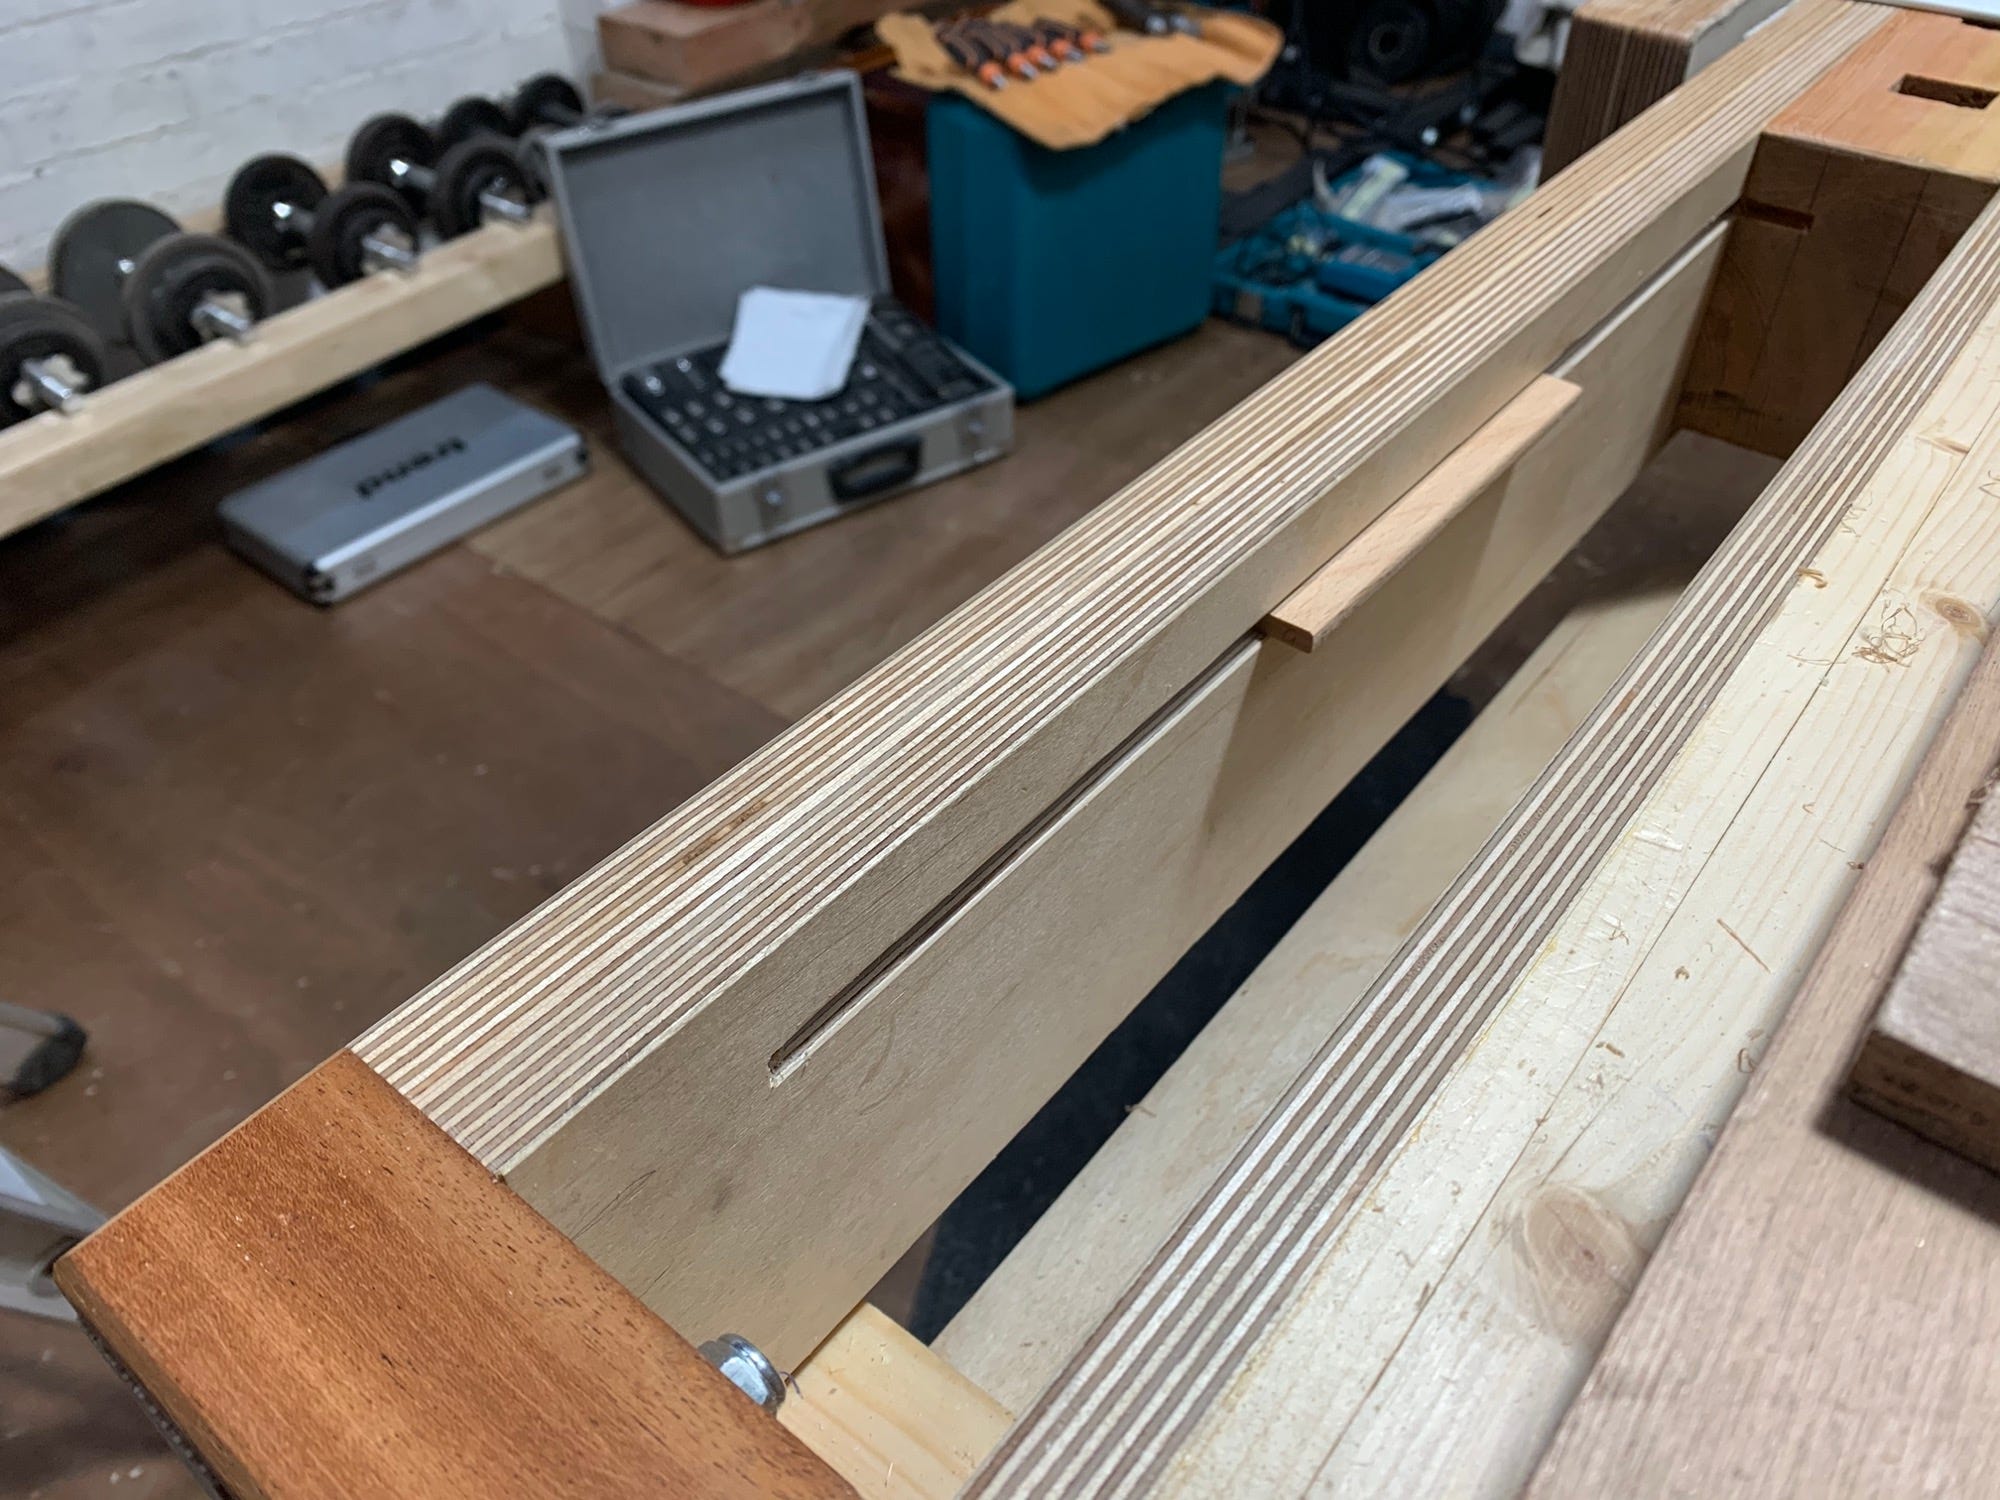
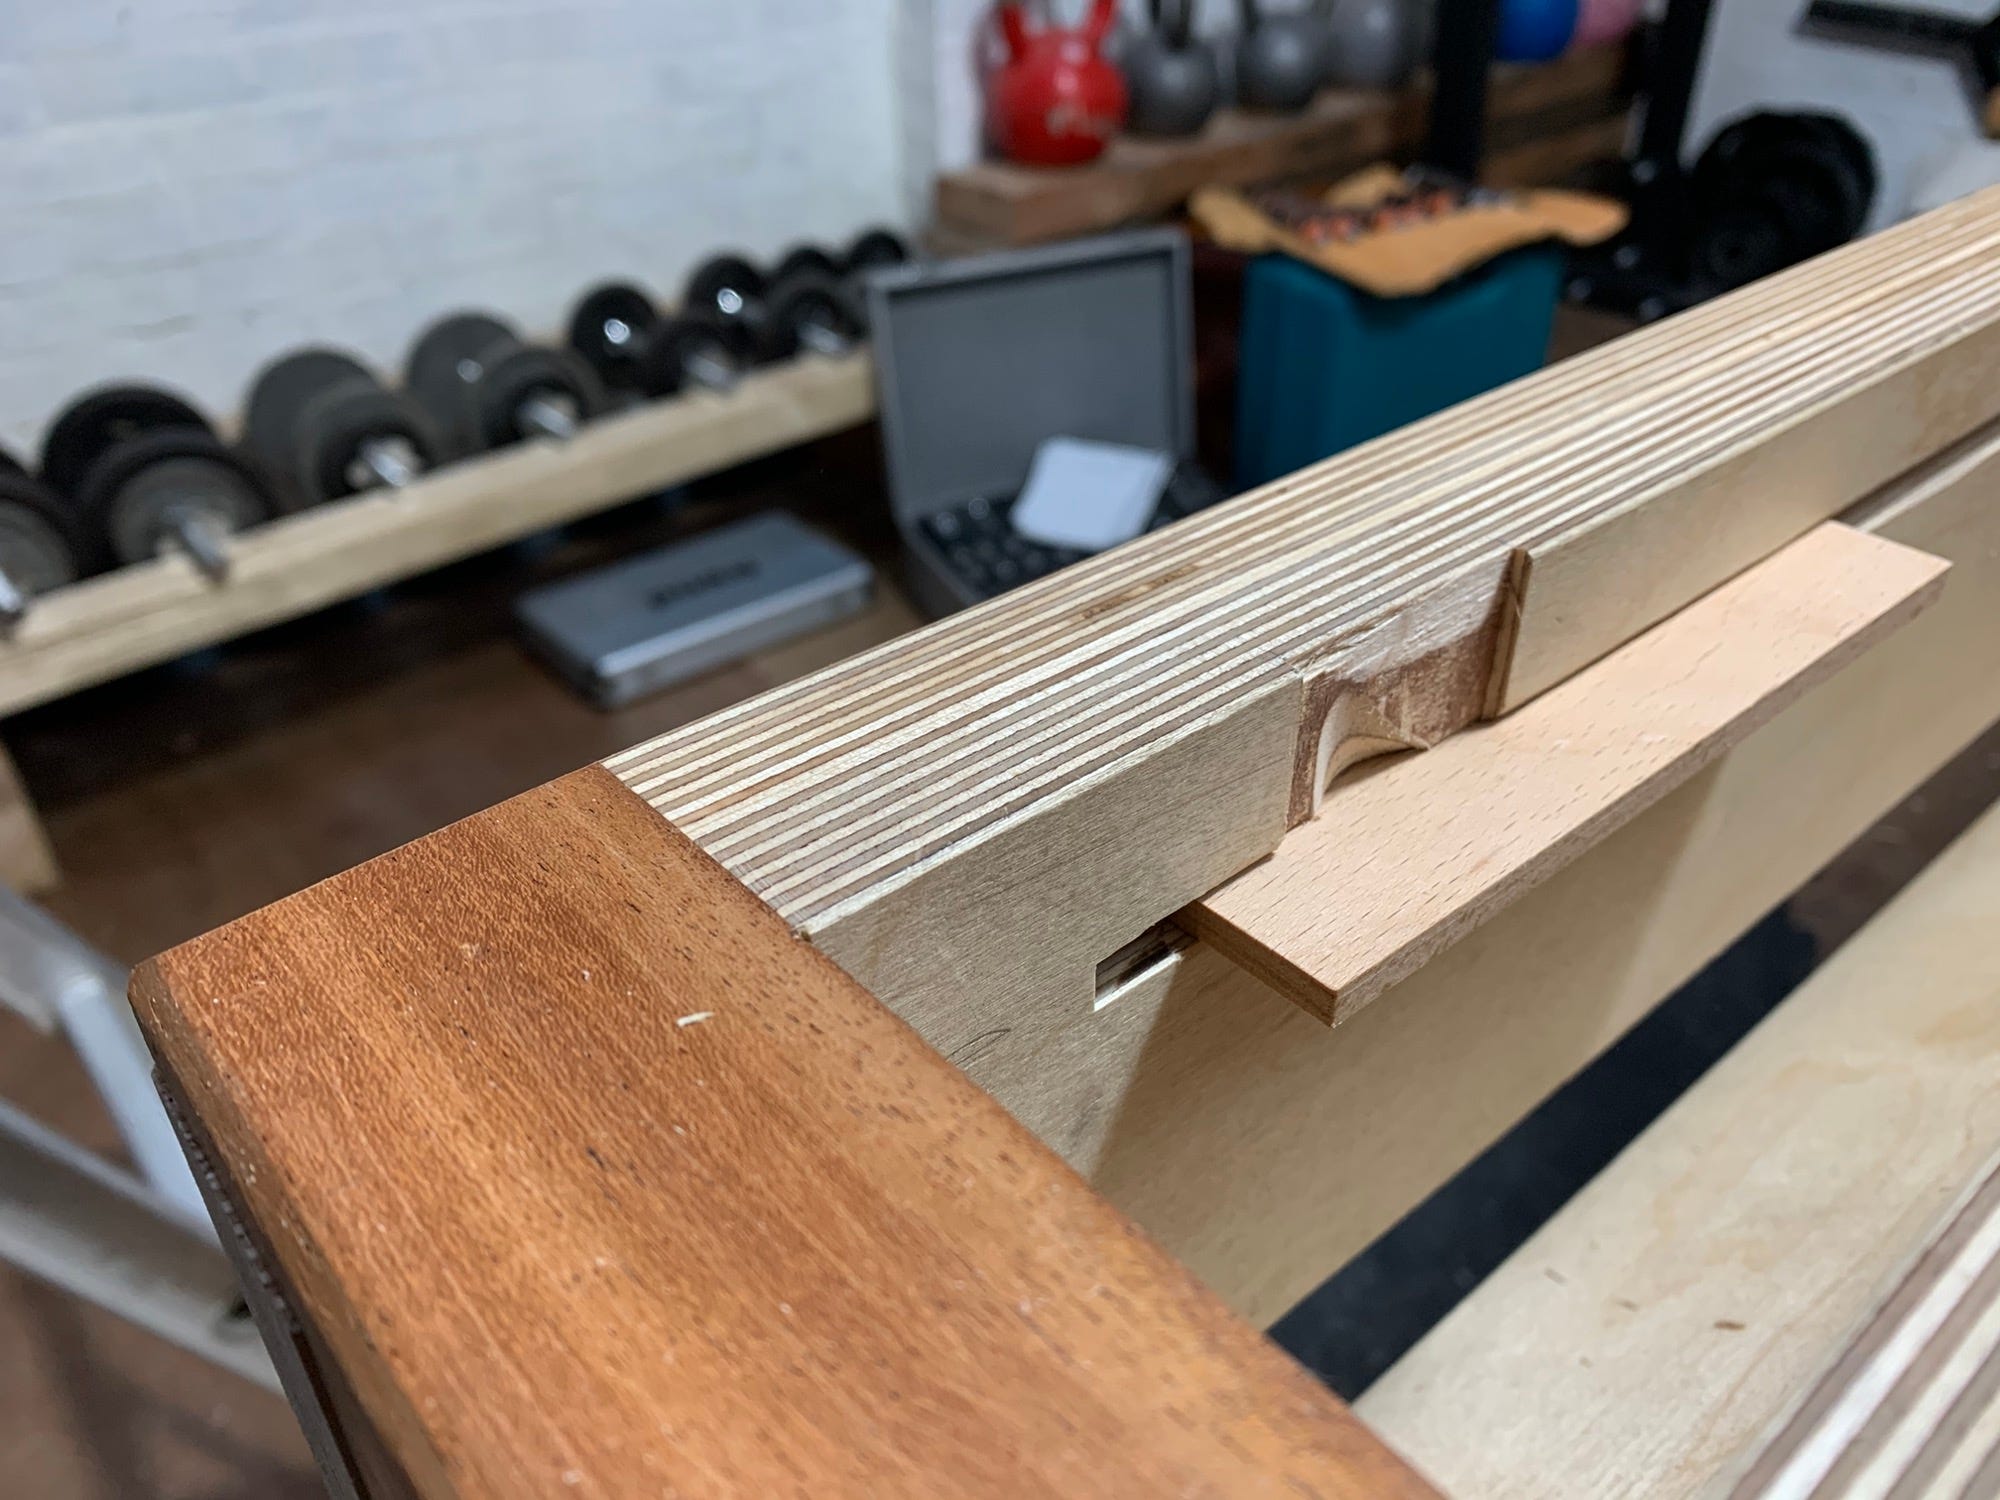
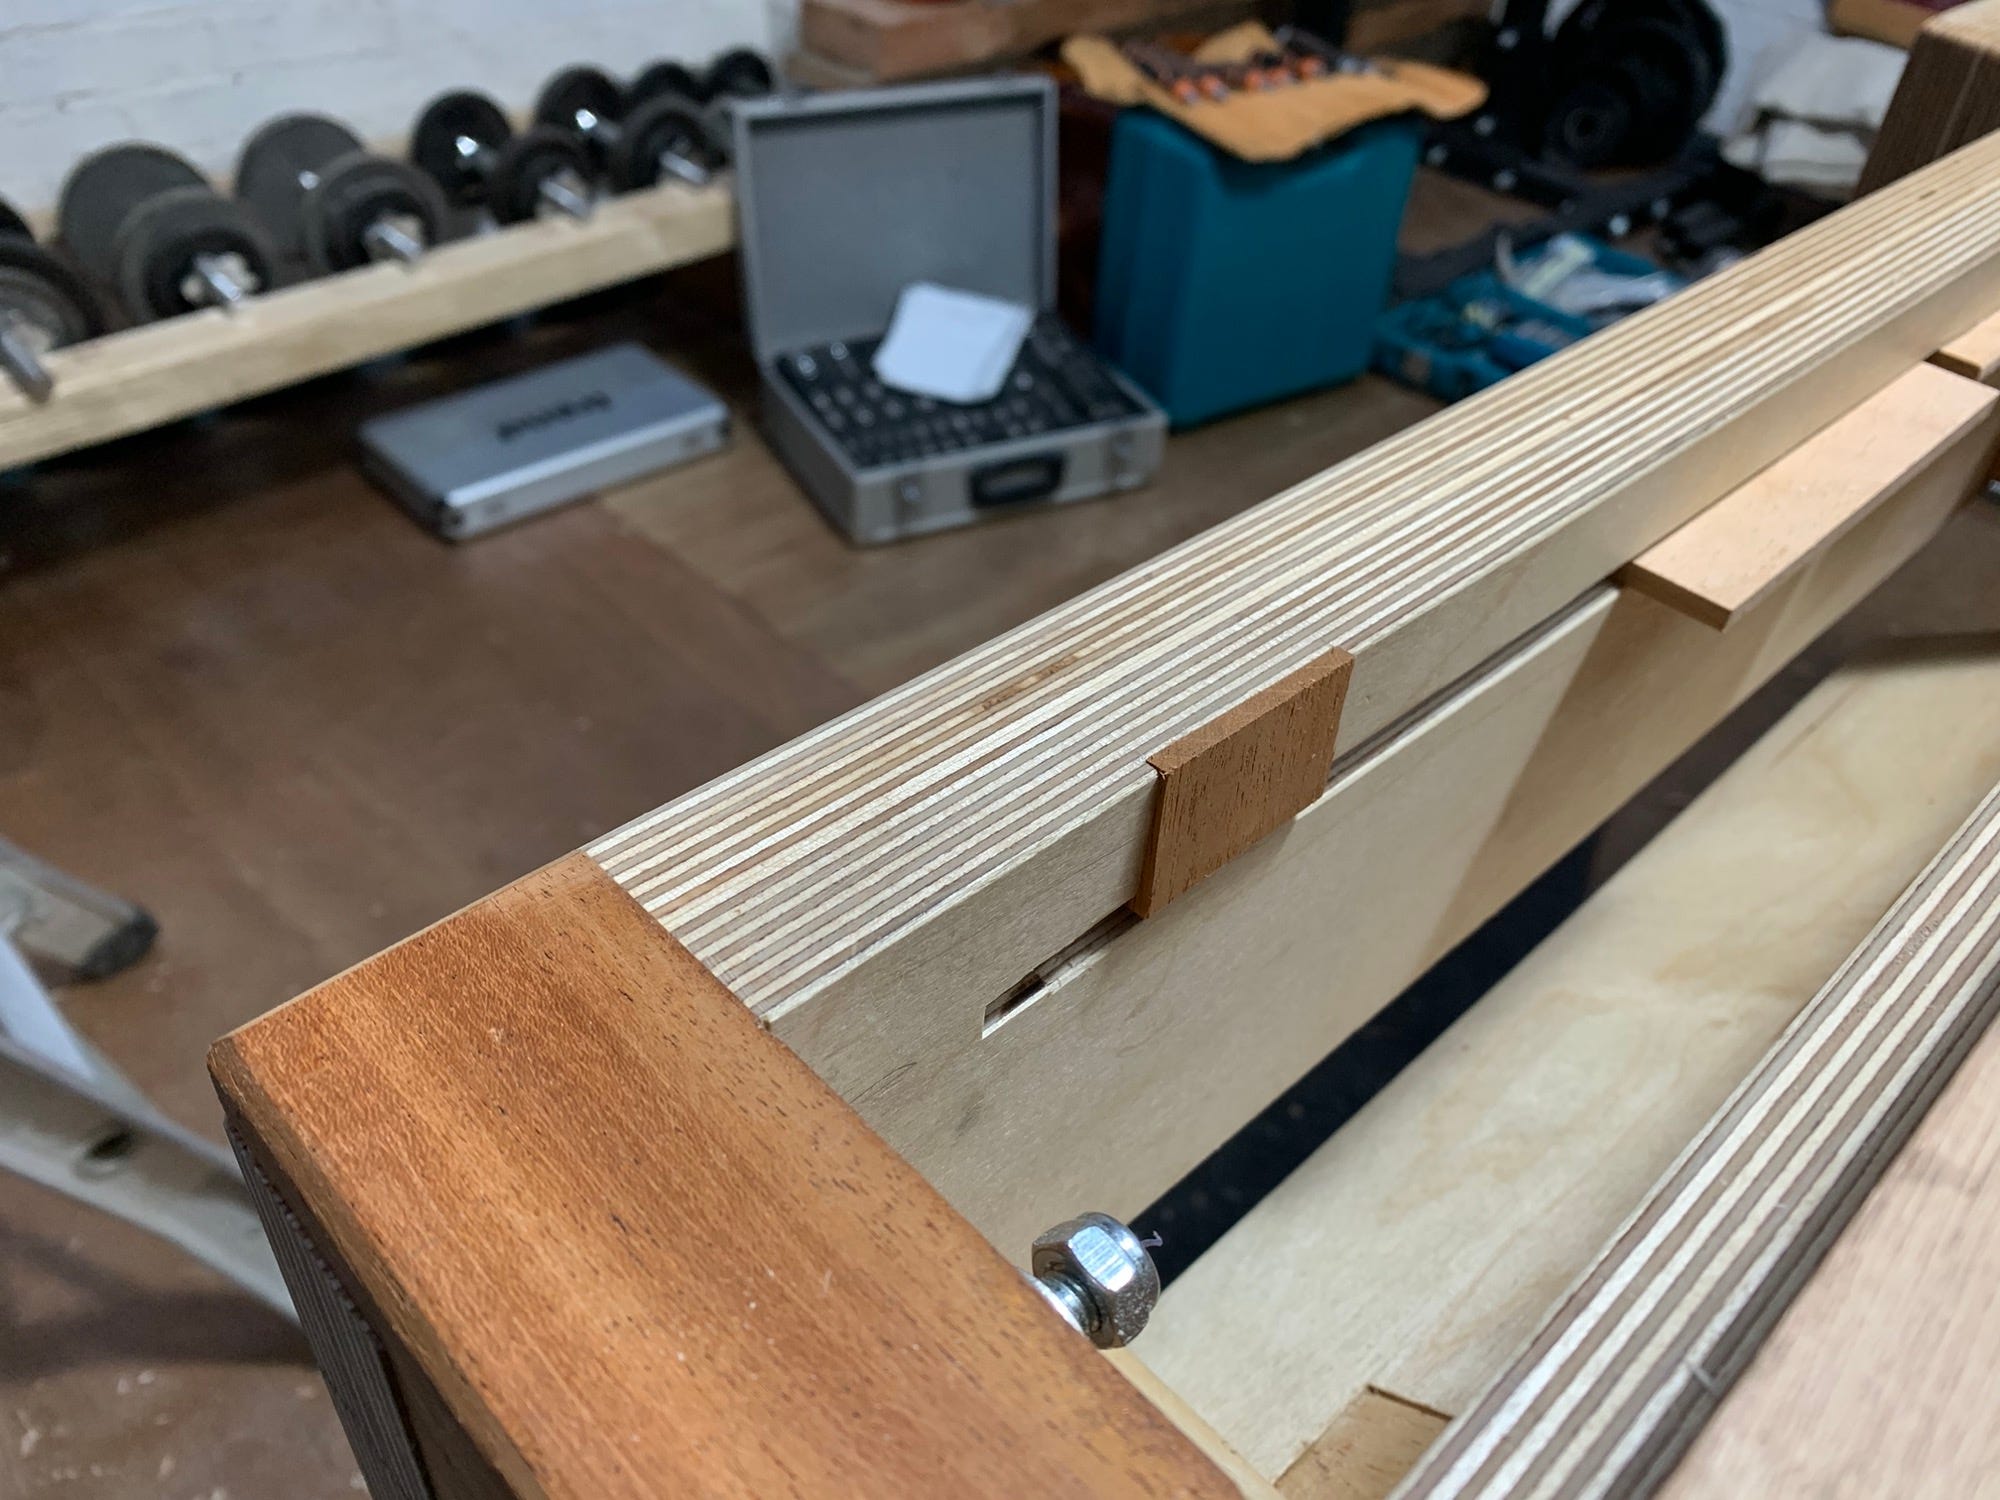
Then using the router, I had to cut long groove into the bench top for the vice block to travel on. I used a little bit of beech for the guides.
It was going fine until I learned a lesson about using routers – keep the thing router in place until the cutters stop spinning.
Ouch, look at it. My first ding in my lovely new bench.

So my first lesson in fixing something. Step one, turn the mistake into the nearest geometric shape.
Step two, patch the shape with some material. Normally you’d want to hide your mistakes, but as this was my first big mistake I decided to make a feature out if it.
Finally, clean it up so that it sits nice and flush. A nice save if I do say so myself.

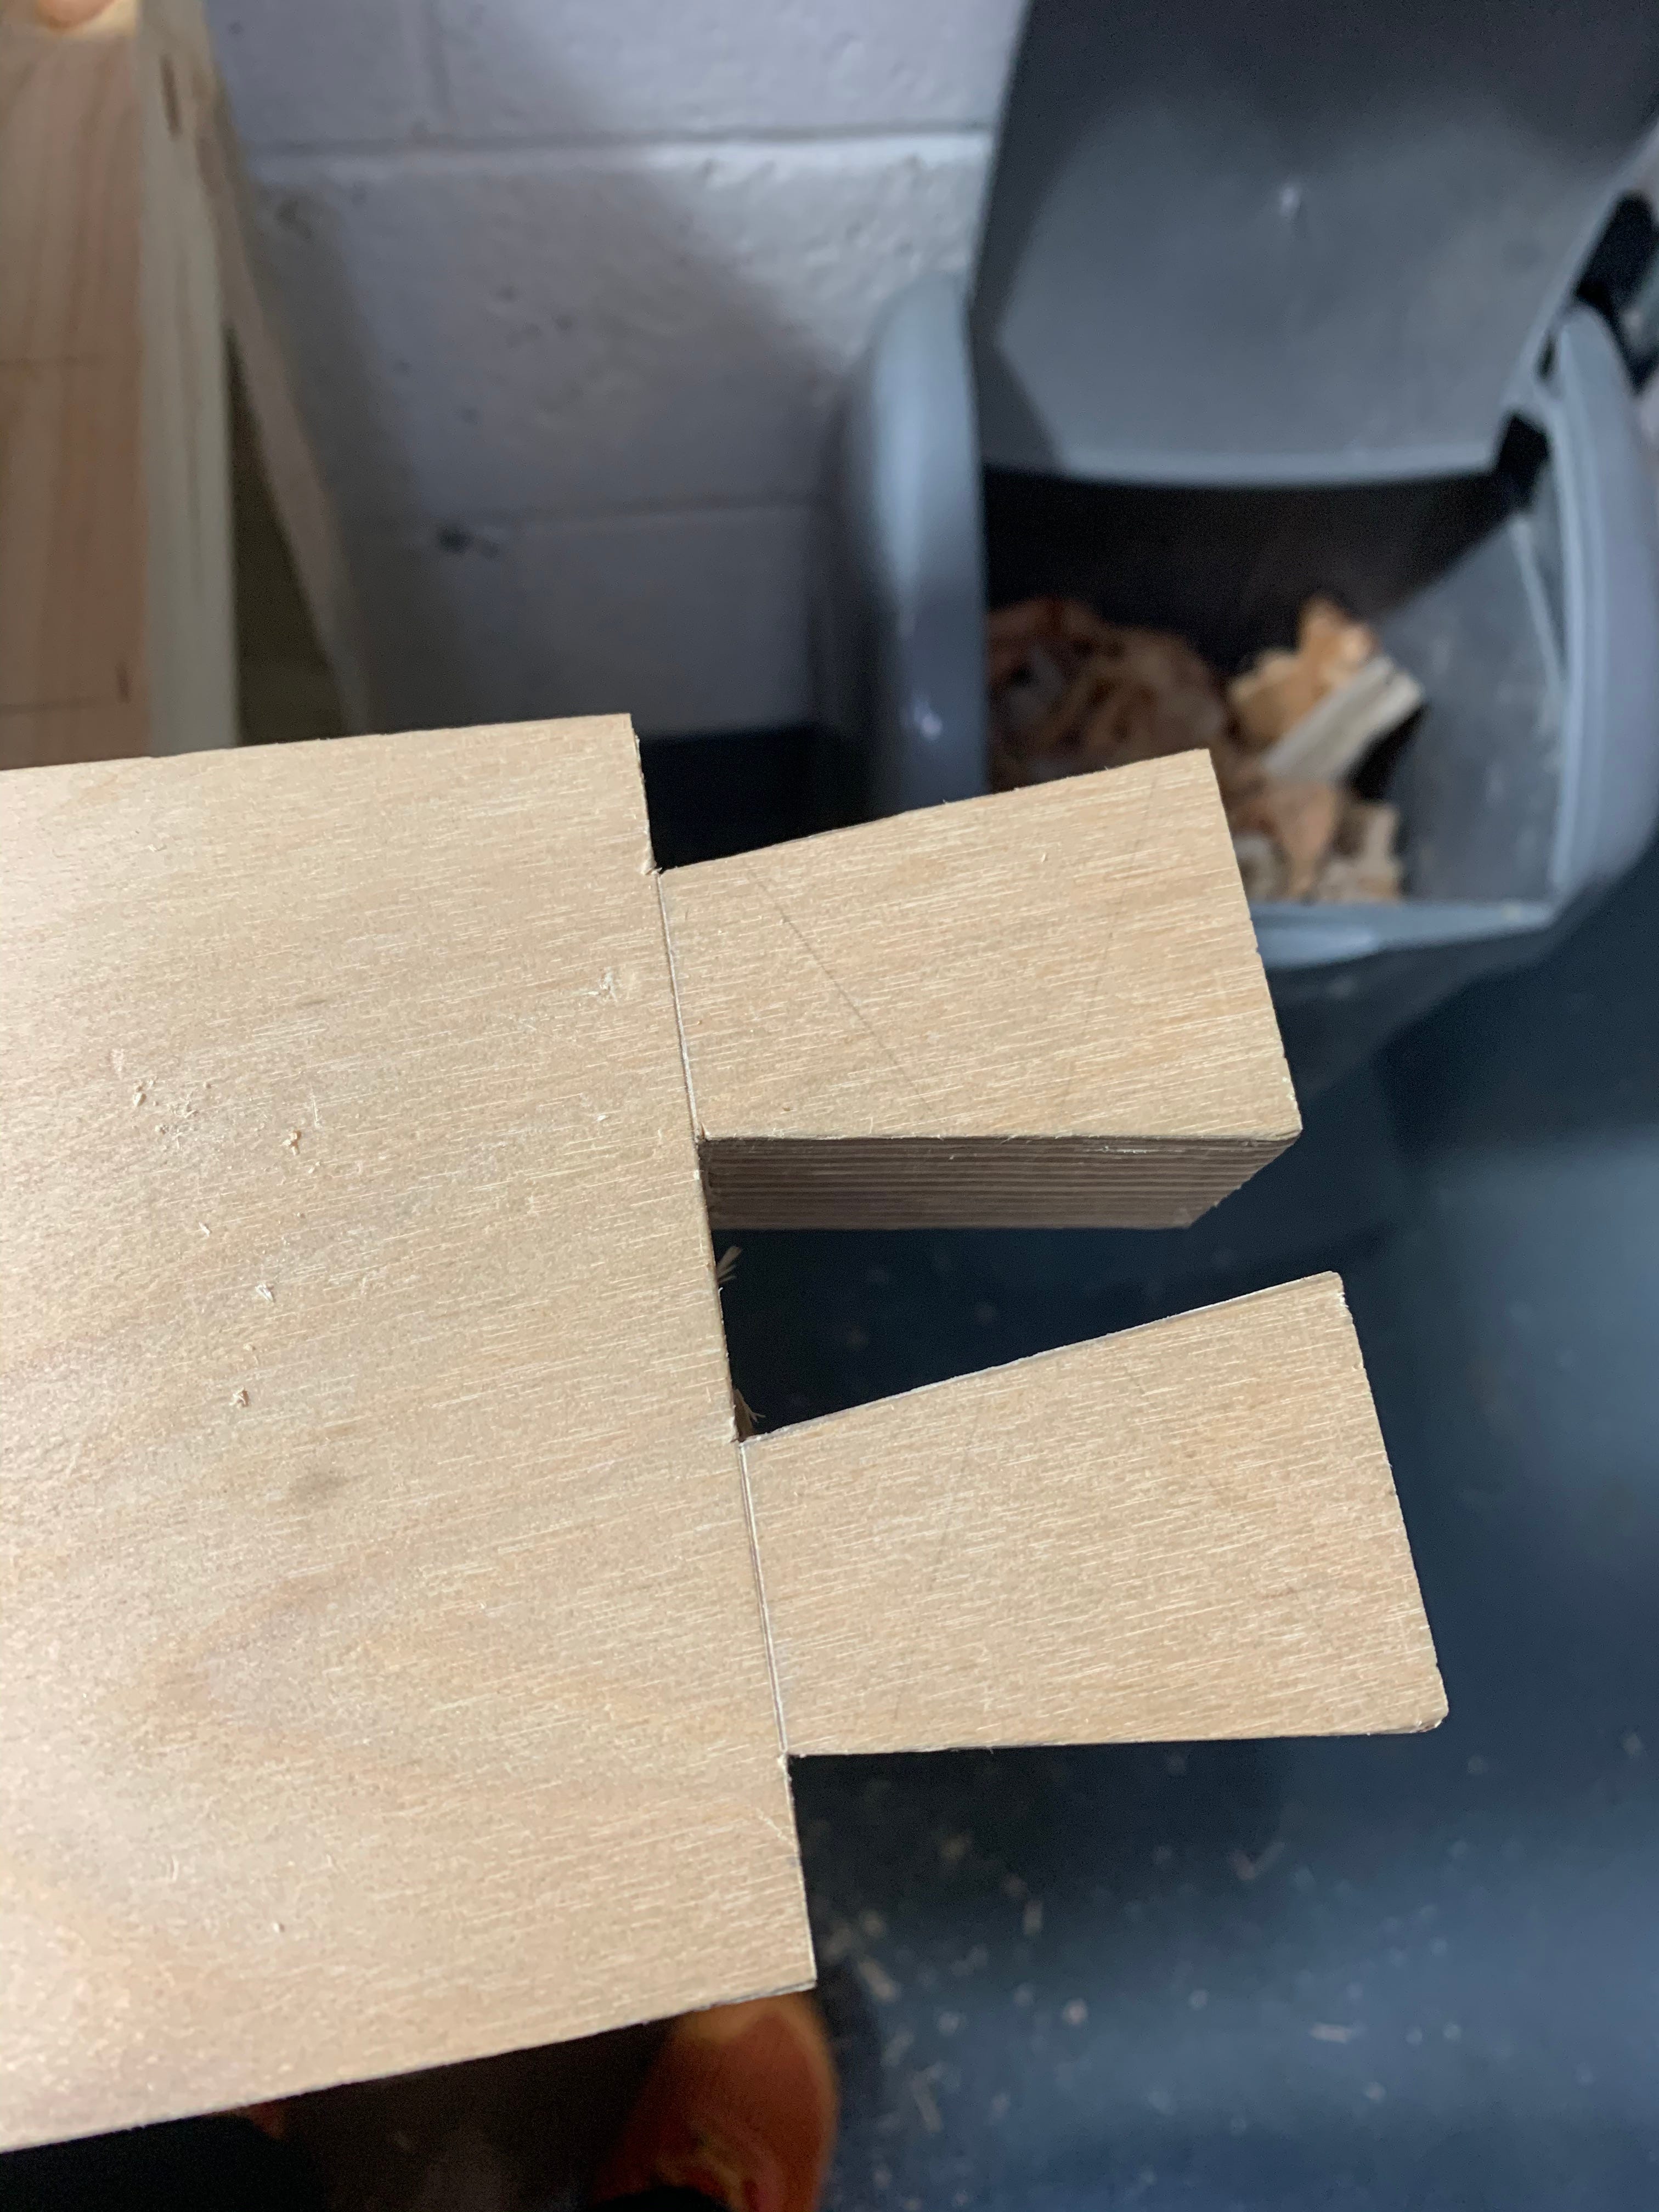
I made the vice block out of sections of plywood. I initially wanted to make it out of a solid block of wood, but I was having immense trouble drilling a large, central, accurate hole by hand. I’d wasted a lot of pitch pine by this point and I just wanted to move forward so I made it out of sections of ply. This allowed me to accurately get the holes drilled. It is hard to make out in this image, but there are five holes that run the horizontal length of this thing. Four 10mm holes for the dark green vice mount and one larger 45mm hole for the vice screw. The square holes on the top are for the dogs. The groves on the side are for the runners that keep the vice block held firm in plane with the top of the top.
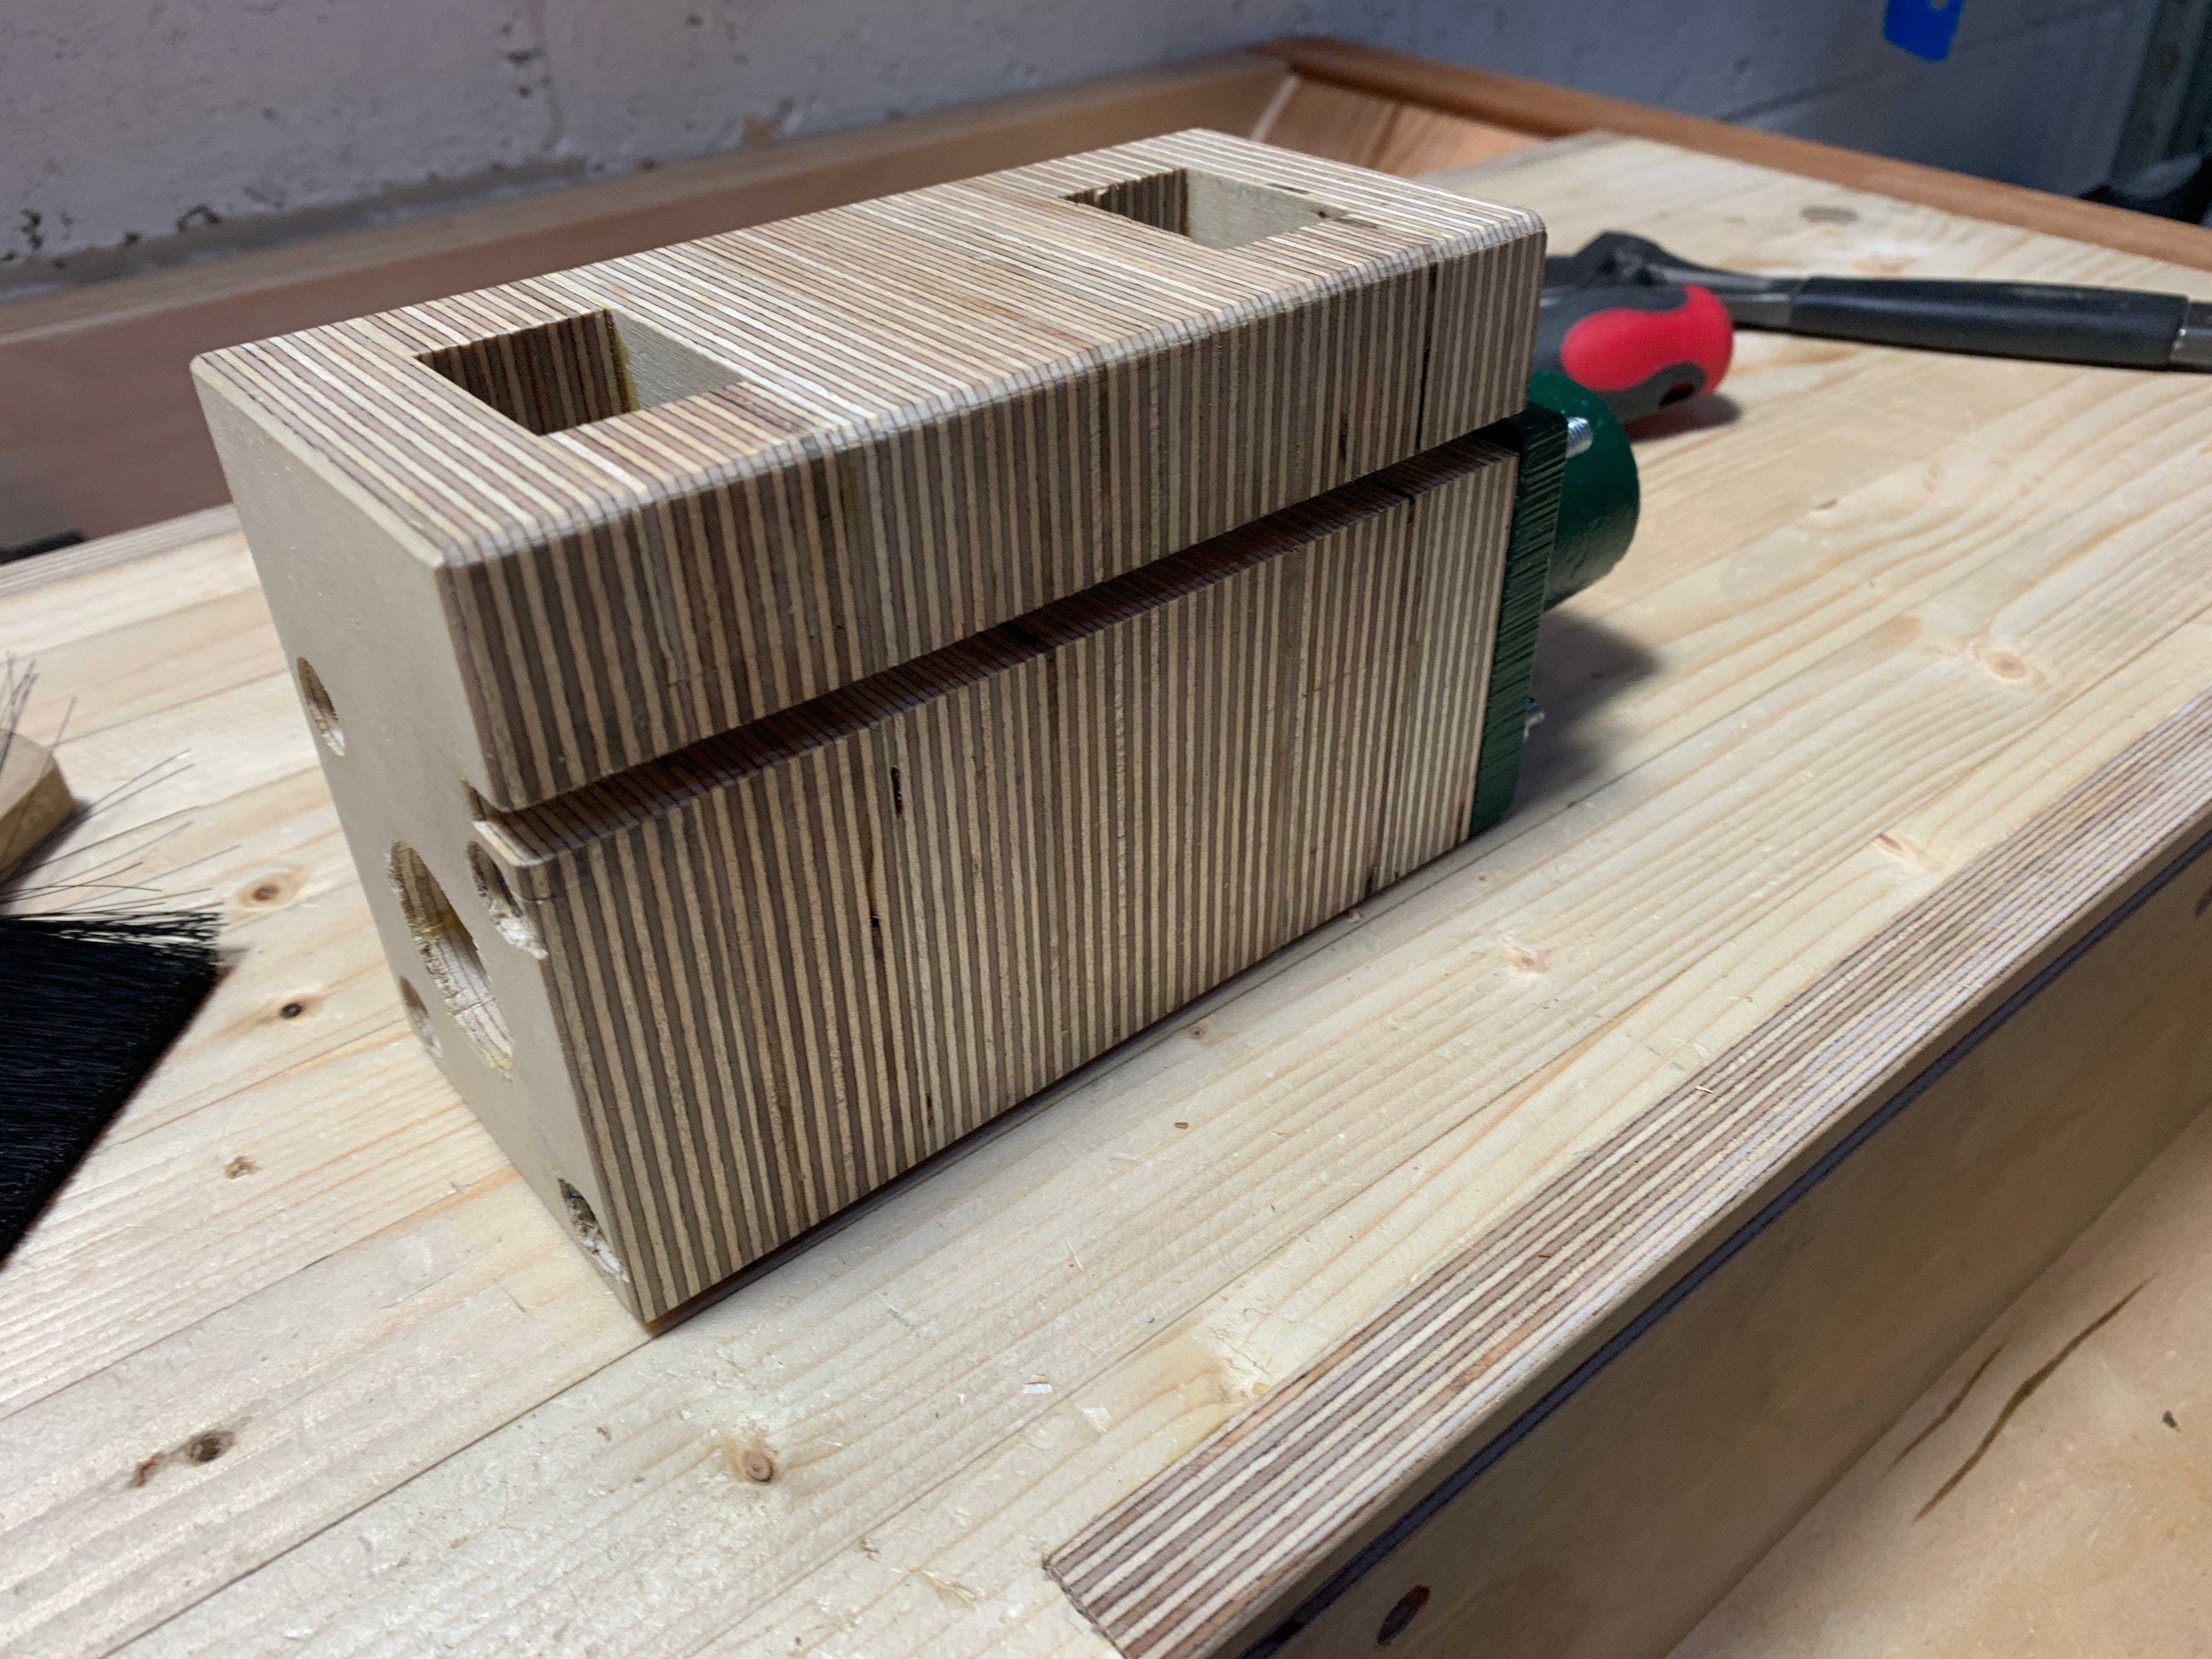
Fitting the runners was an intellectual challenge. Eventually I figured out I could put the runners in place and then use the vice to push the block into the runners. It worked a charm. No glue required, just a nice friction fit. They haven’t moved in three years.

And that was that. I added some leather onto the vice block and this is how the bench stayed for two years.
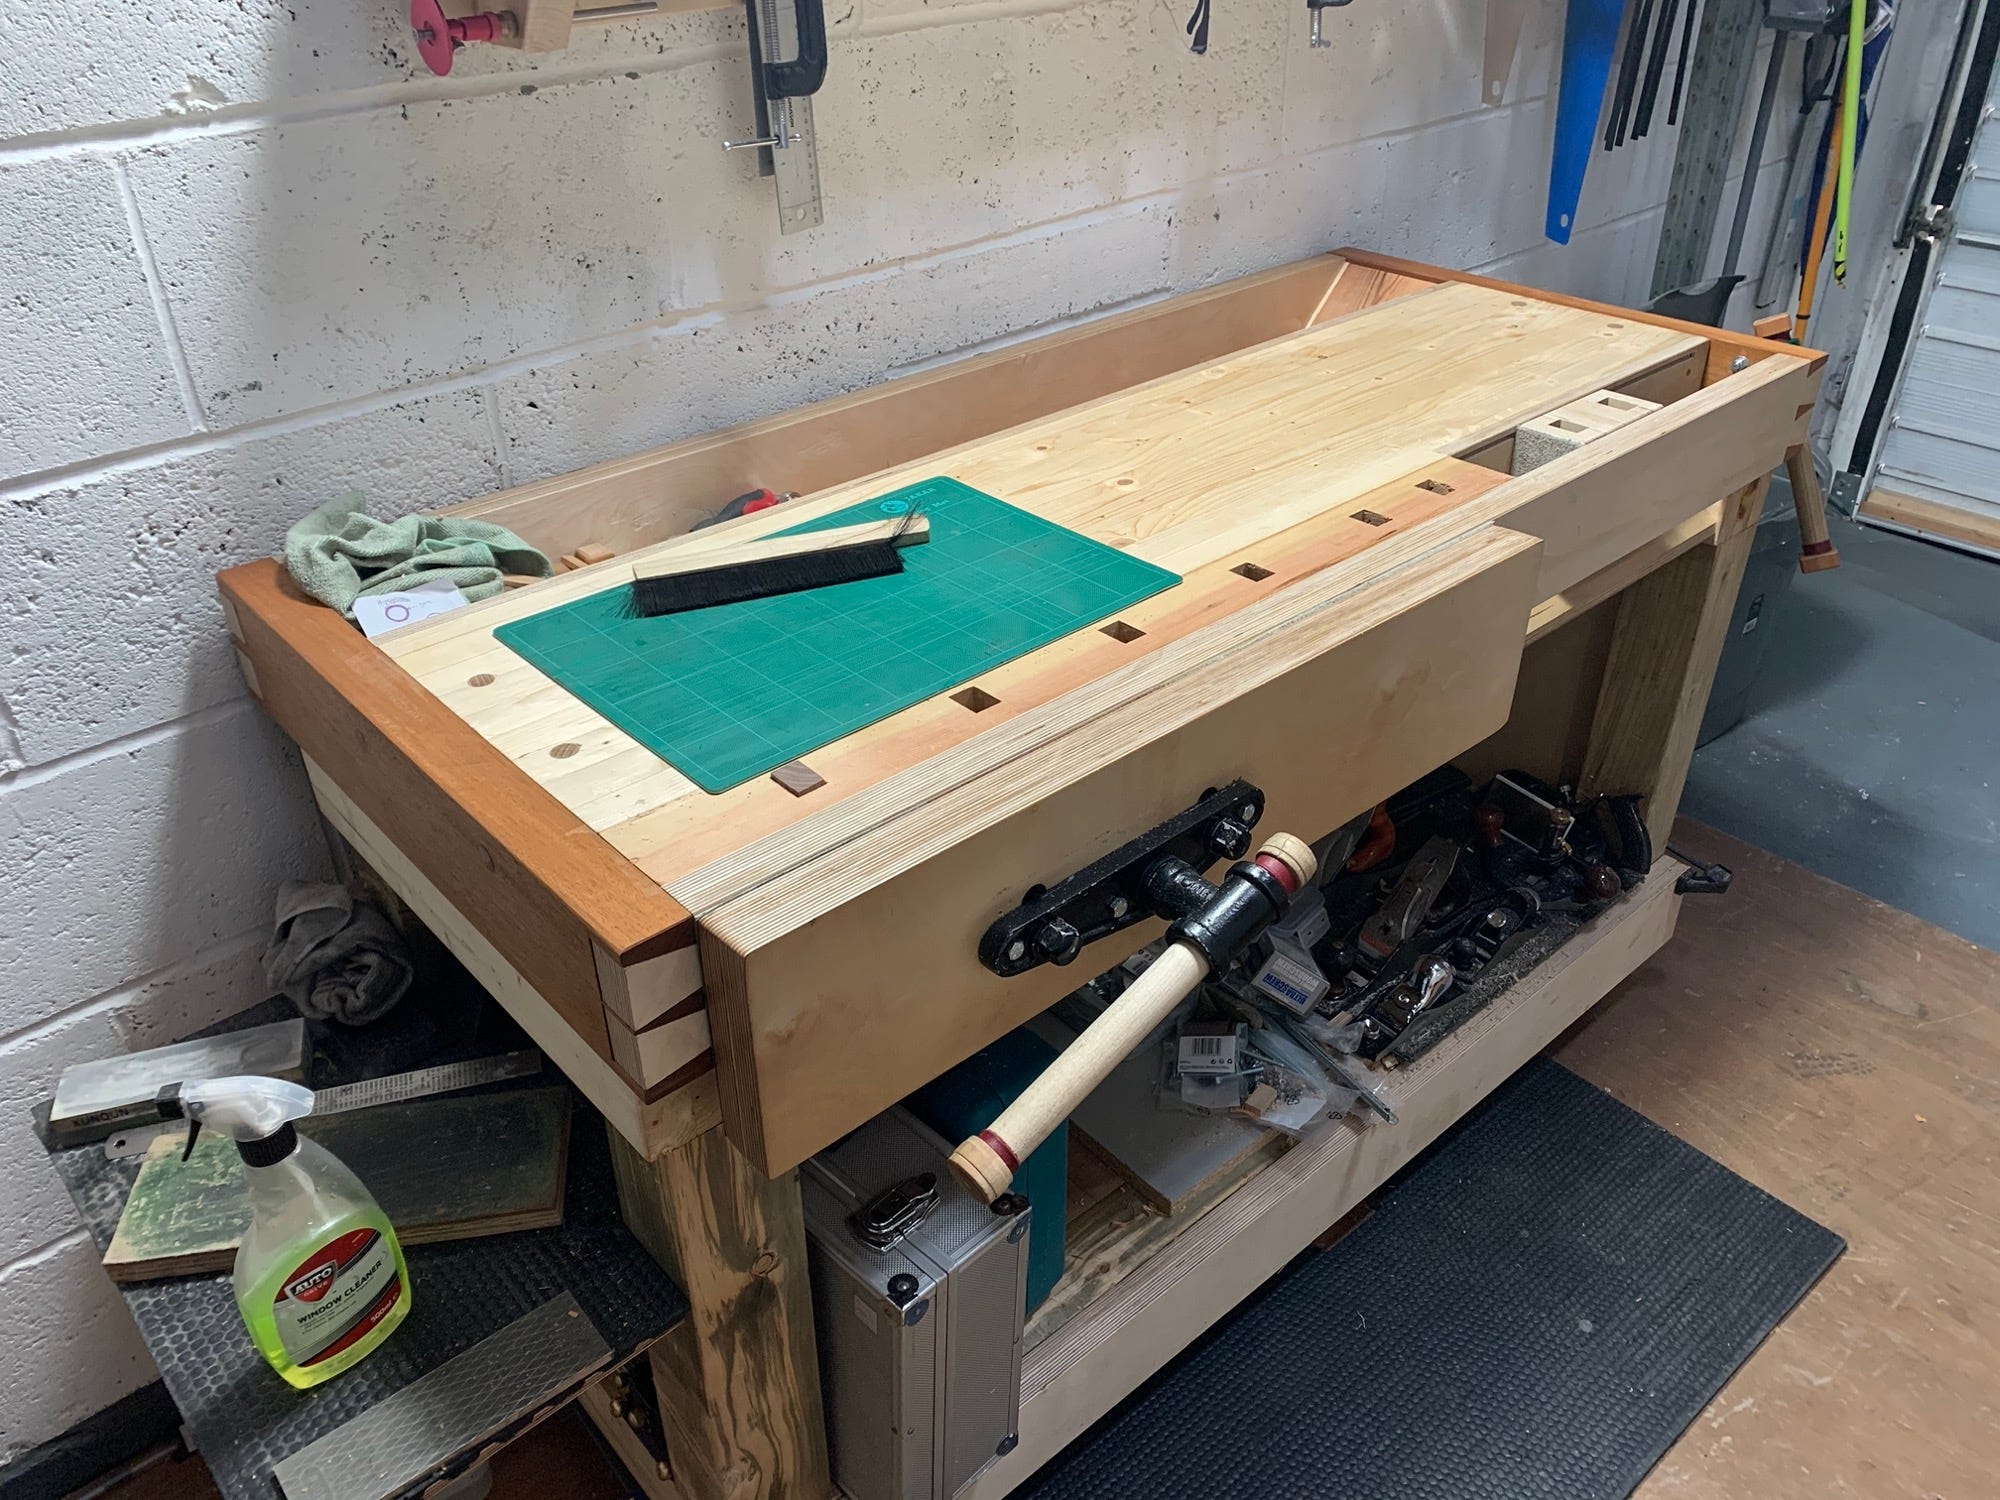
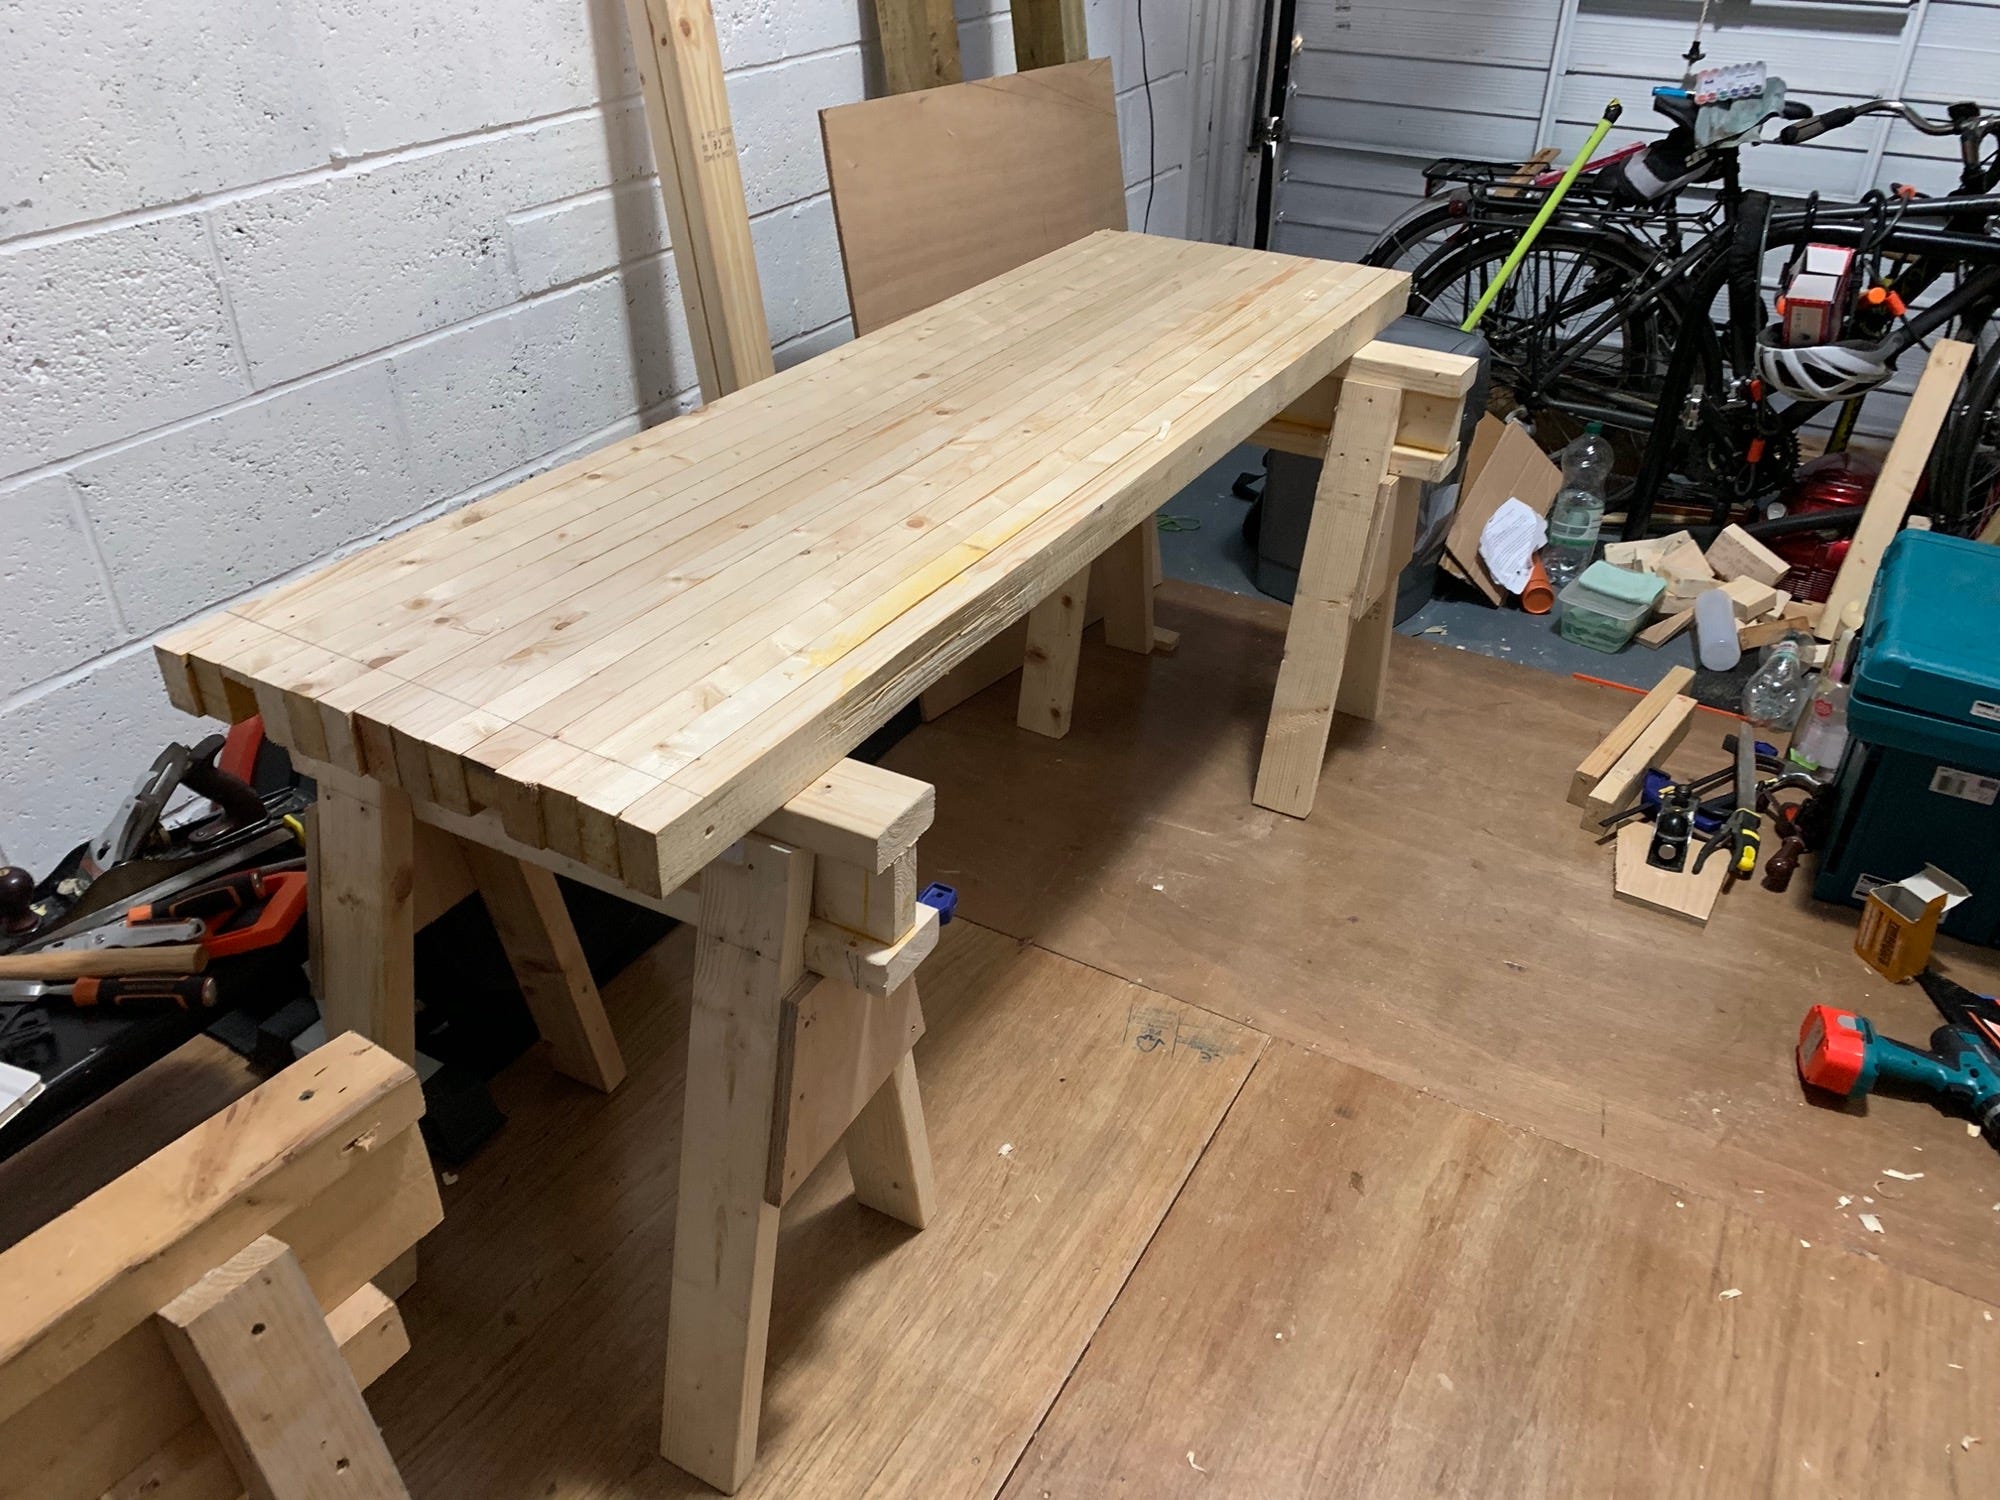
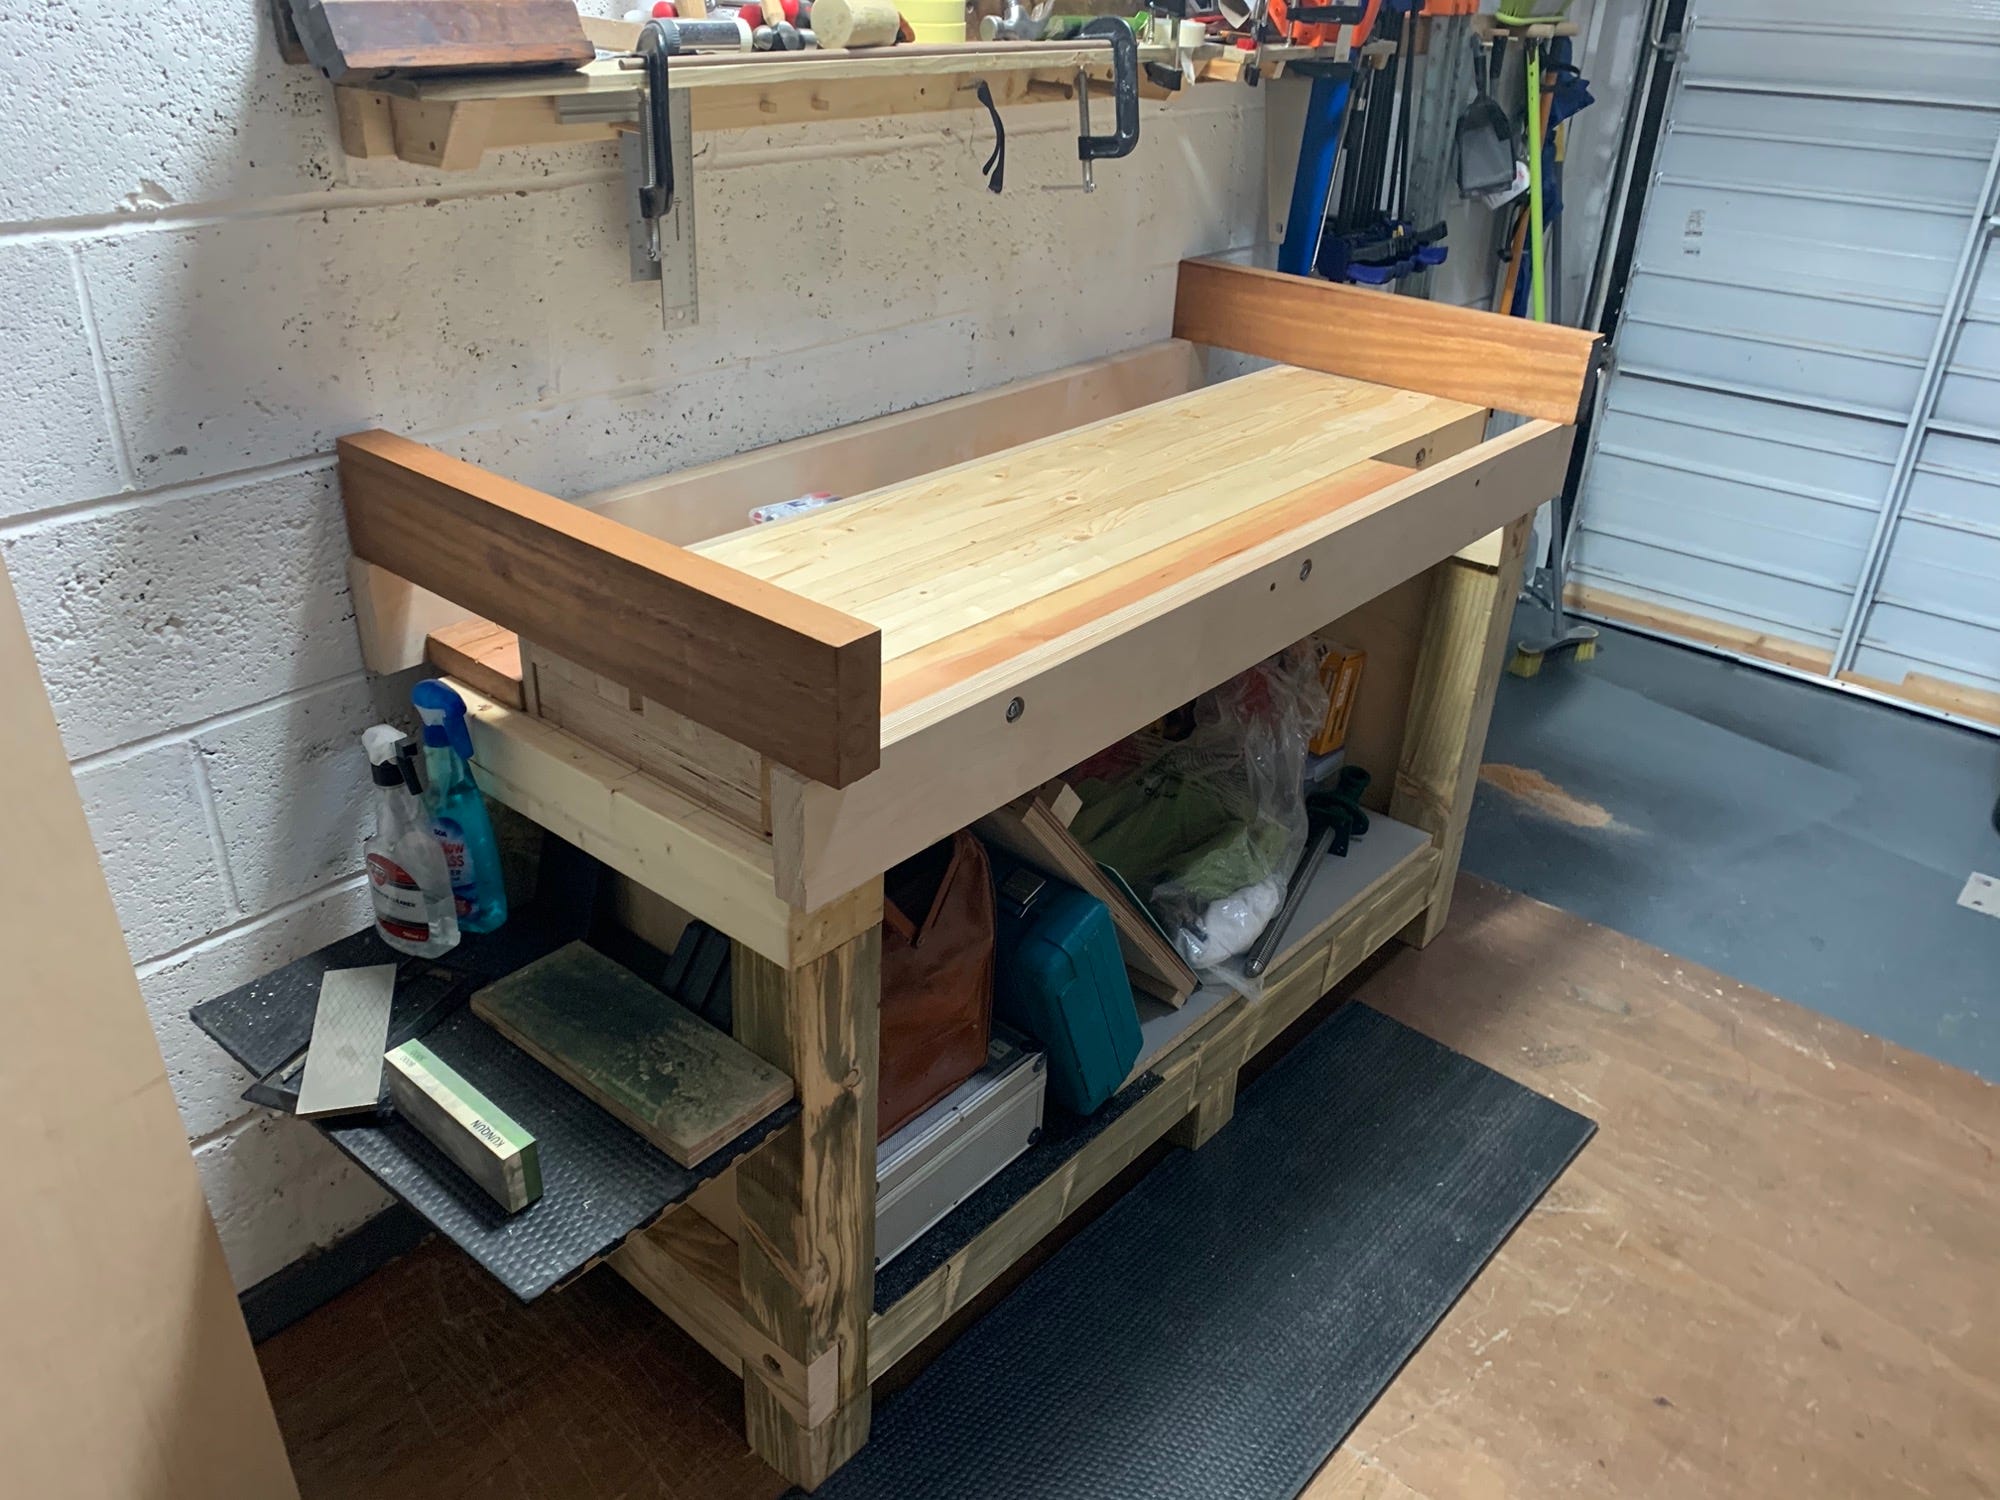
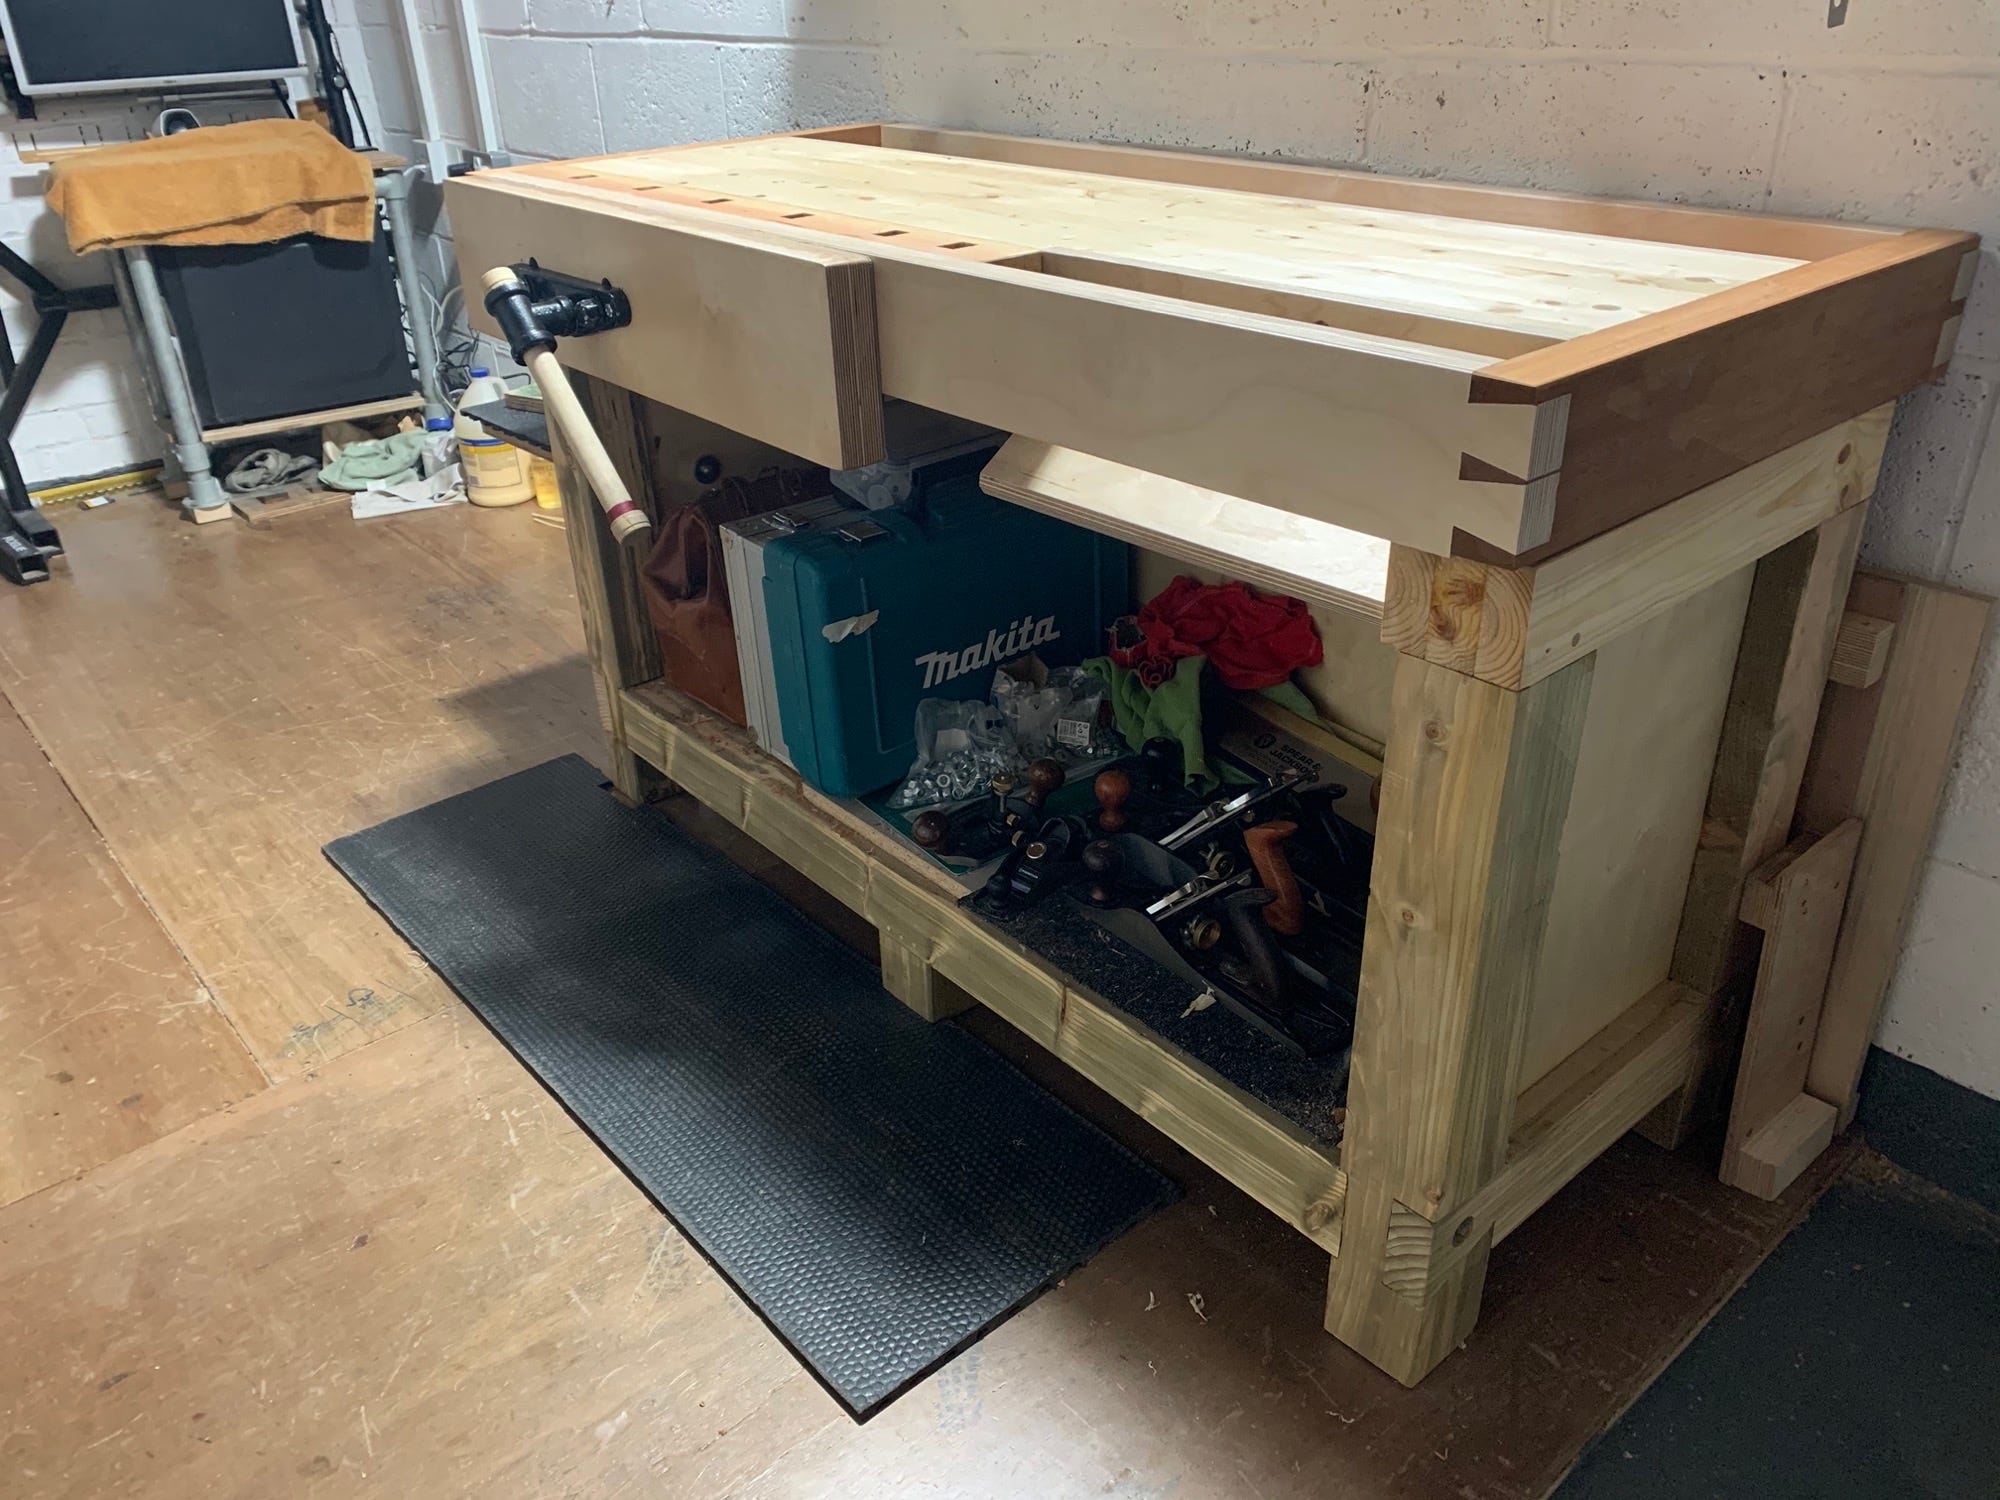
Fast forward to today and here is how it looks. I’ve made three changes to the design since it was built.
First, the sharpening station has gone. It was a great idea and if I ever get a larger workshop I will almost certainly bring it back. However in this garage it had two unsolvable issues. One it took up space; I’d have to stand in front of the sharpening station to sharpen stuff and that meant not only the 15 inches for the station, but also a good three foot for me. Four foot is a lot of space in this place. Secondly it was always covered in shavings and mess. As there was a wall in front of the bench and I stand in front of it, it meant that mess could either go left, onto the sharpening station, or right. Nine times out of ten it went left as that was also the direction in which I’d work. So next time, the sharpening station goes on the right hand side.
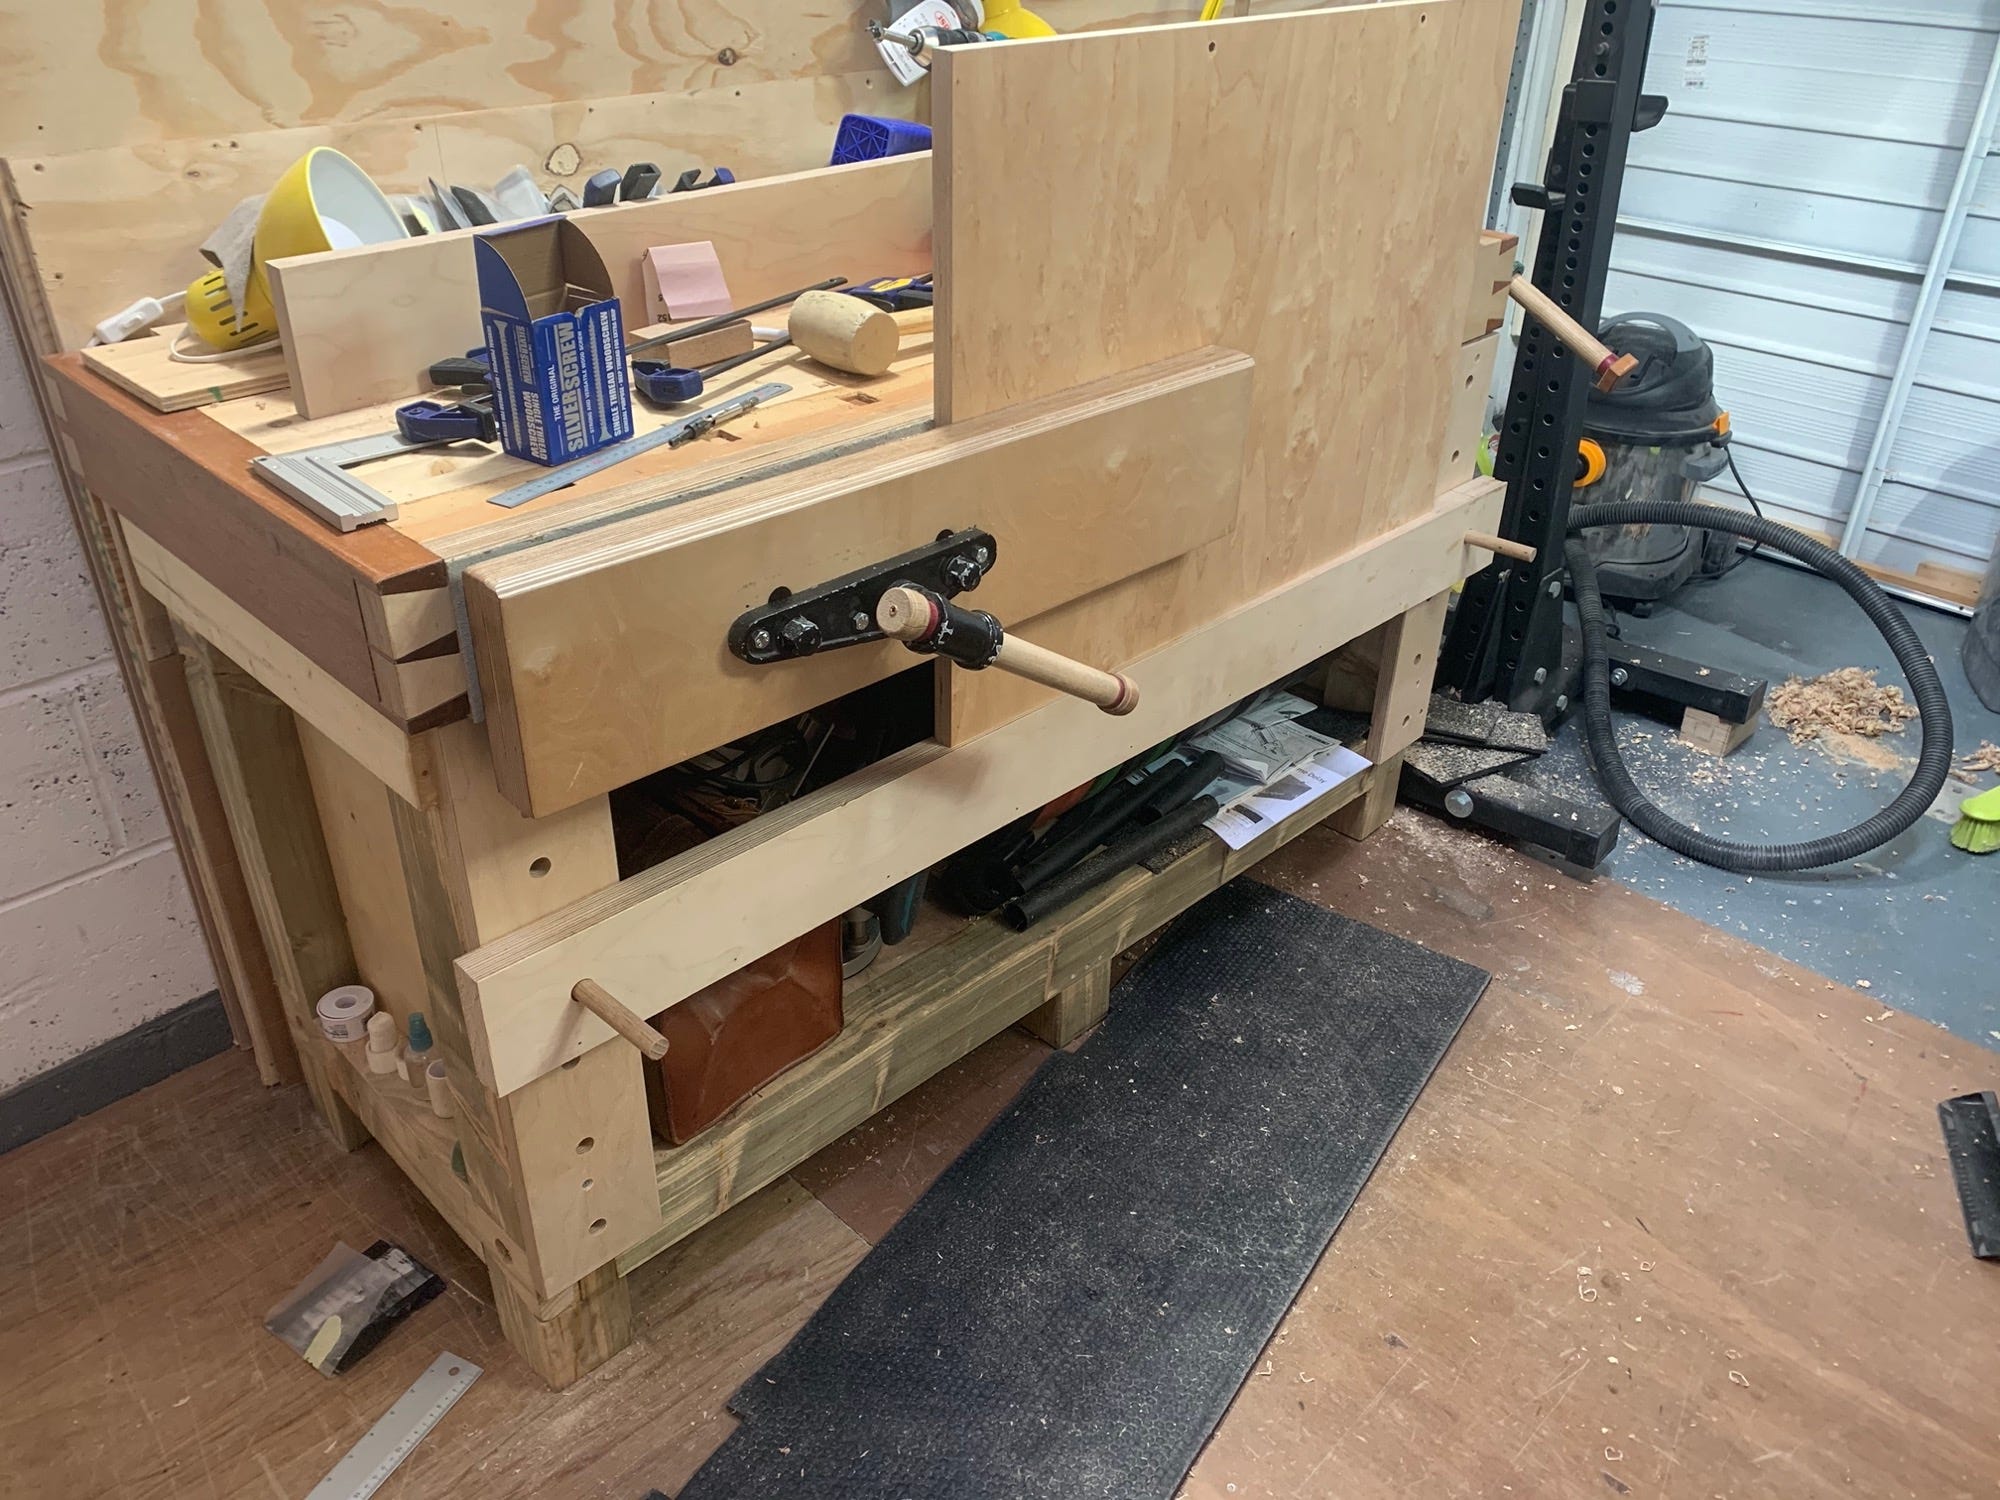
Second, I added in a vertical dog system onto the legs. The idea here was that I can adjust the pegs to support various long materials in the vice. Above you see how that works and why it would be needed. Also note that on the left hand side, resting on the legs is the first aid kit and on the right hand side you can see the faithful titan vacuum.
The final change is the wheels. I both didn’t want to do this, and I did want to do it. Why not? The main reason was stability. When working on something I can be sure the bench is not moving because the weight of the bench and the plates is about 300kg. I was concerned that on wheels I’d lose the stability.
Height was another consideration. The table saw is perfectly level (ish) with the top of the bench and I thought that getting that to match up again would be a pain.
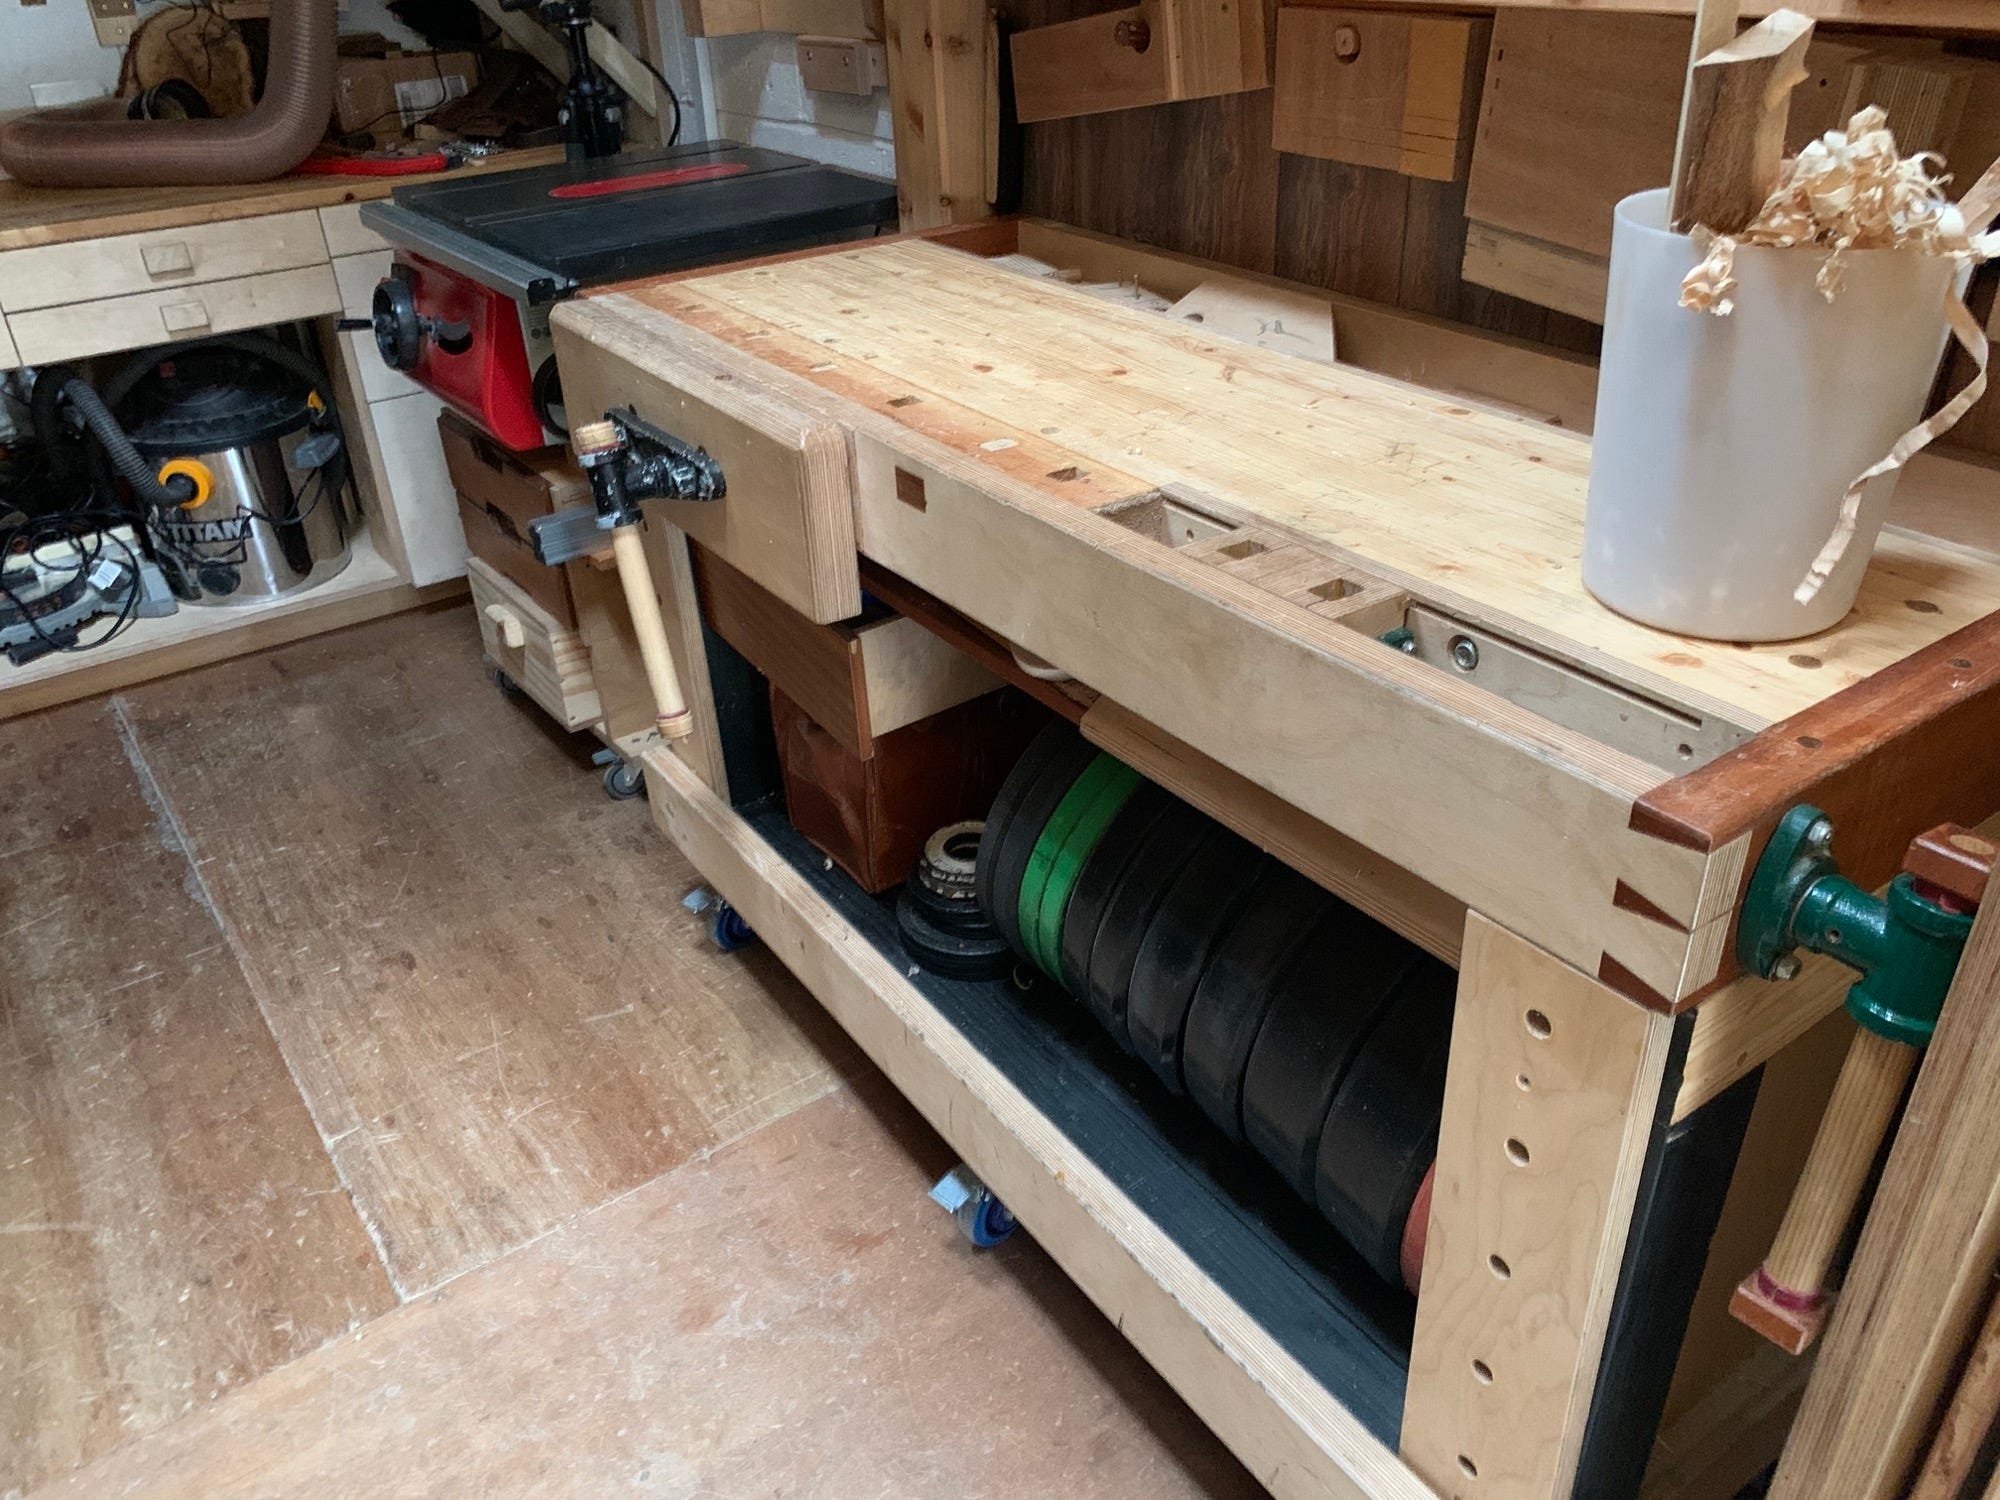
Both fears were totally unfounded. Fancy that.
So why put wheels on the bench? Having everything on wheels makes it easy to move stuff around and to create space. My workshop is tiny and it is still a gym. Squat stands and barbells need space to use and I’m tired of clipping my arse on the vice when squatting. Finally, I have a lot of work to do at the back end of the garage but to get those plans into action I need to do some real world tetris and having things on wheels makes tetris so much easier.
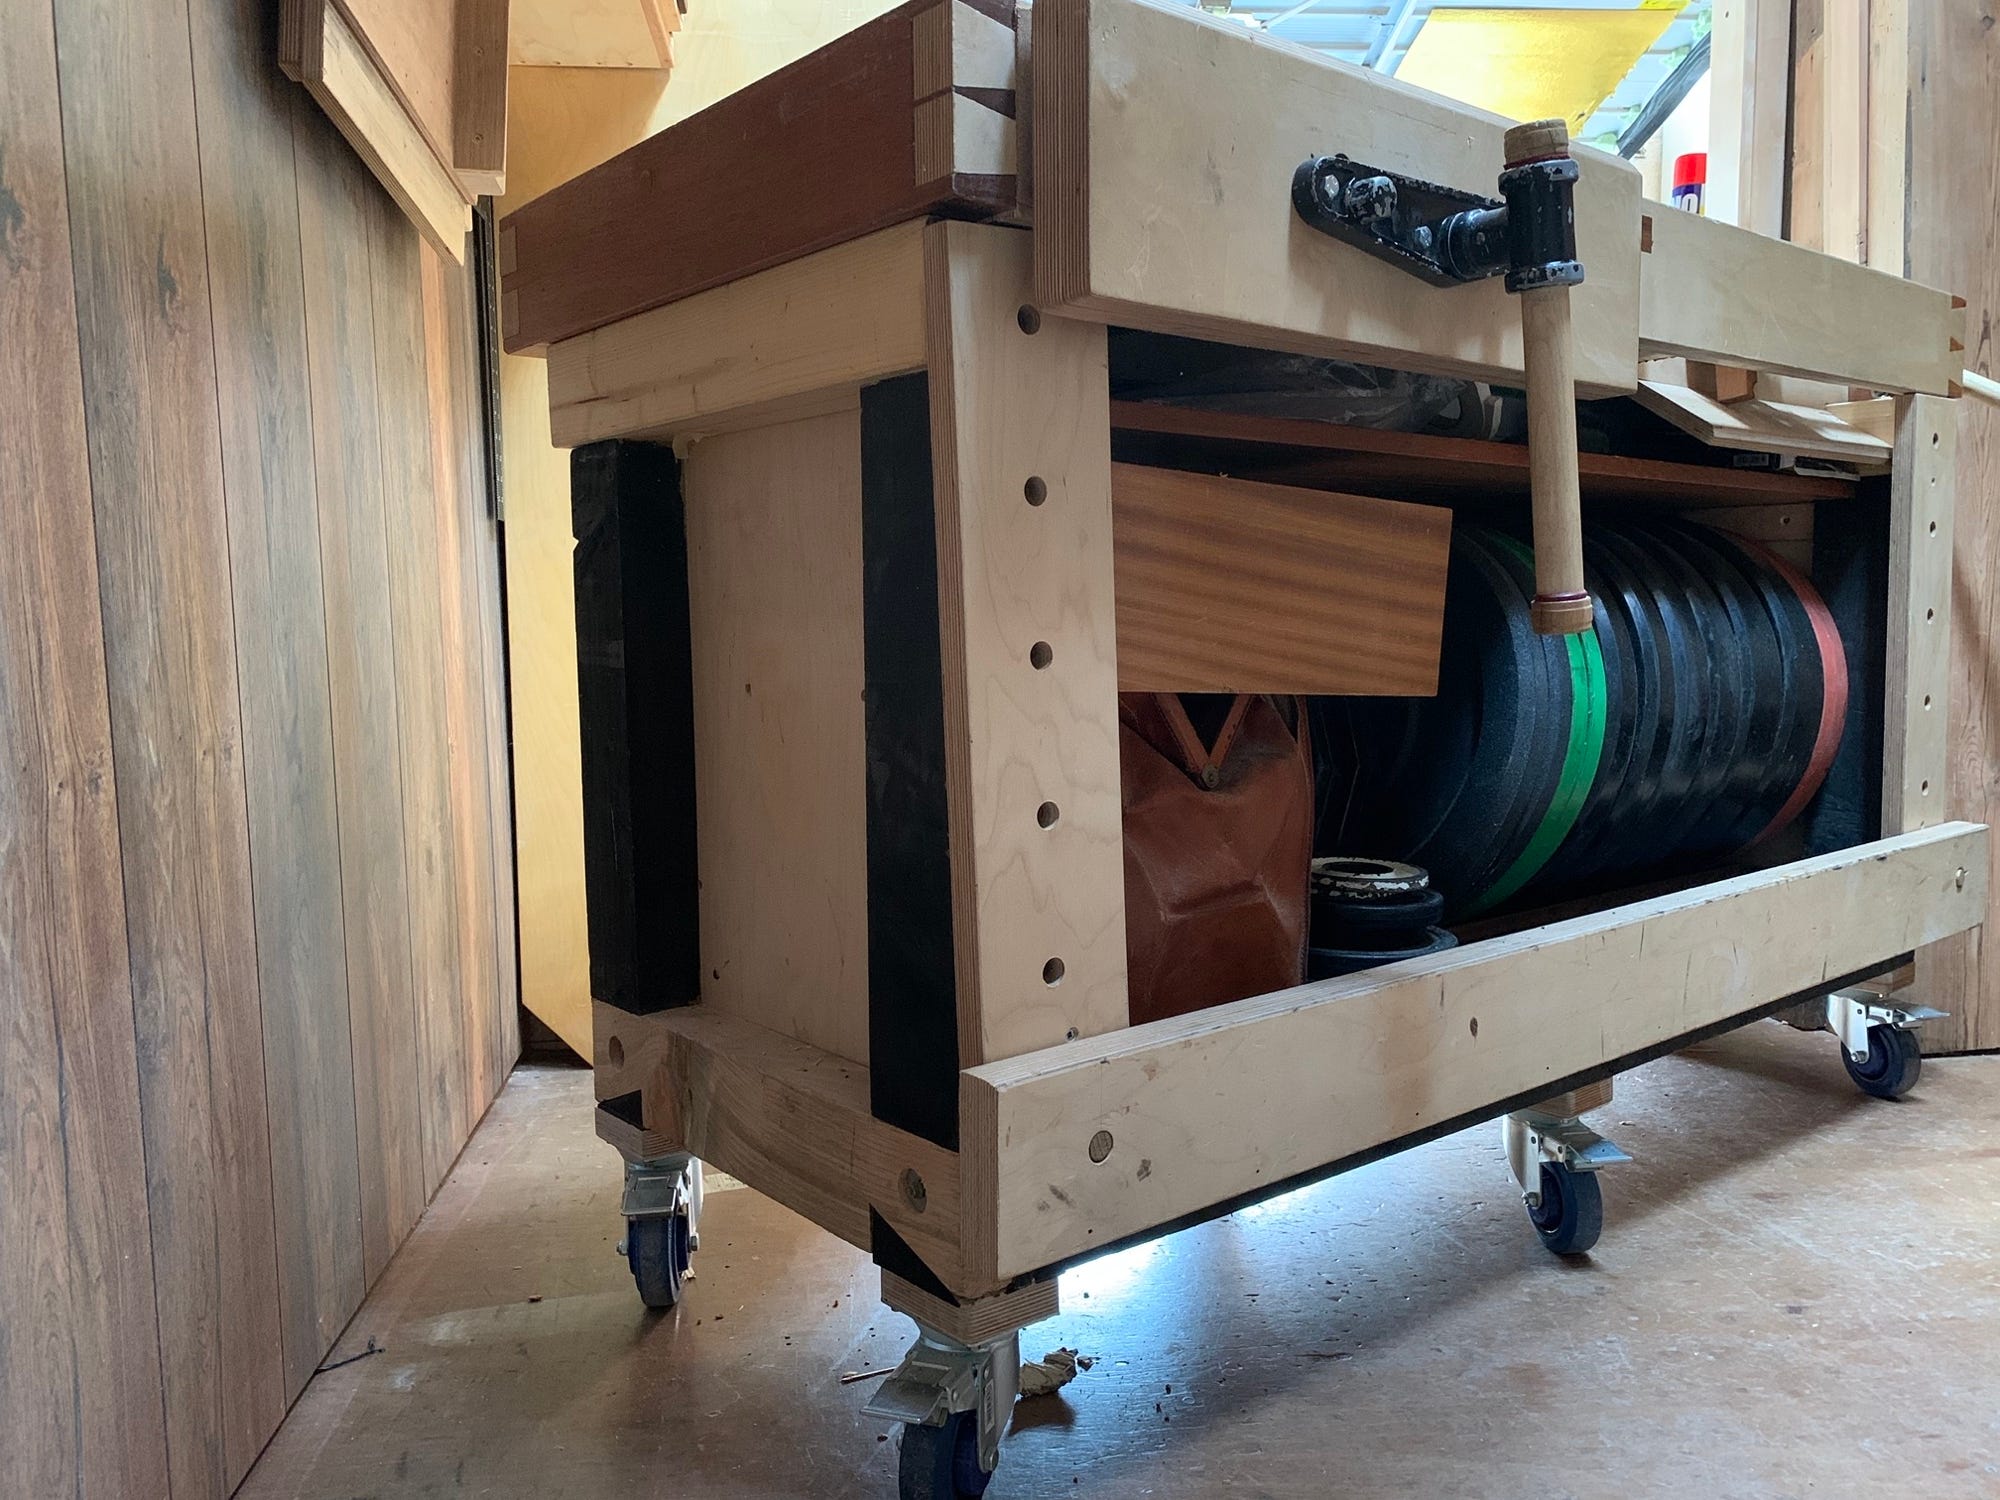
It was a wheely good decision.